– detailed logistics, packing list, trail specifics, sample itinerary& budget –
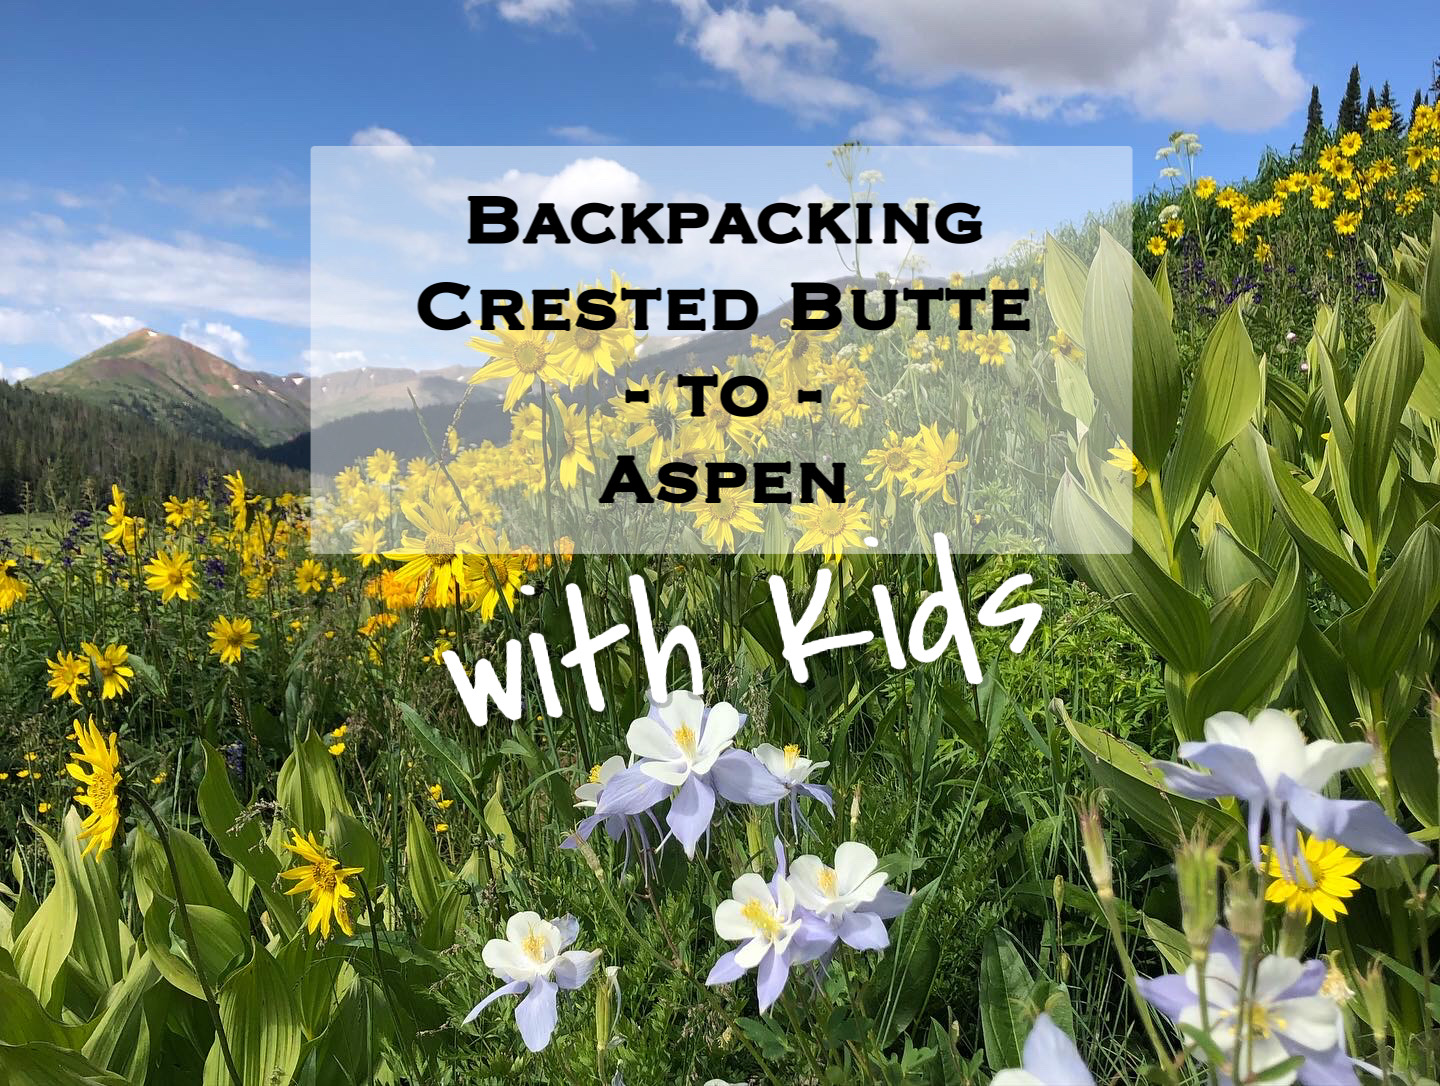
By Jennifer Mihlbauer-Schiel, July 28, 2022
This is it folks…search no further when planning your iconic backpacking trip between two of the cutest Colorado towns around! I can assure you I had read ALL the blogs, all the AllTrails reviews, and spoke with locals before we hit the trail with our kids, but nothing quite adequately prepared me. My goal is that this resource will fill in the gaps so you’re not left piecemealing info.

So now that we’ve been there, done that, I’ve compiled all my notes and our experience below in hopes it will better prepare others as they plan. Frankly, planning this trip created a series of logistical challenges, but it was so worth it!
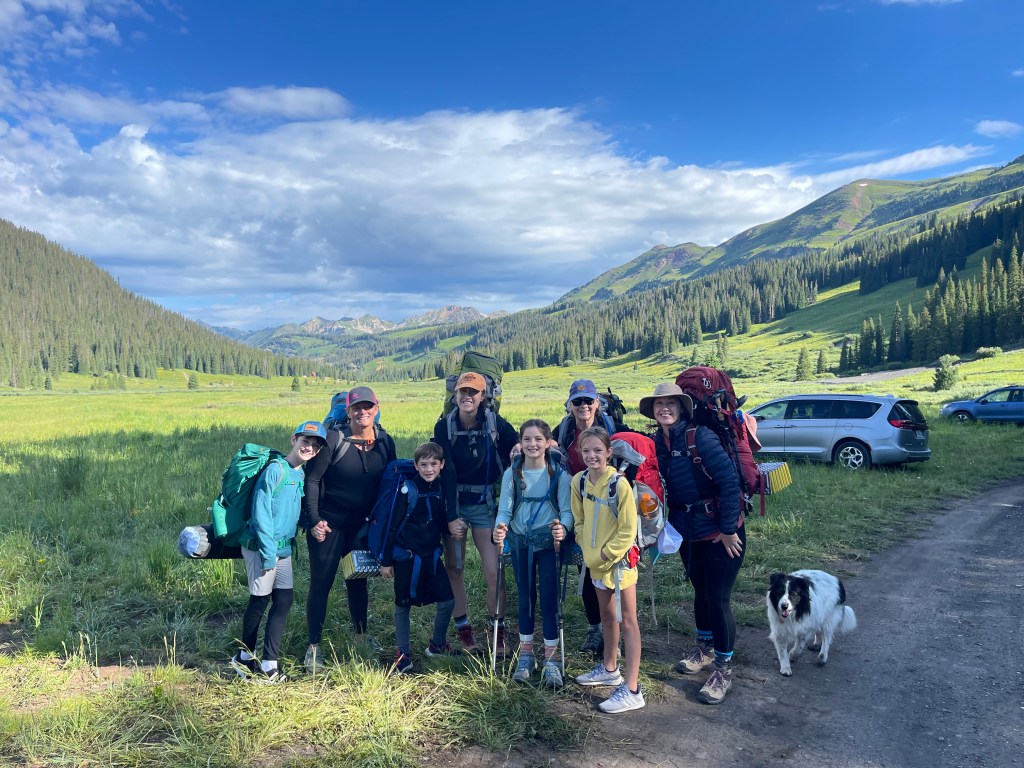
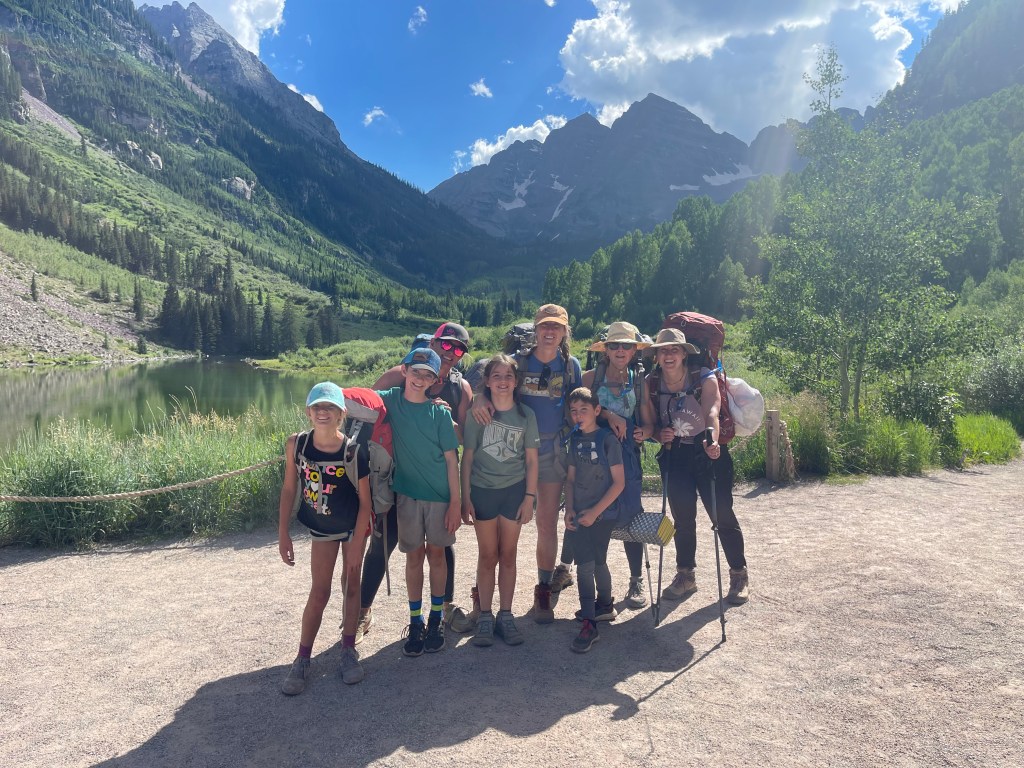
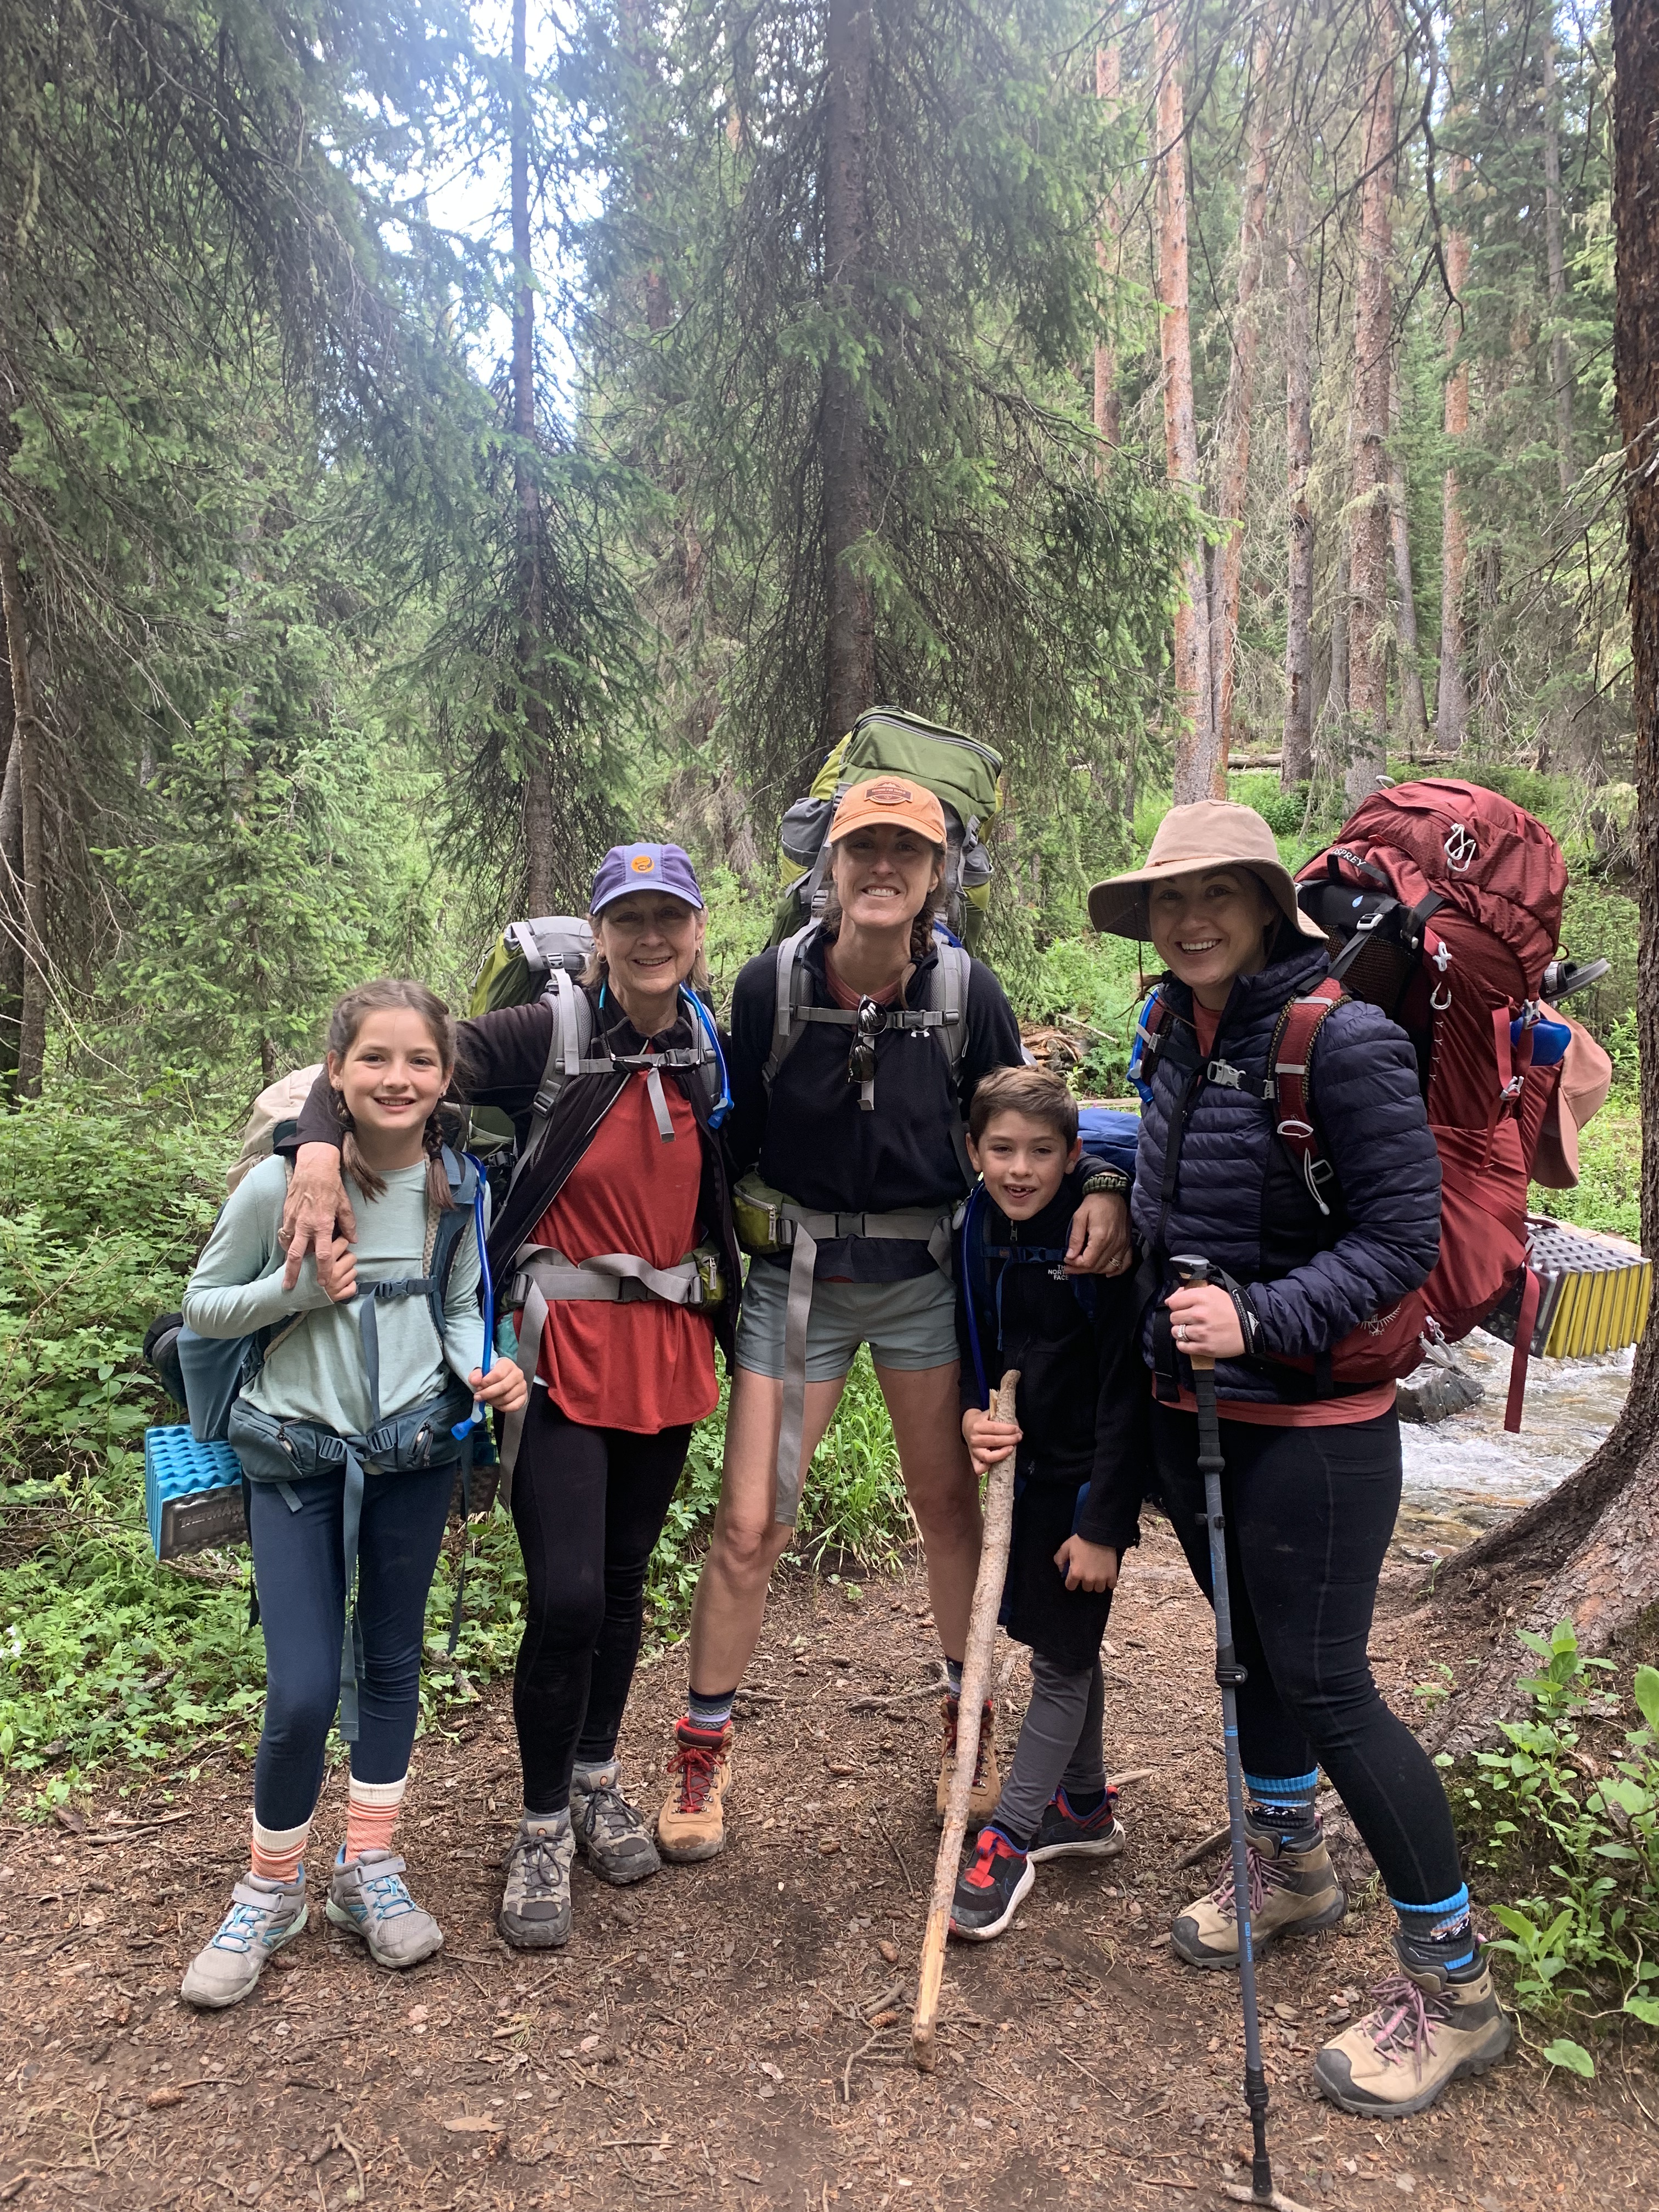
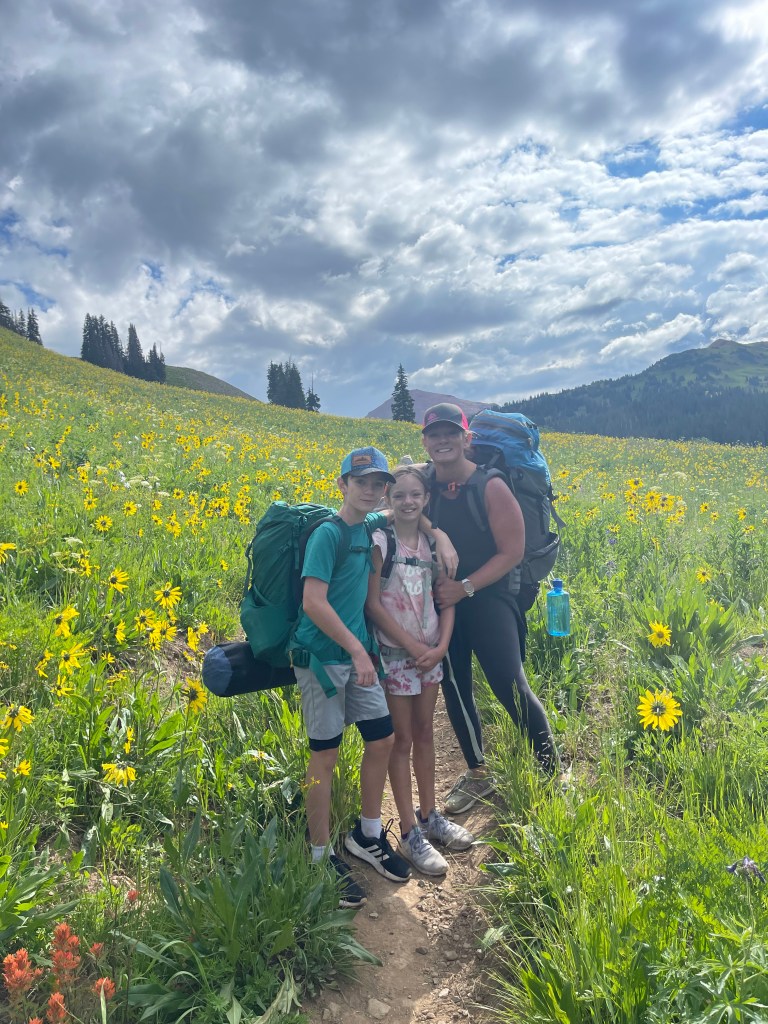
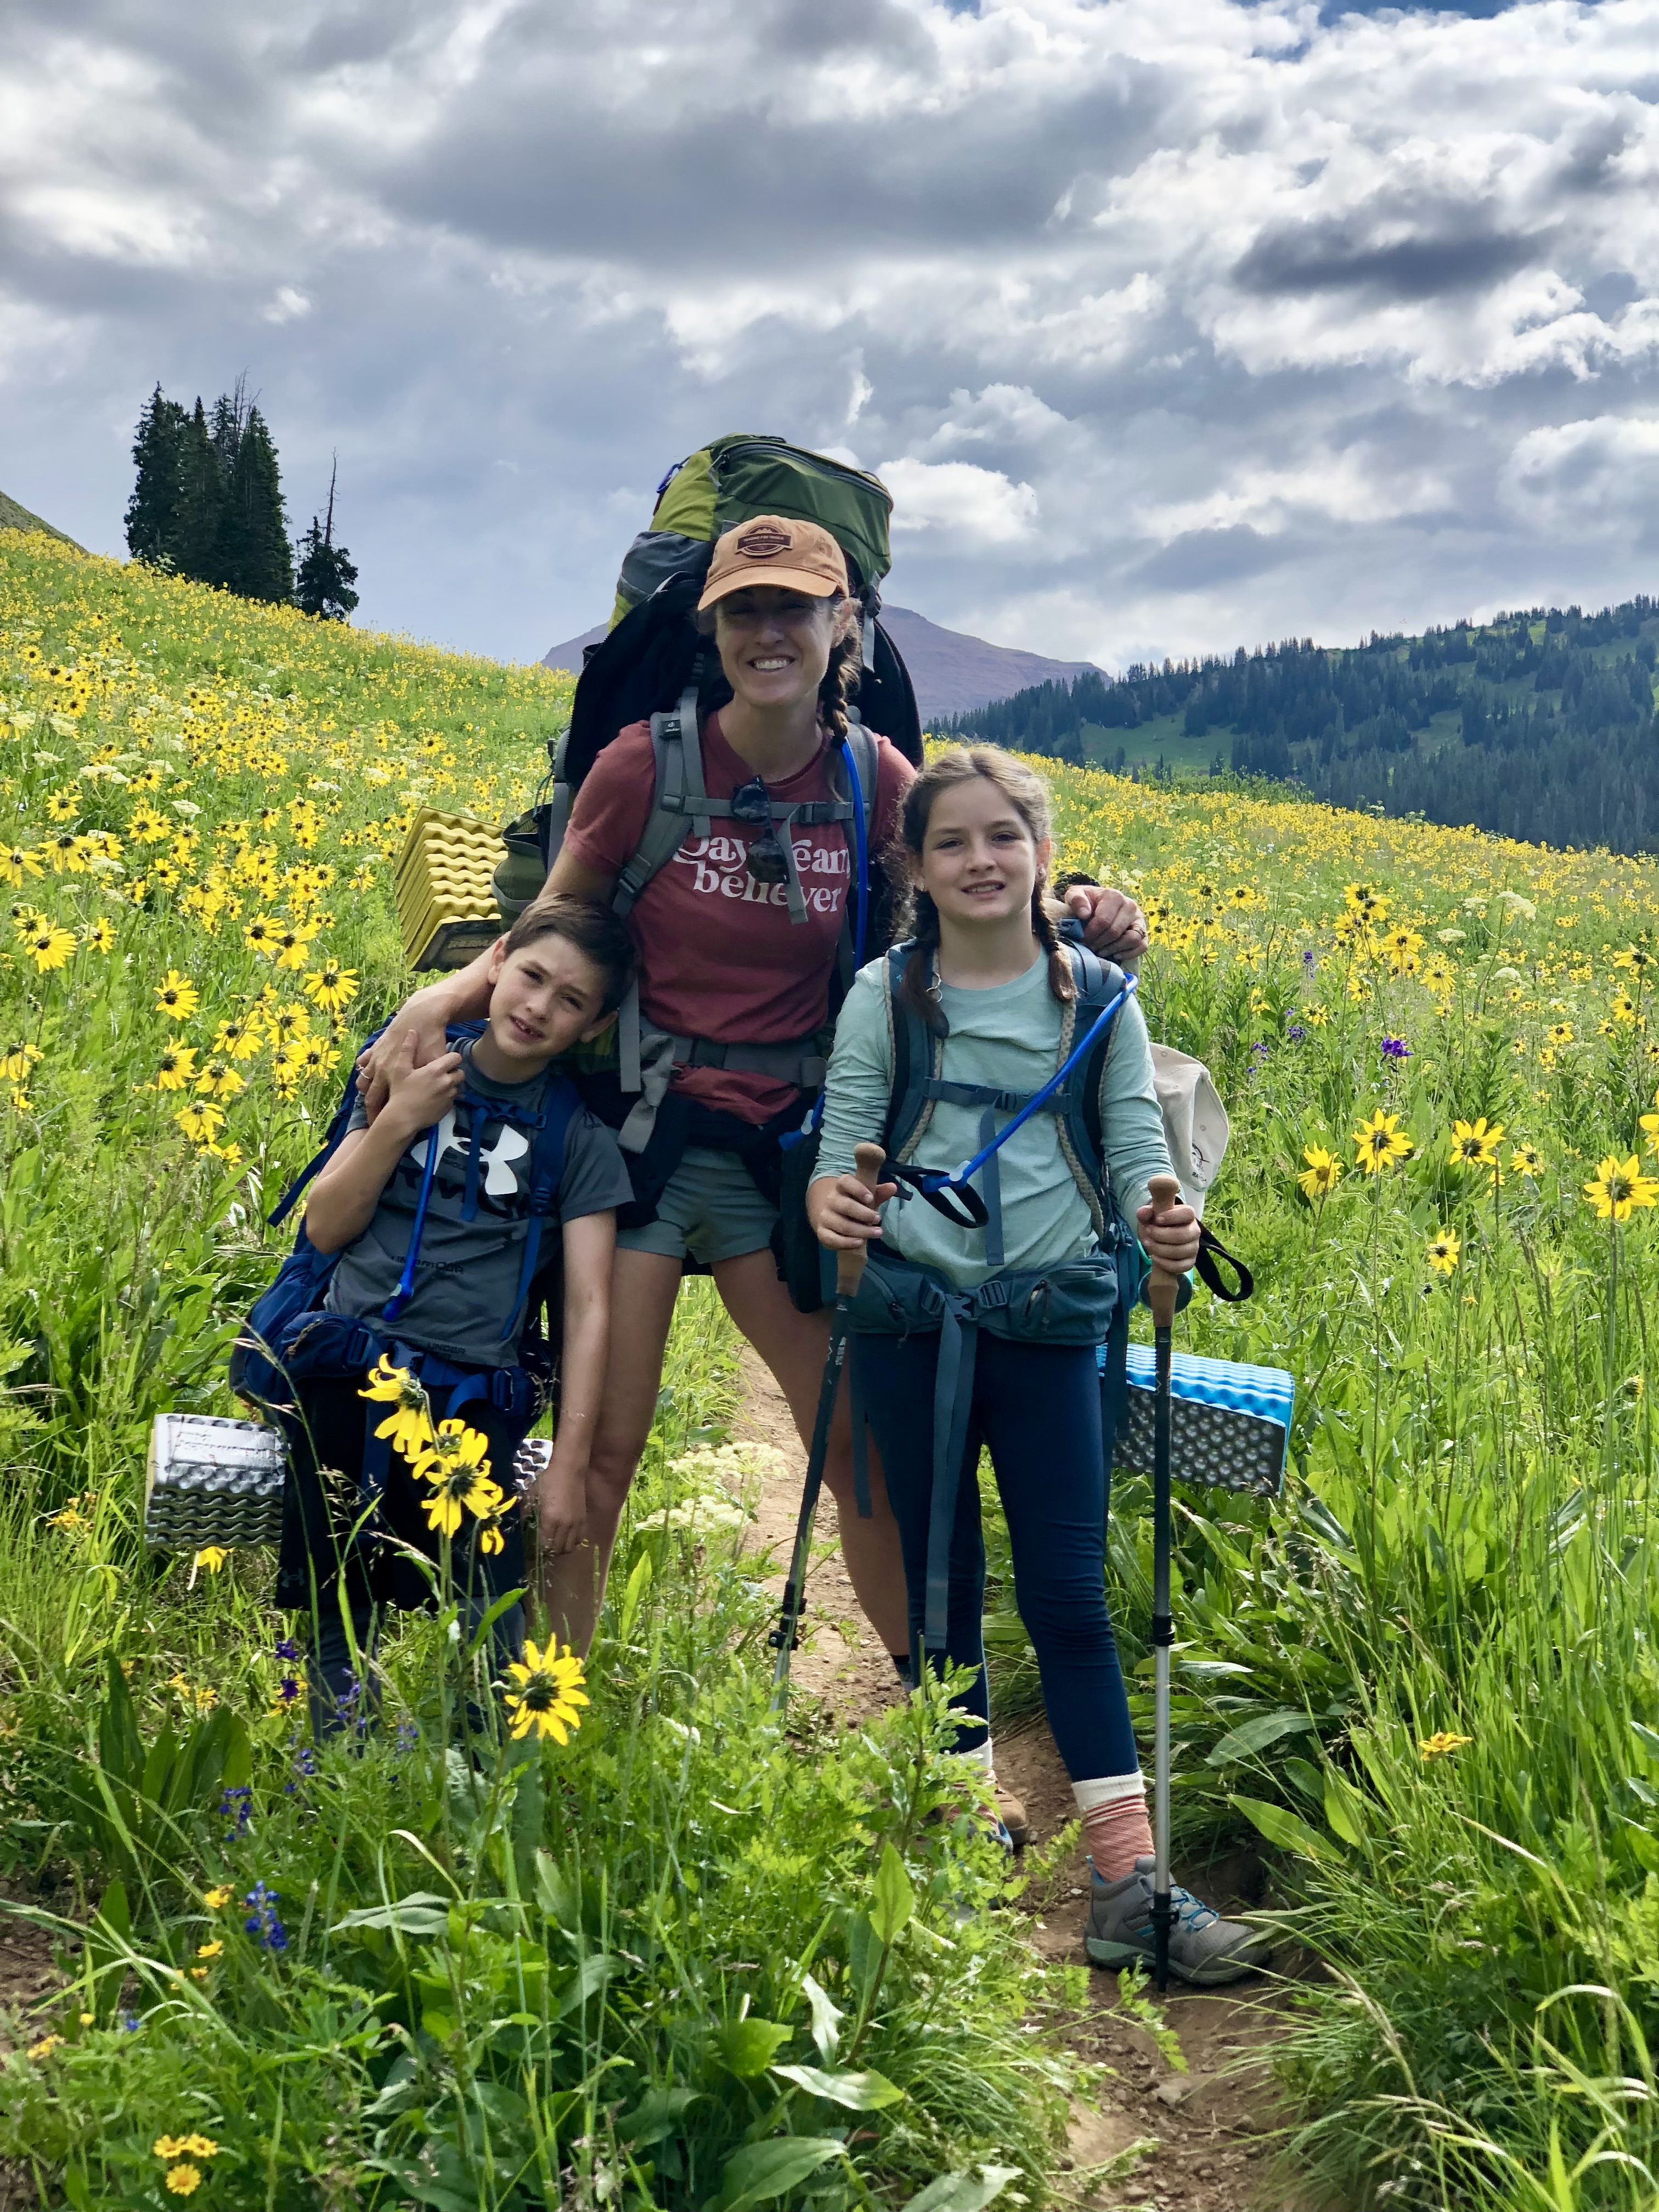
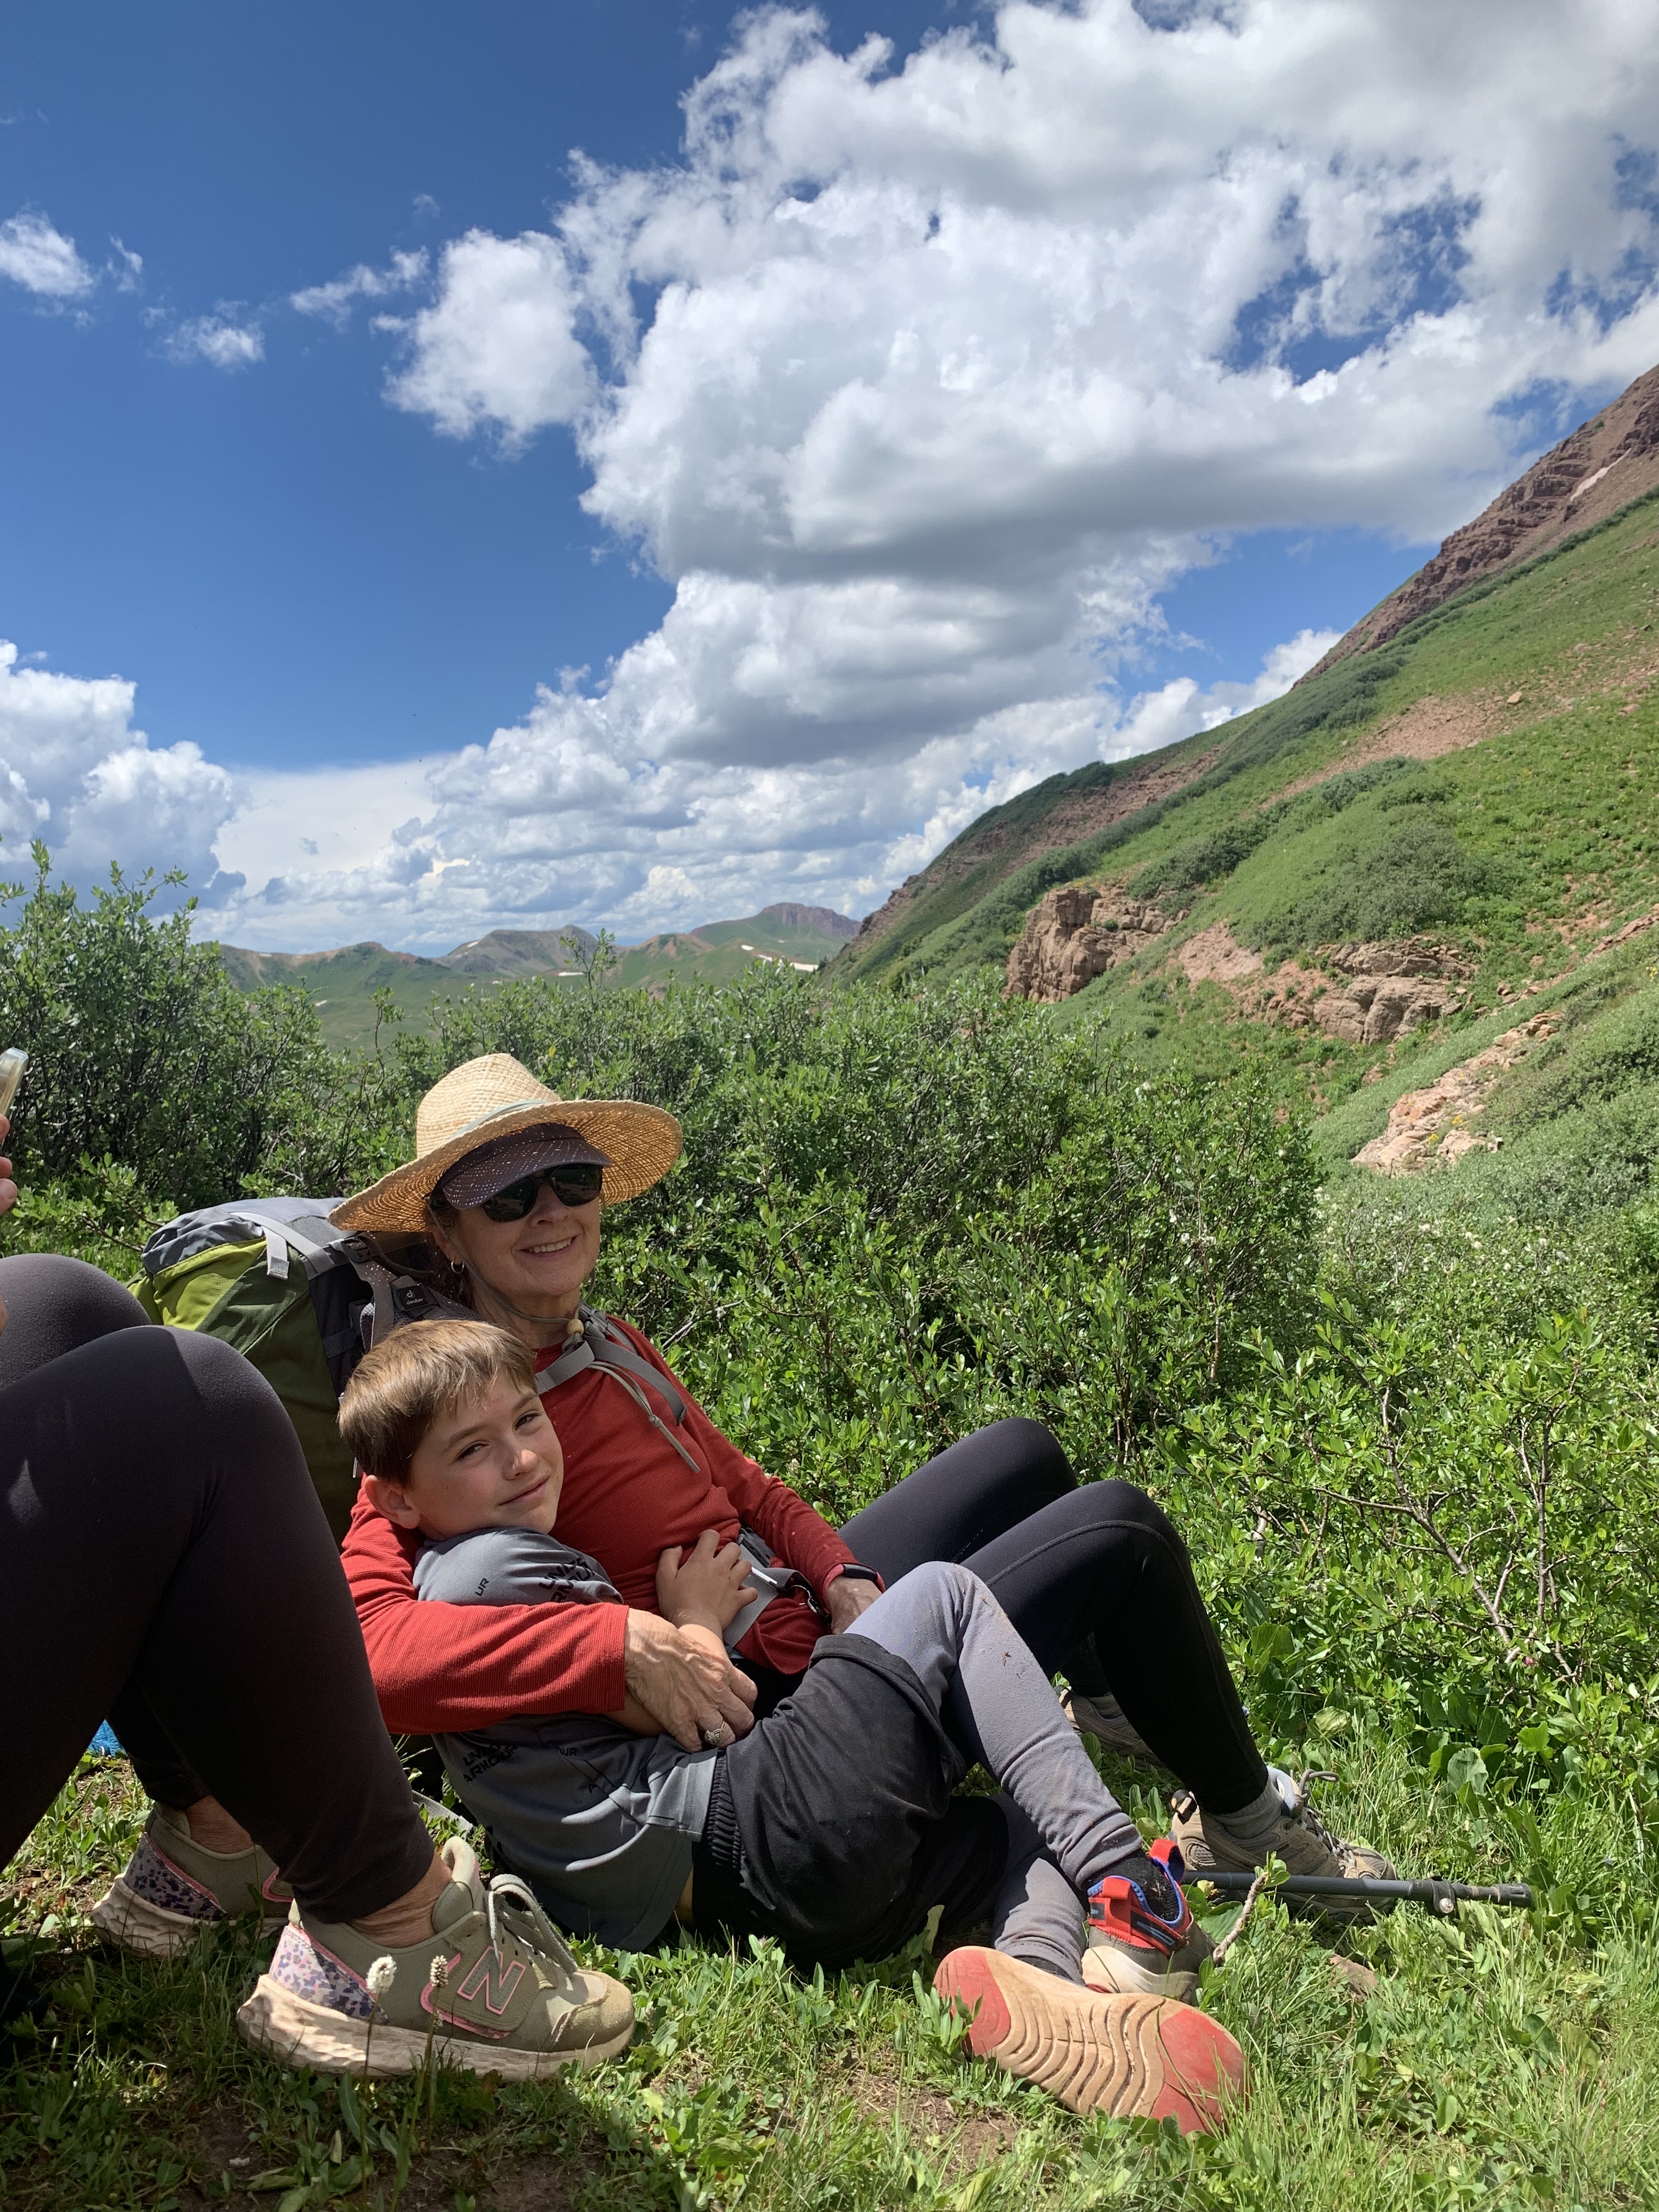
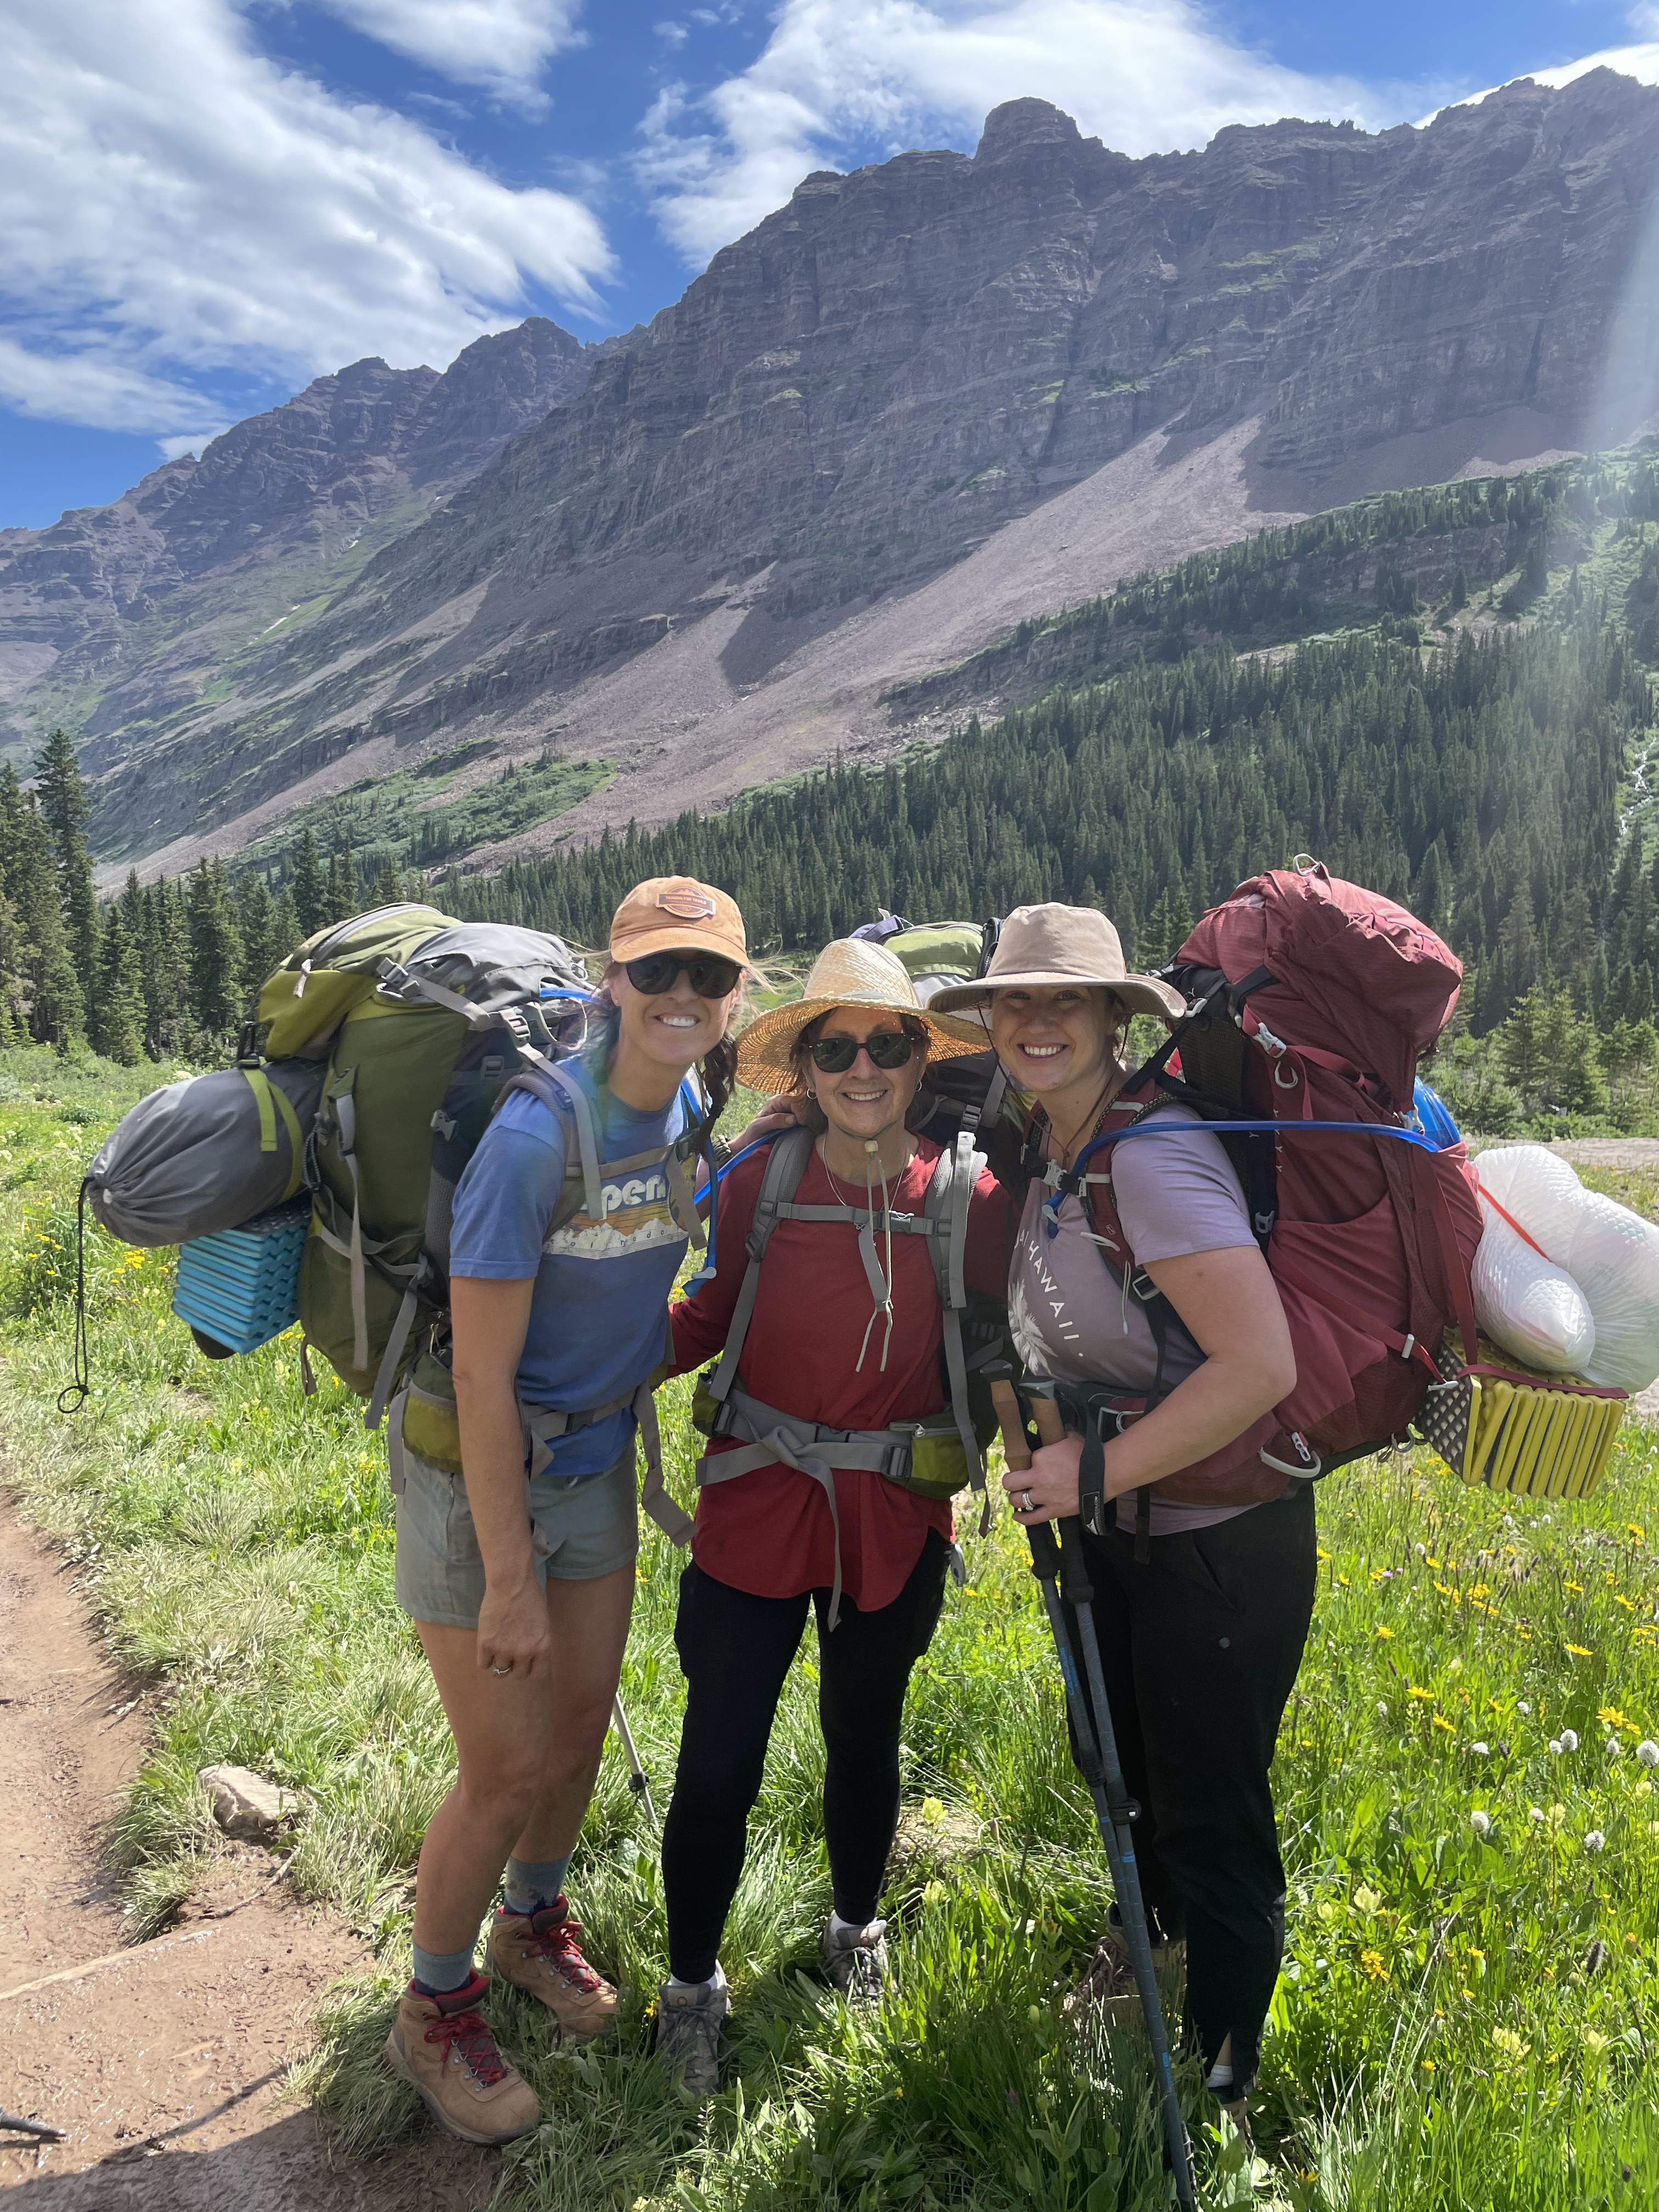
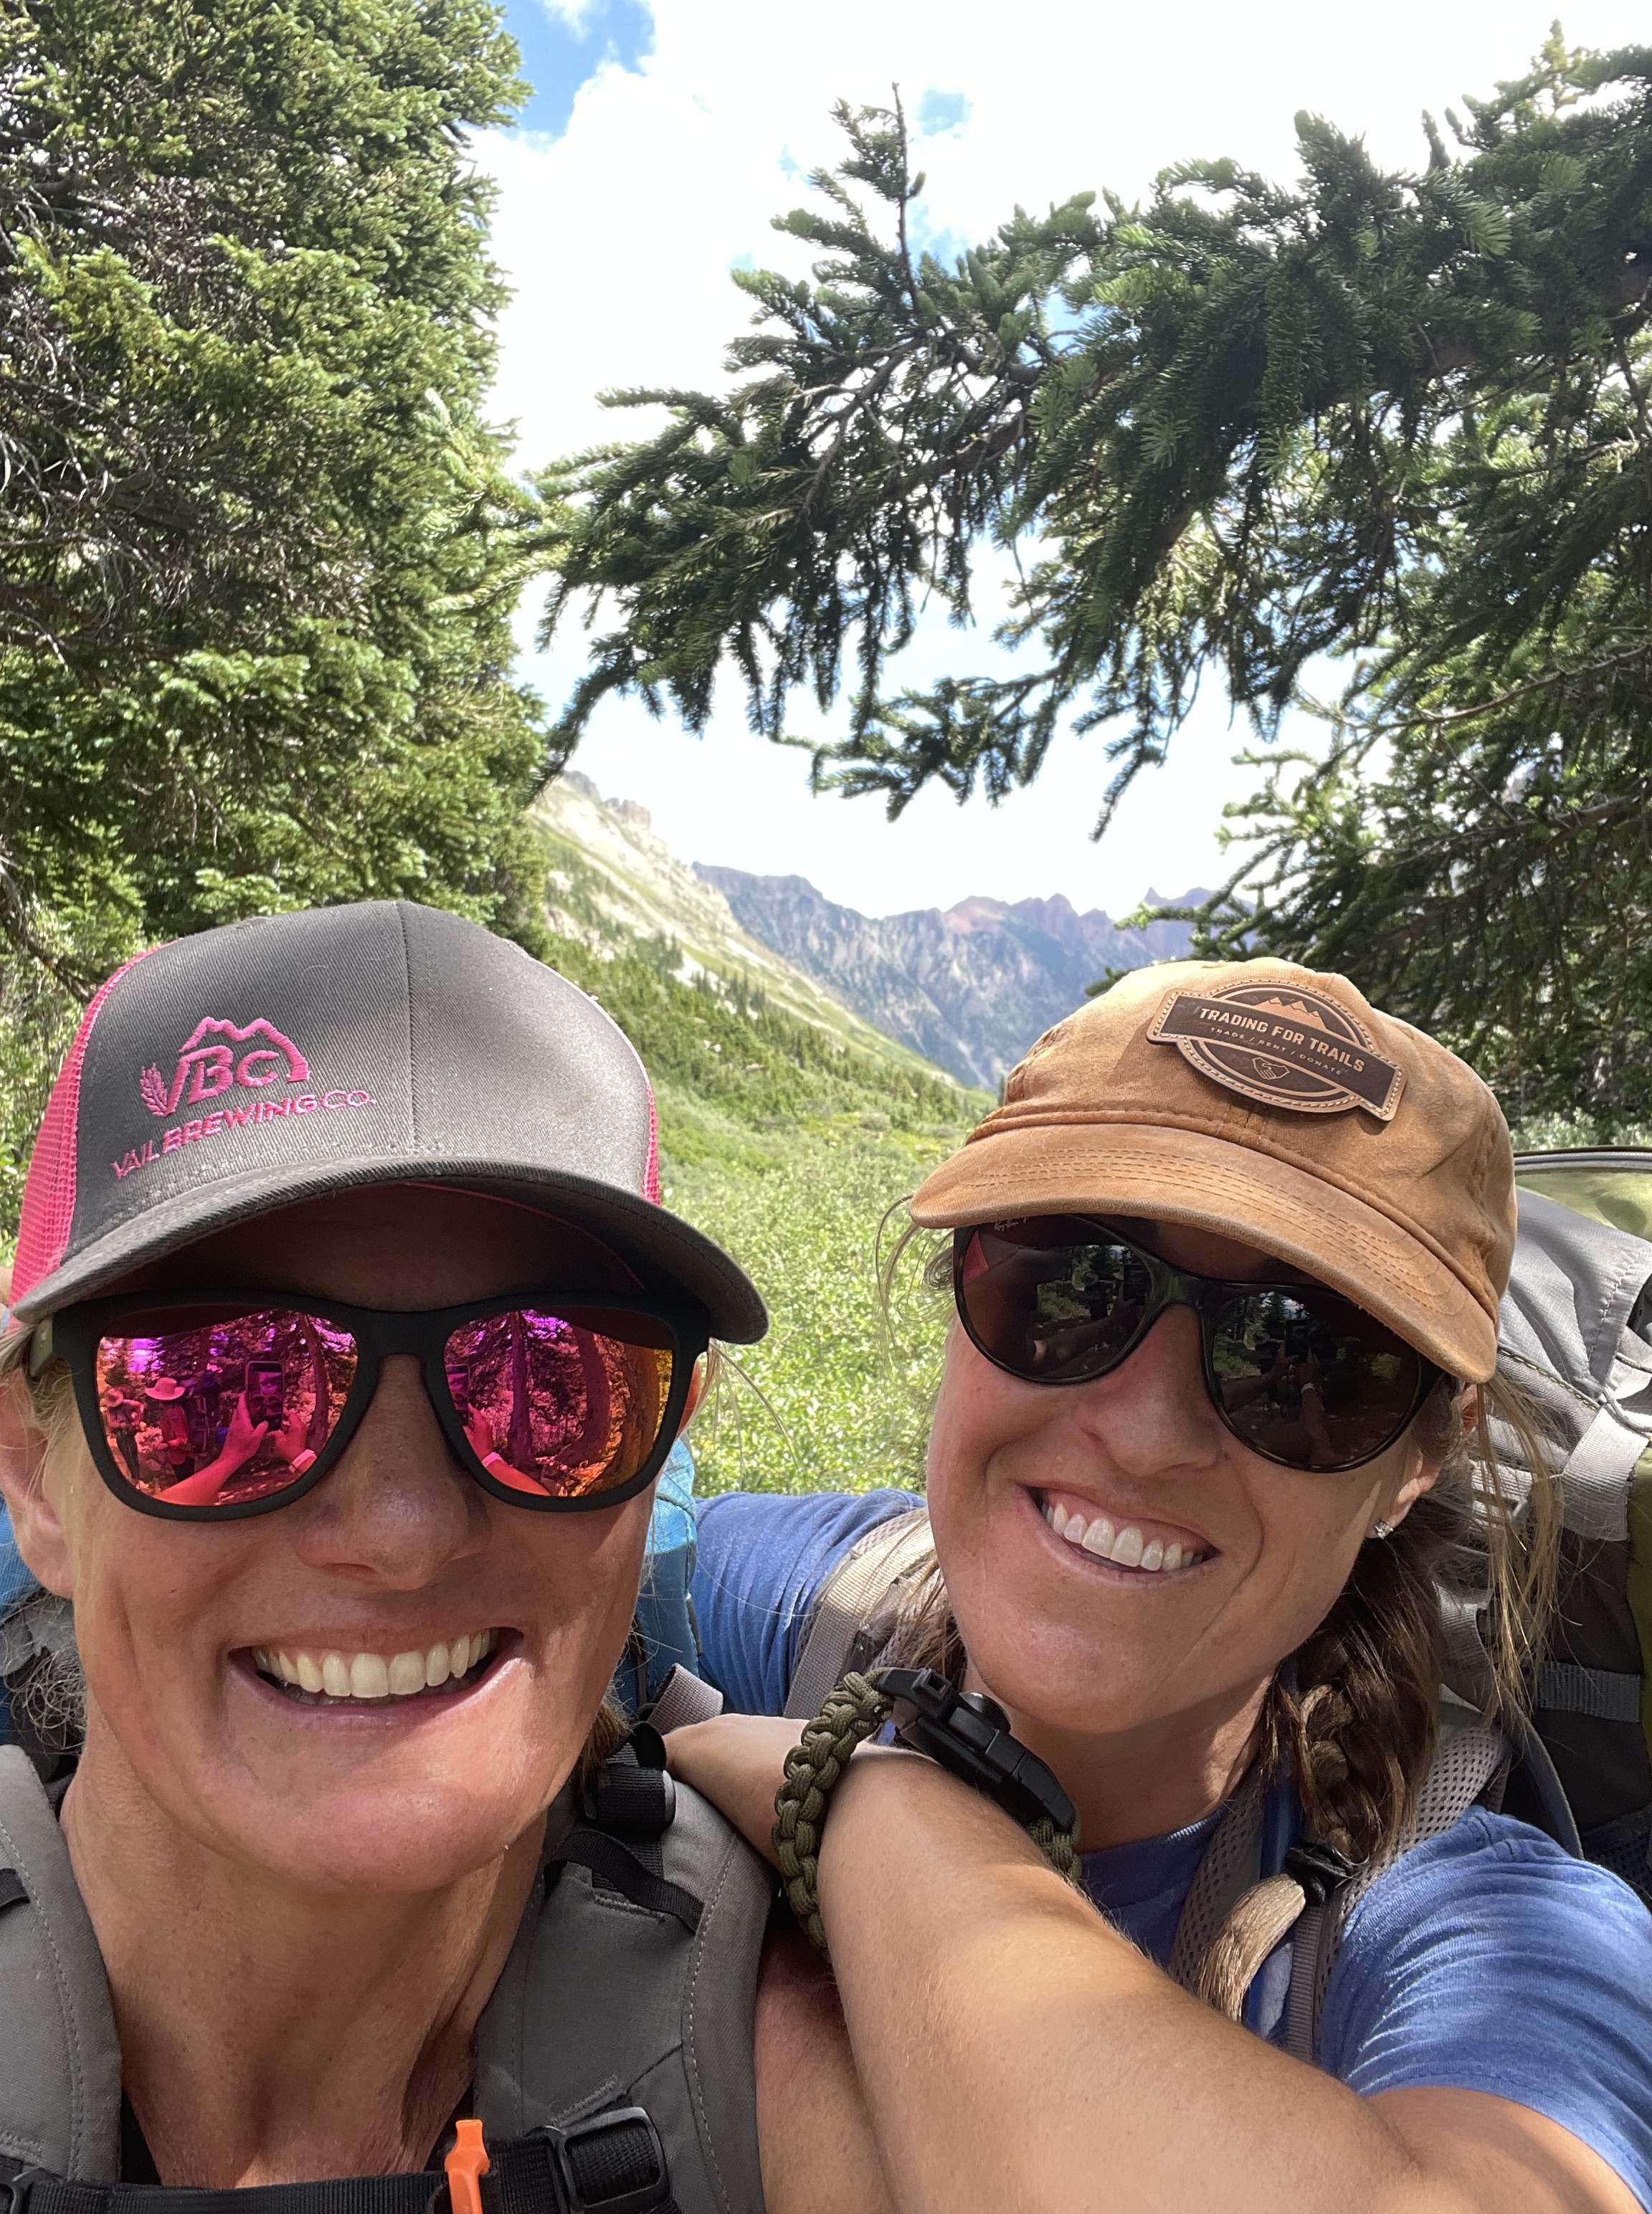
So this was our first annual Trading for Trails backpacking trip, and we had 8 people total. Our youngest backpackers were between the ages of 7 and 11, and our oldest was 68-years-old, respectively. We had a range of fitness levels, and one hiker came from sea-level just a few days prior to the hike. Yet, we all completed the hike together after spending 2 days/1 night on the trail.
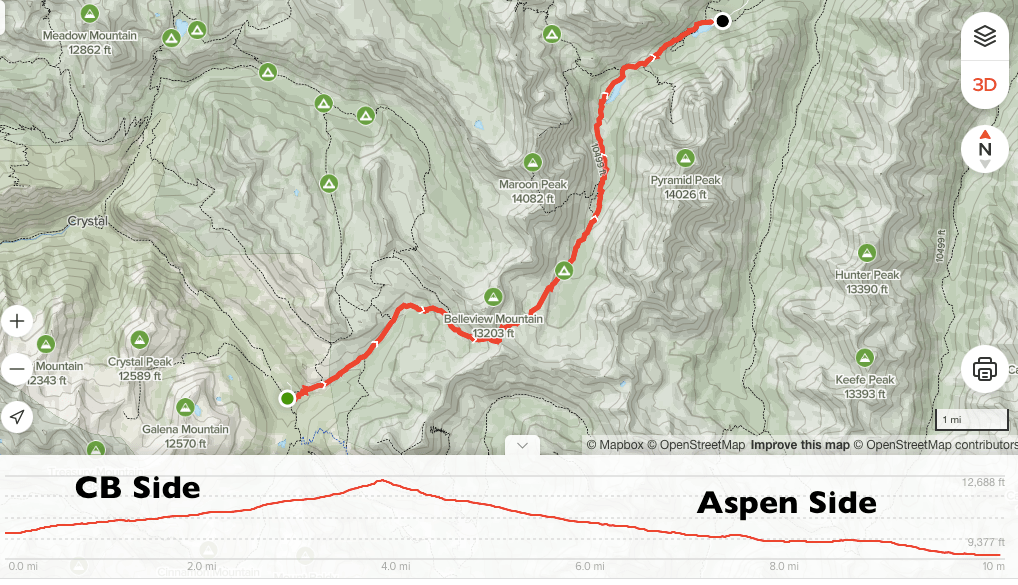
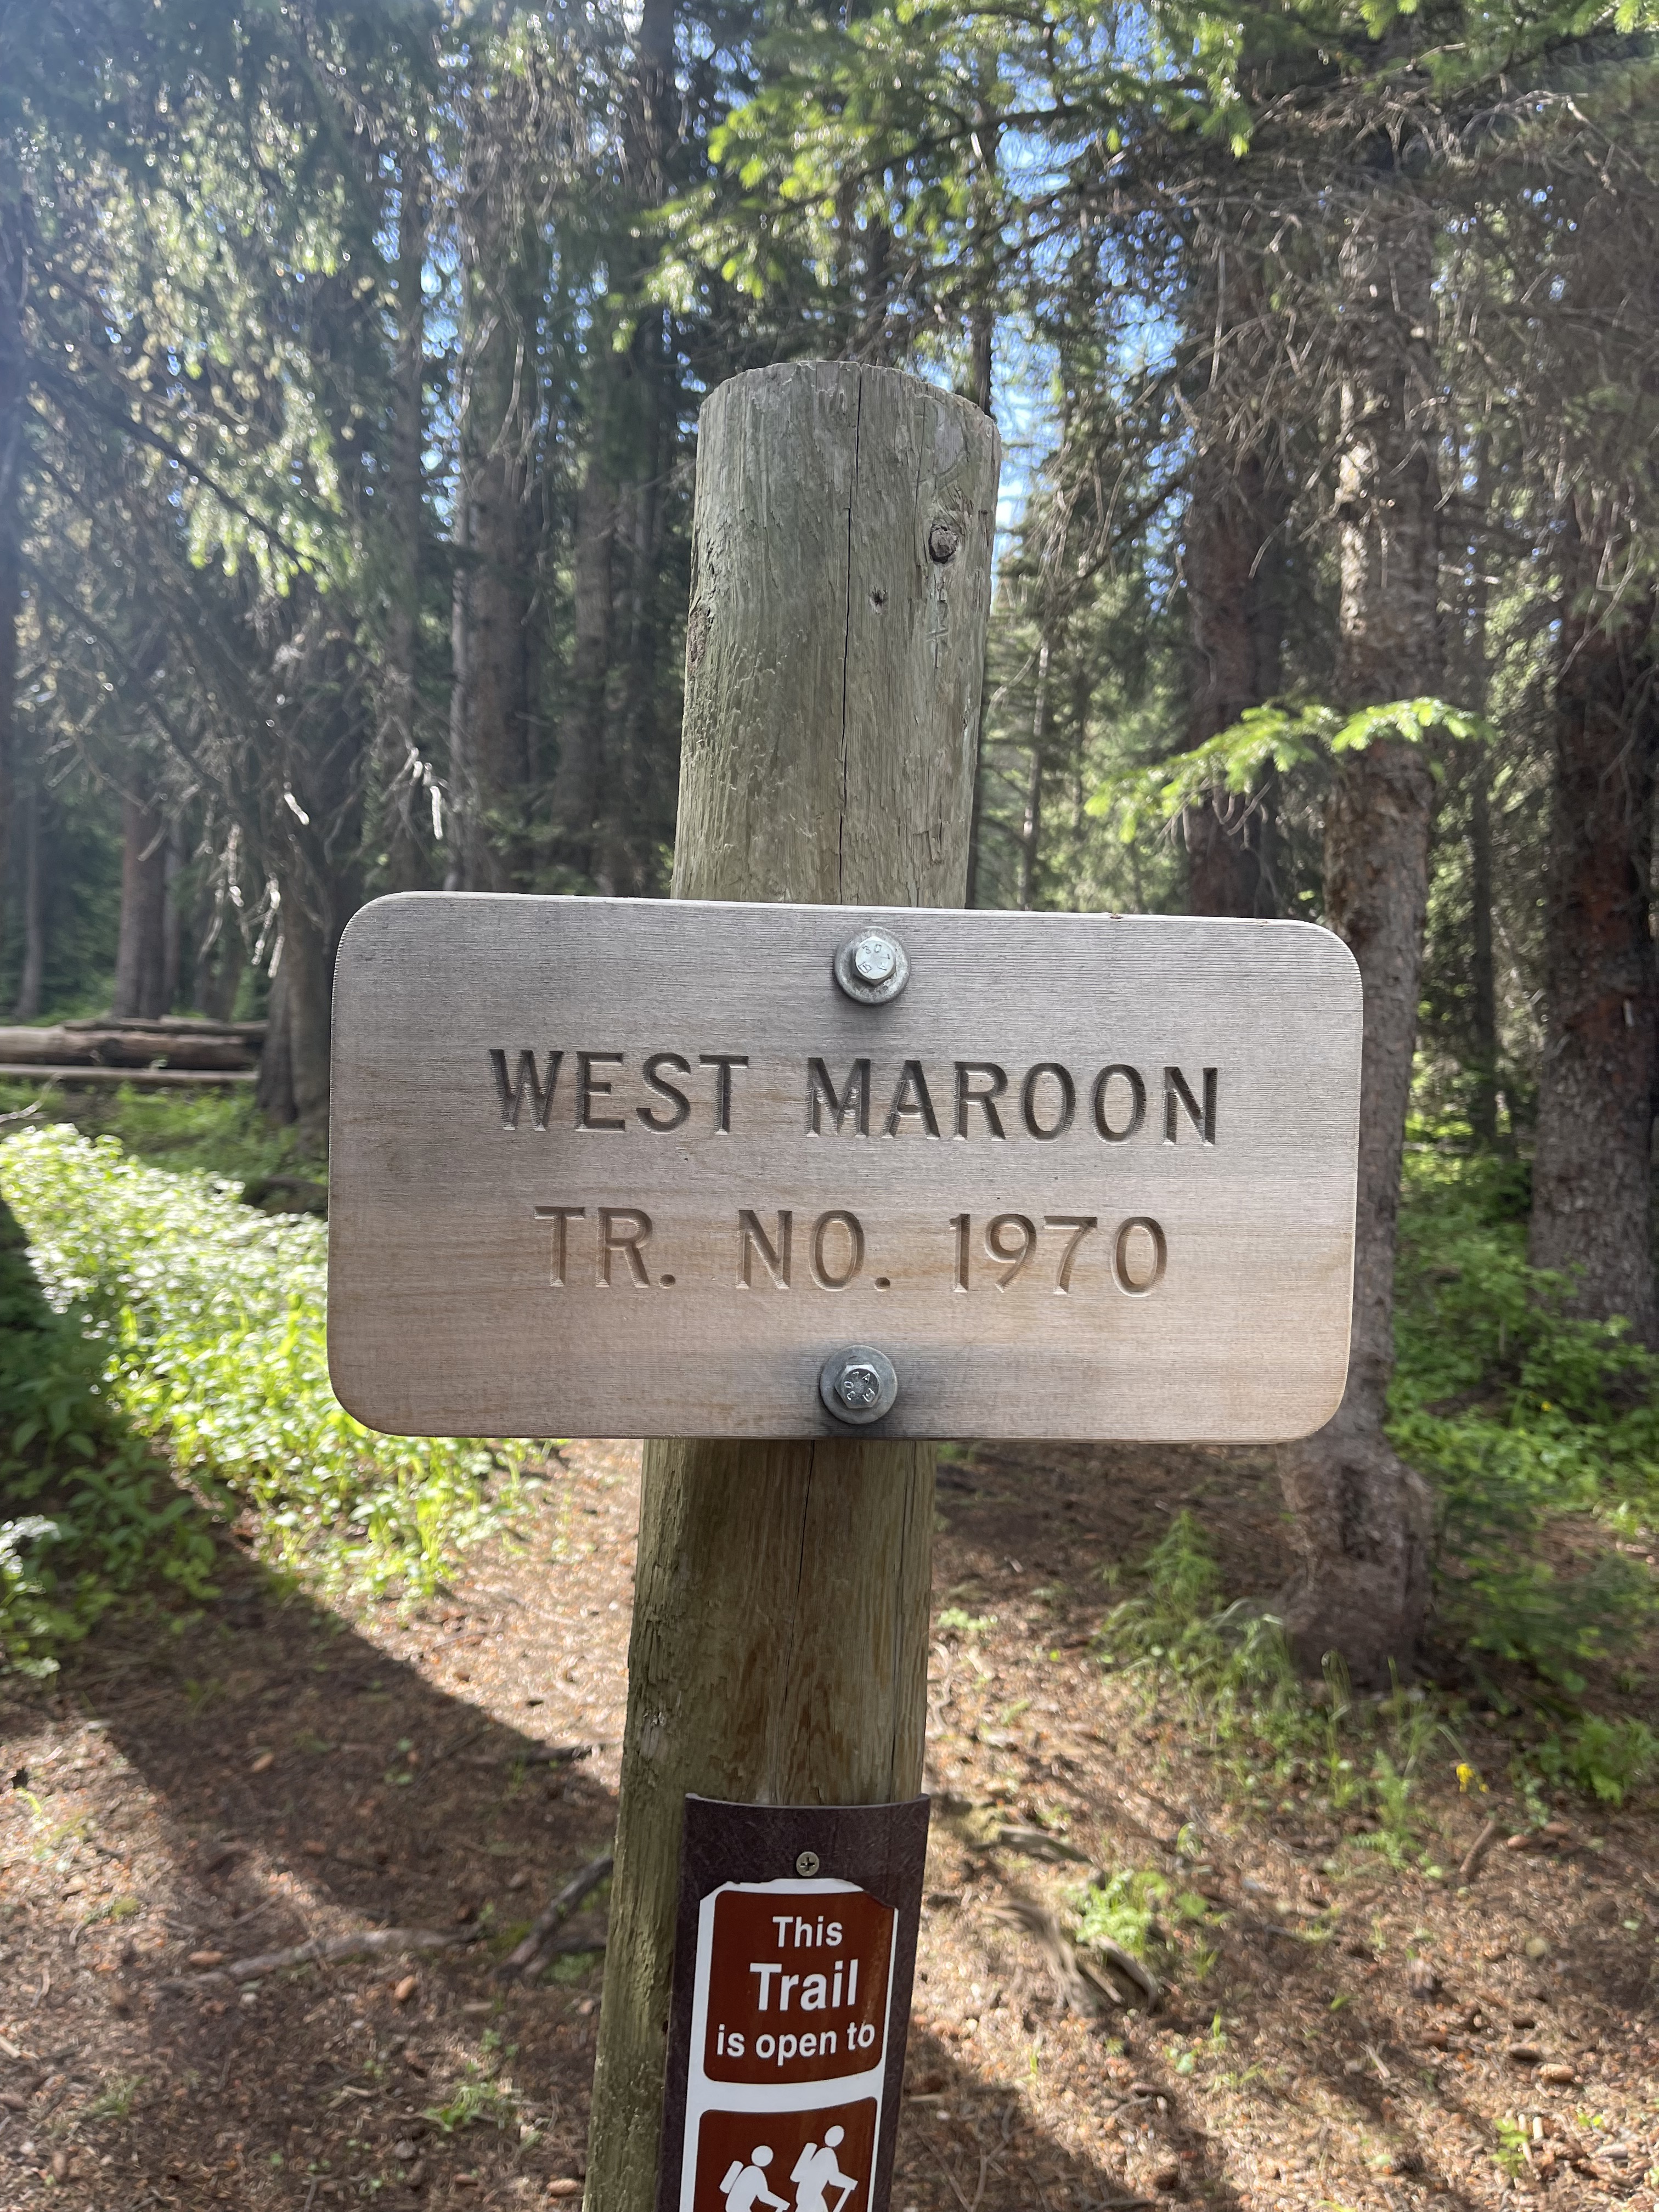
The trail was 10.5 miles along the West Maroon Pass Trail. This trail connects Aspen and Crested Butte in Colorado, and you can start from either town. We opted for starting in Crested Butte, and so glad we did because it’s the easier route! With kids, we needed the less strenuous option. By starting in Crested Butte, we eliminated nearly 1,000 feet of extra vertical gain (2,240 ft. versus around 3,000 ft. gain, had we had started on the Aspen side).
TRAIL STATS: West Maroon Pass Trail #1970 (from CB to Aspen) Link to All Trails
Best time to backpack/hike: July to September
Length: 10.3 miles (from CB to Aspen)
Elevation Gain: 2,240 ft.
Permit: Required to self register at the trailhead. Free.
Dogs allowed: Yes
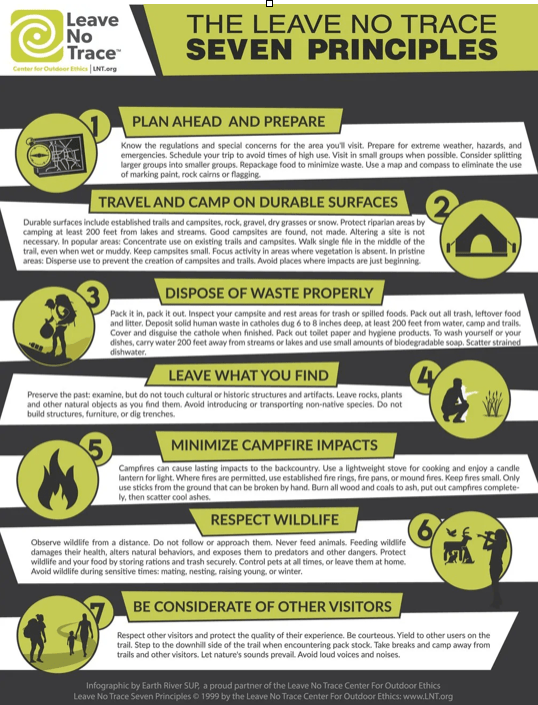
Other: IGBC approved bear canister required and please follow Leave No Trace Principles
Directions to trailhead at Schofield Park (Crested Butte side): Although a short distance from town, this drive to the trailhead takes 50 minutes with the majority of time spent on a dirt road, so plan accordingly!
From the intersection of Elk Avenue (main street) and 6th Street in Crested Butte, head north on 6th Street, which turns into the Gothic Road (sometimes referred to as the Schofield Pass Road). Follow Gothic Road (CO 317) for 13.2 miles to Schofield Pass, passing the ski area, then the research facilities at Gothic along the way. The dirt road is suitable for 2WD cars up to the town of Gothic at 7.9 miles. Beyond Gothic, the road becomes rough and a high clearance/4WD vehicle is recommended. Park at Schofield Park, a big dirt and grass lot. Assess to the trailhead is adjacent to parking area. Parking is free.
Overnight camping locations: Designated spots at Crater lake. Other tent sites: coordinates 39.042553, -106.986626 near the Pass on the Aspen side with access to a stream.
Rating: Hard
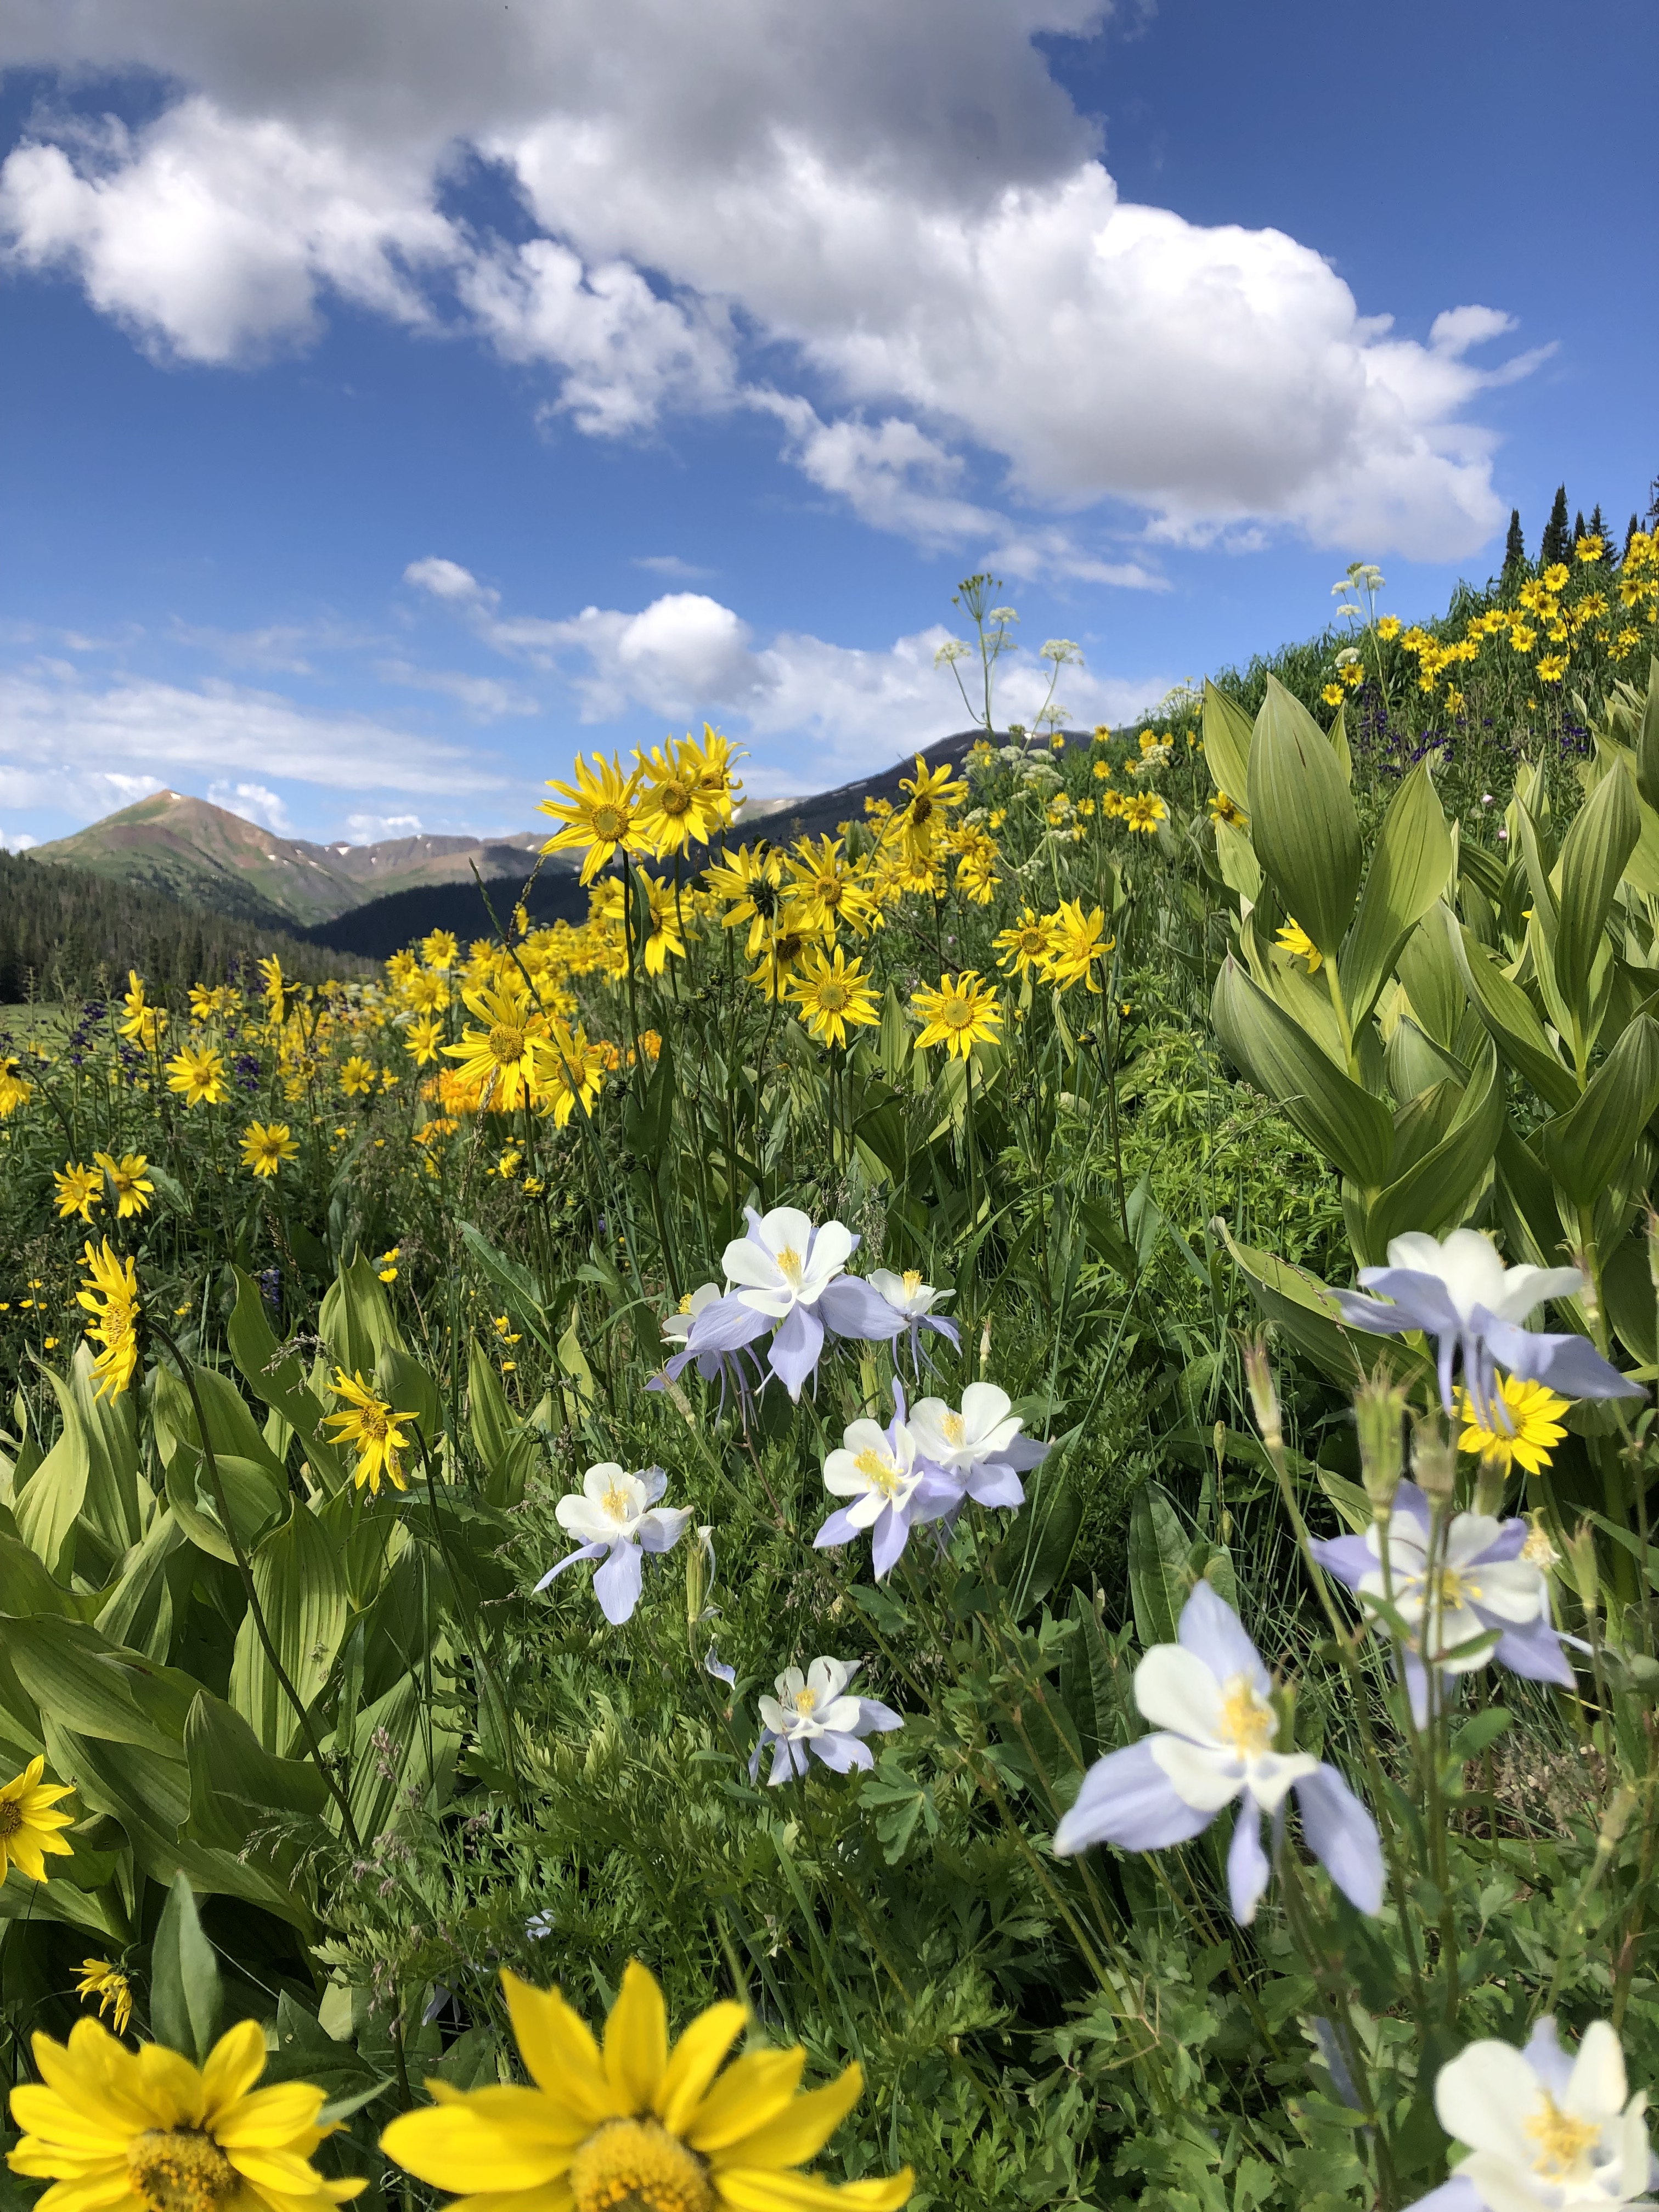
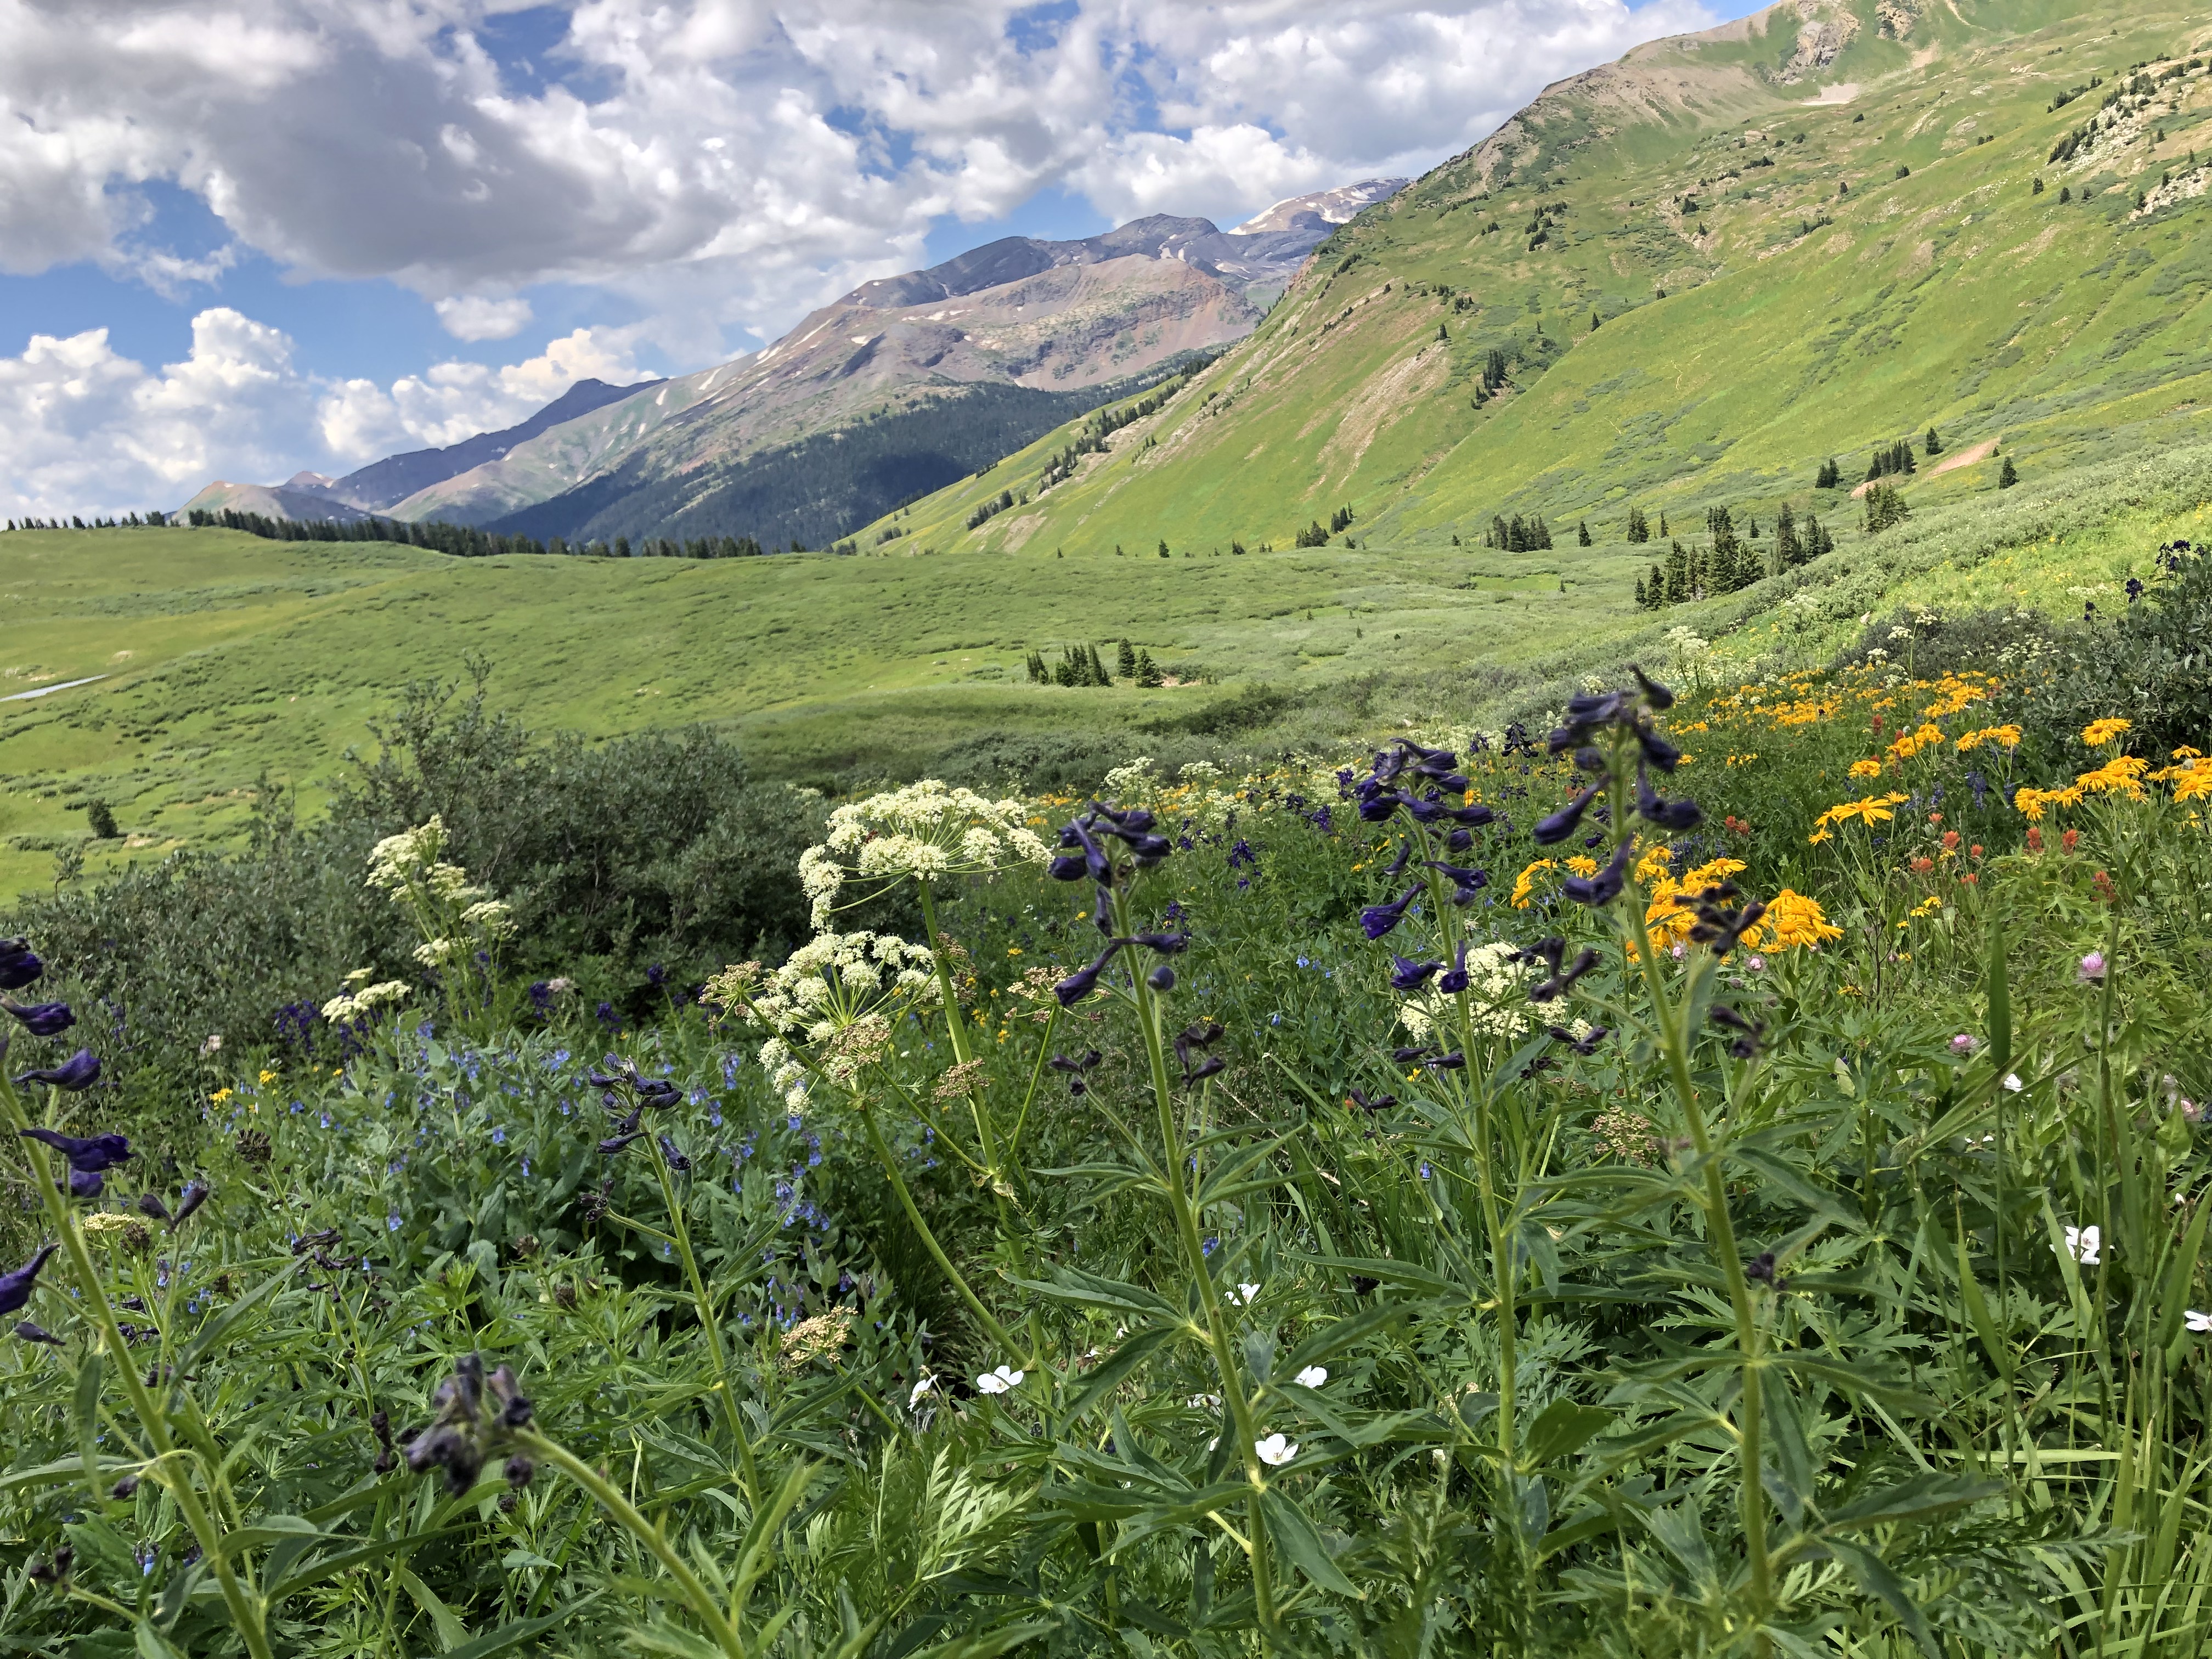
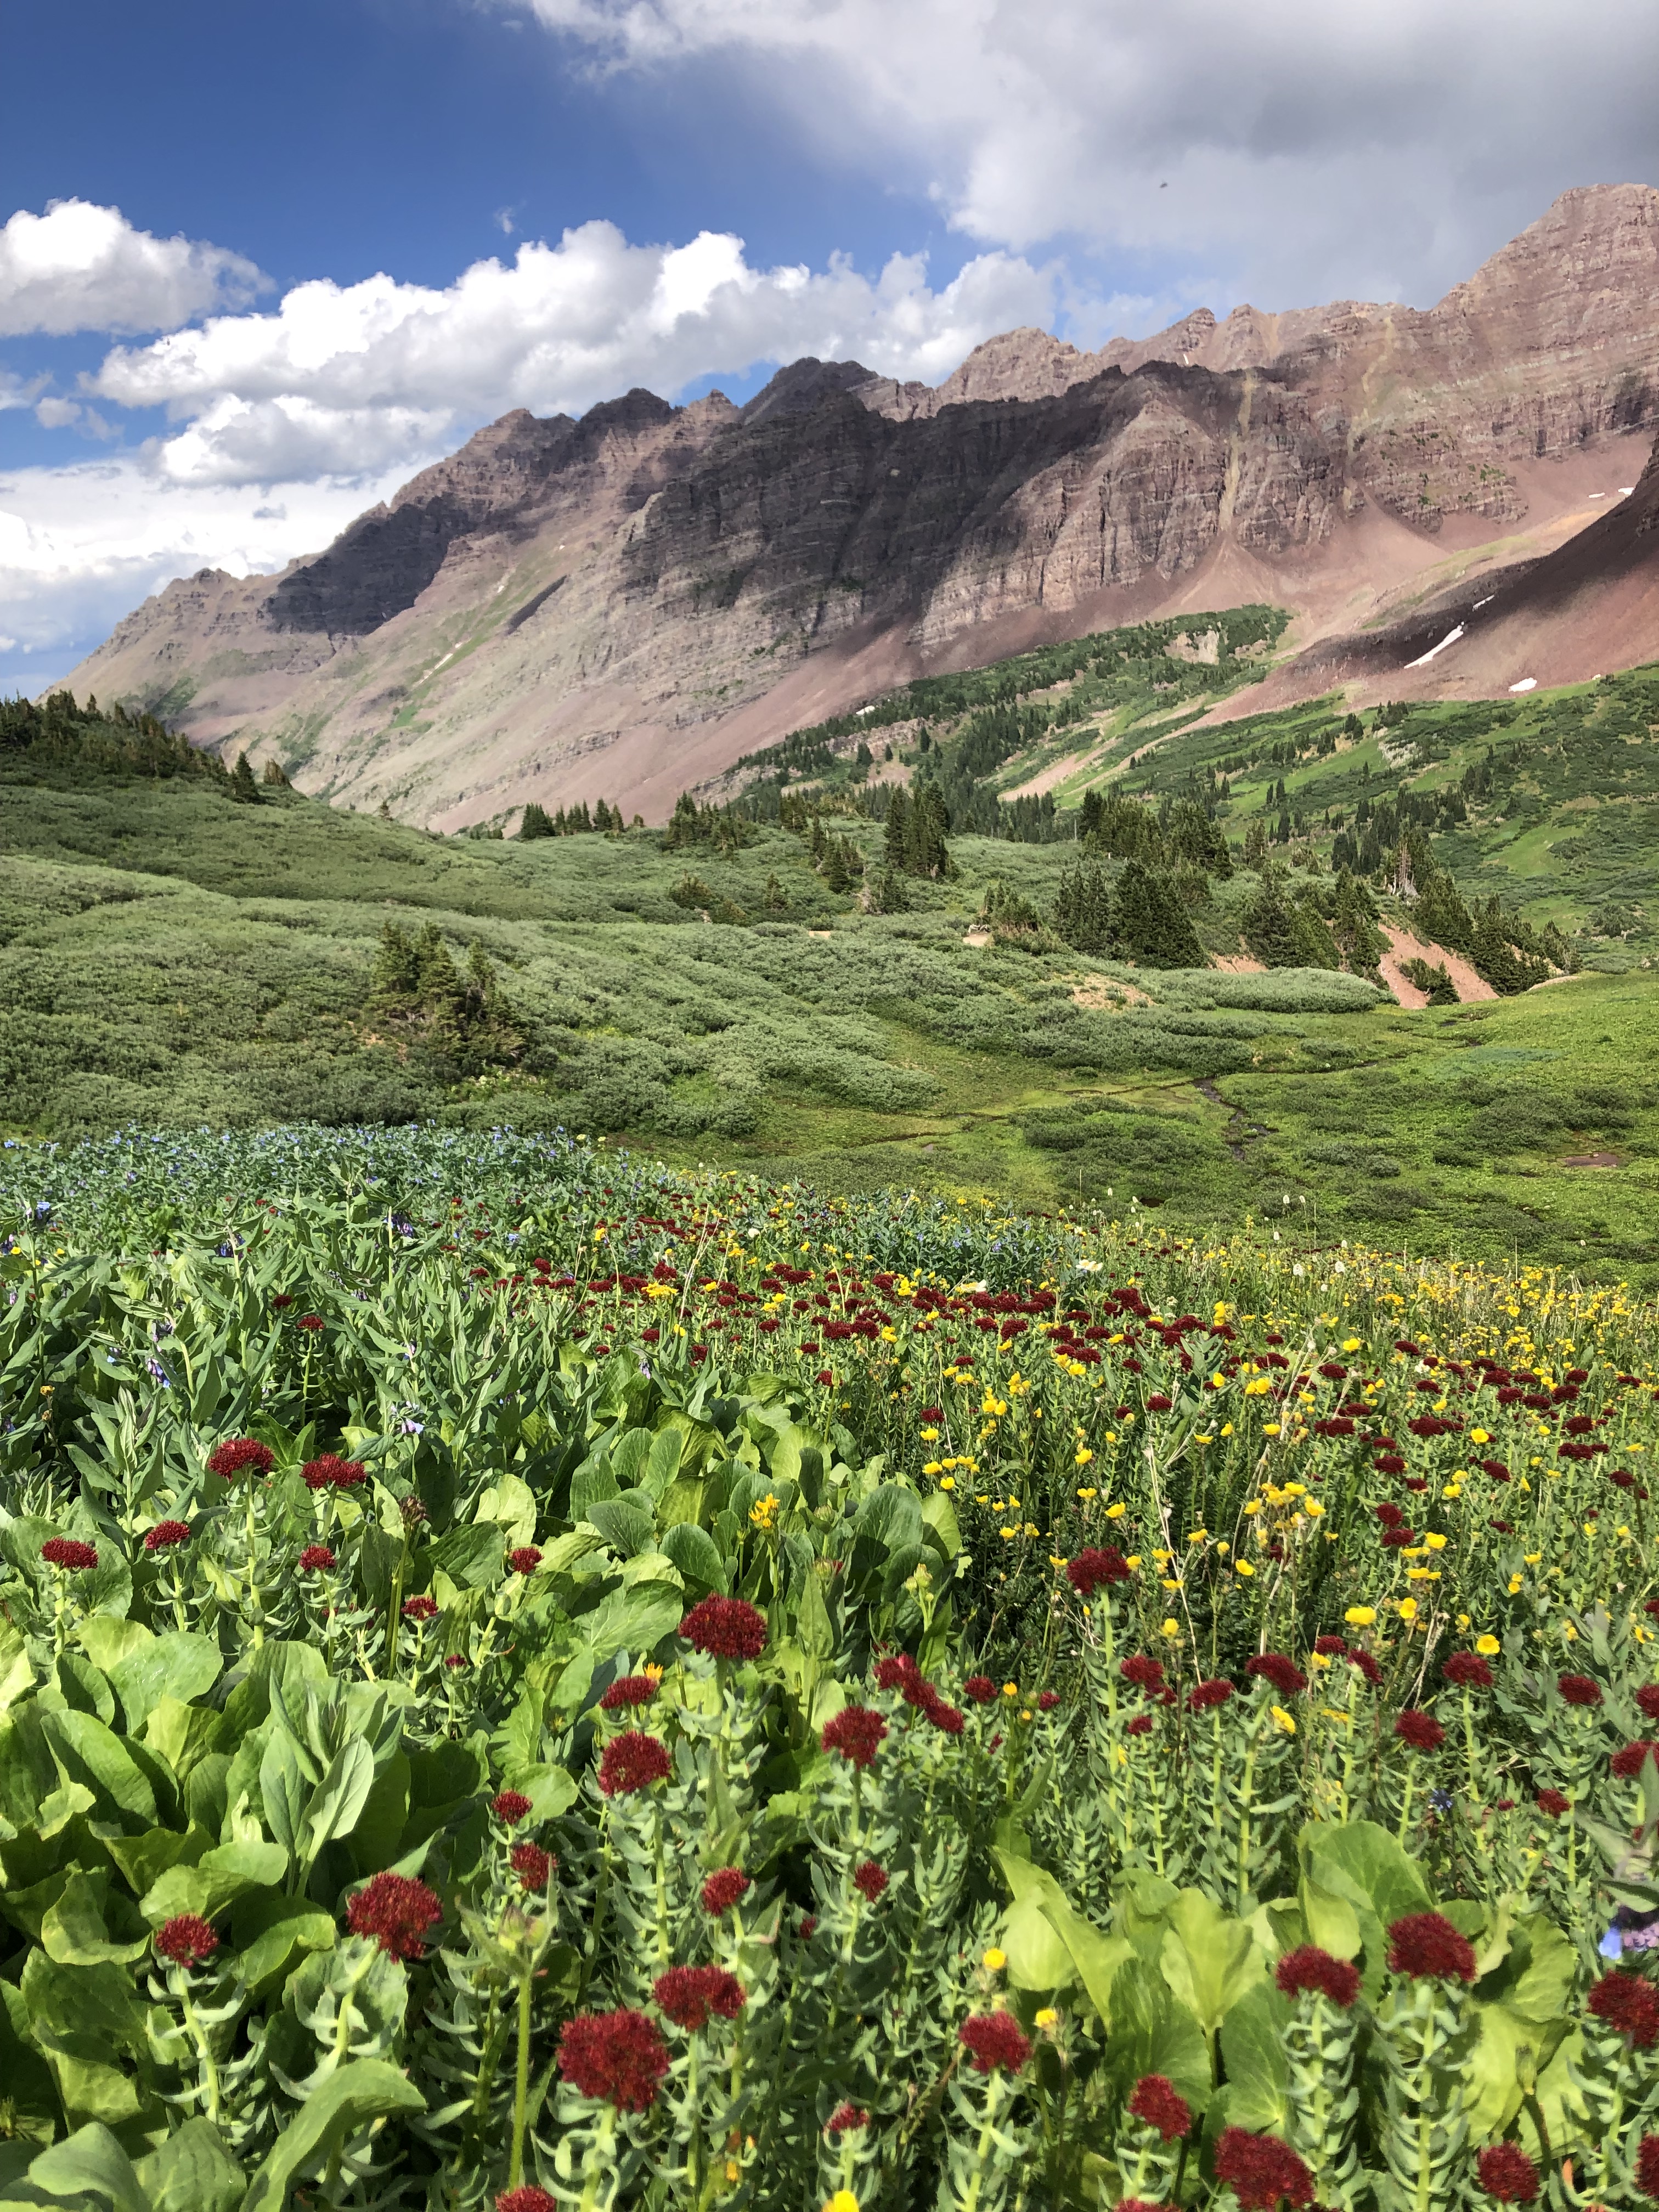
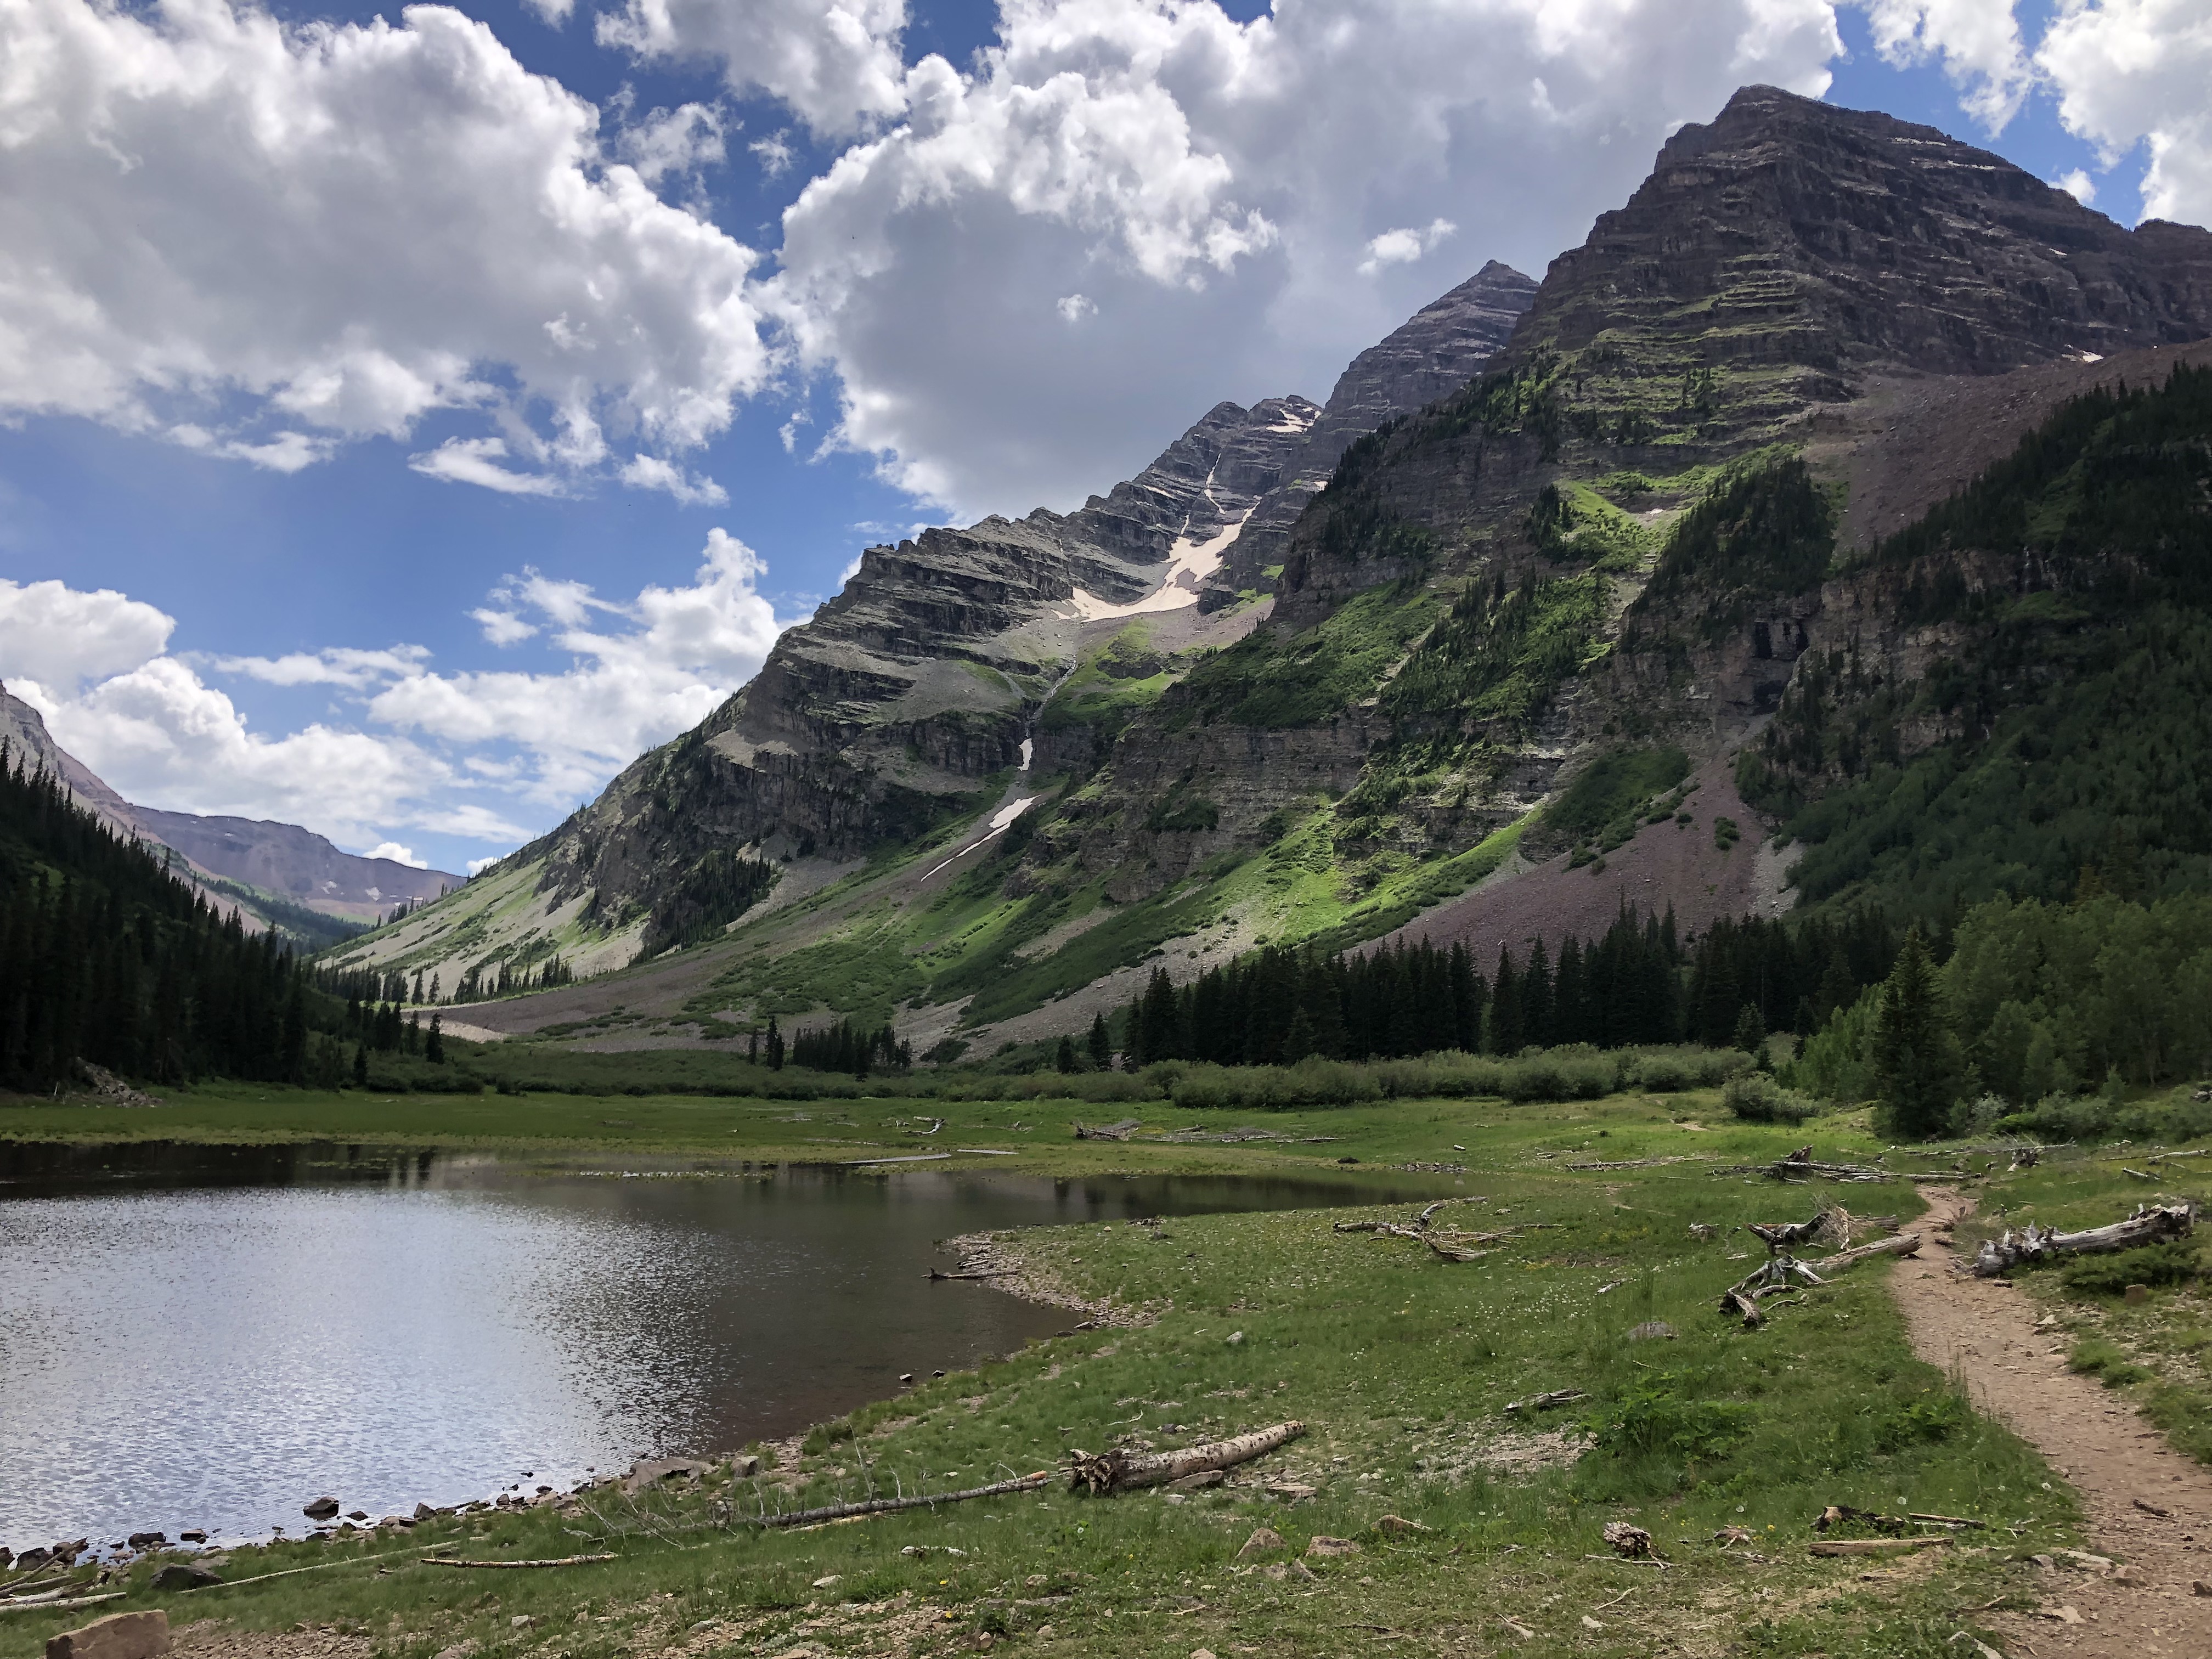
Features: The Maroon Bells, Wildflowers in summer, fall colors in Autumn, mountain vistas and majestic views from the Pass at 12,463 ft., lakes and streams, and some rock scrambling.
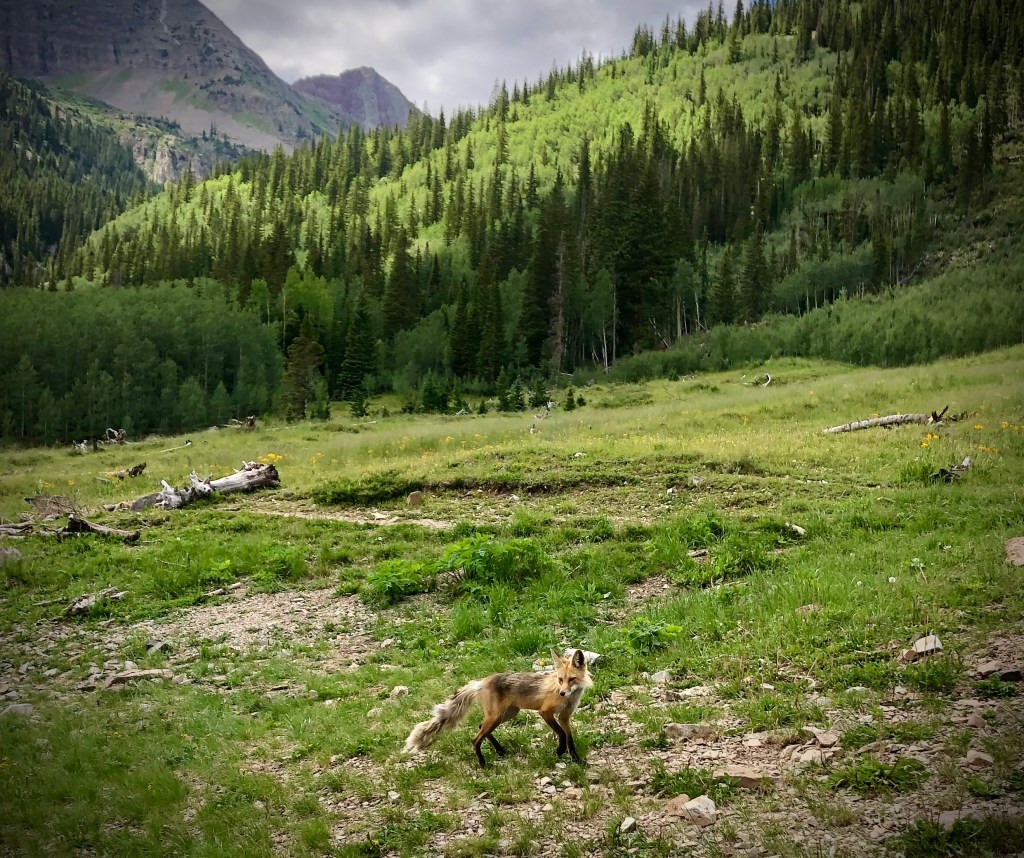
Plants/Animals: deer/elk, moose, pika, marmot, black bear, fox, chipmunk
Trees/Flowers: Columbine, Indian paintbrush, sunflowers, Yarrow, Harebell, Willow, Aspens, and Pines
Ranger: For camping, backpacking & trail condition questions, contact the Aspen-Sopris Ranger District at 970-963-2266.
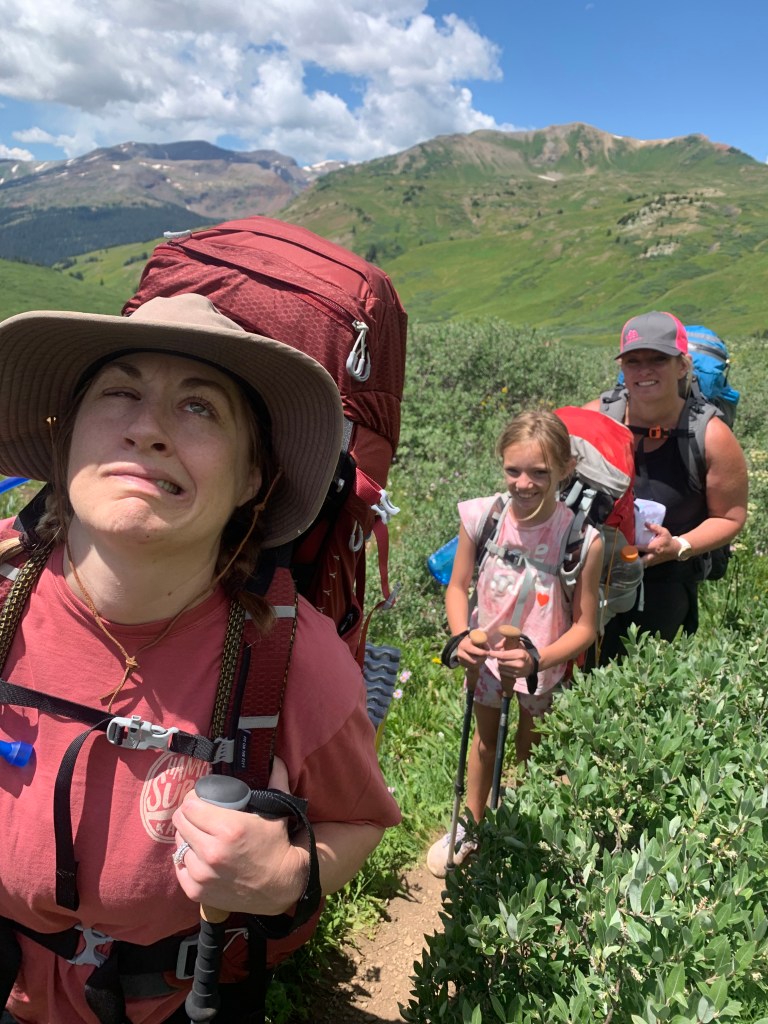
You are likely to meet other people on this trail…some trekking it as a day hike, while others will be backpacking either West Maroon Pass also or Four Pass Loop. For us, it offered reassurance to have others around, just in case…
Considering we had four kids in our group, we chose to elongate our trip itinerary to provide ample rest and an opportunity to appreciate some of the charm both Aspen/Snowmass and Crested Butte have to offer. Both towns have amazing, FREE transit systems, and everything is walkable in the downtowns.
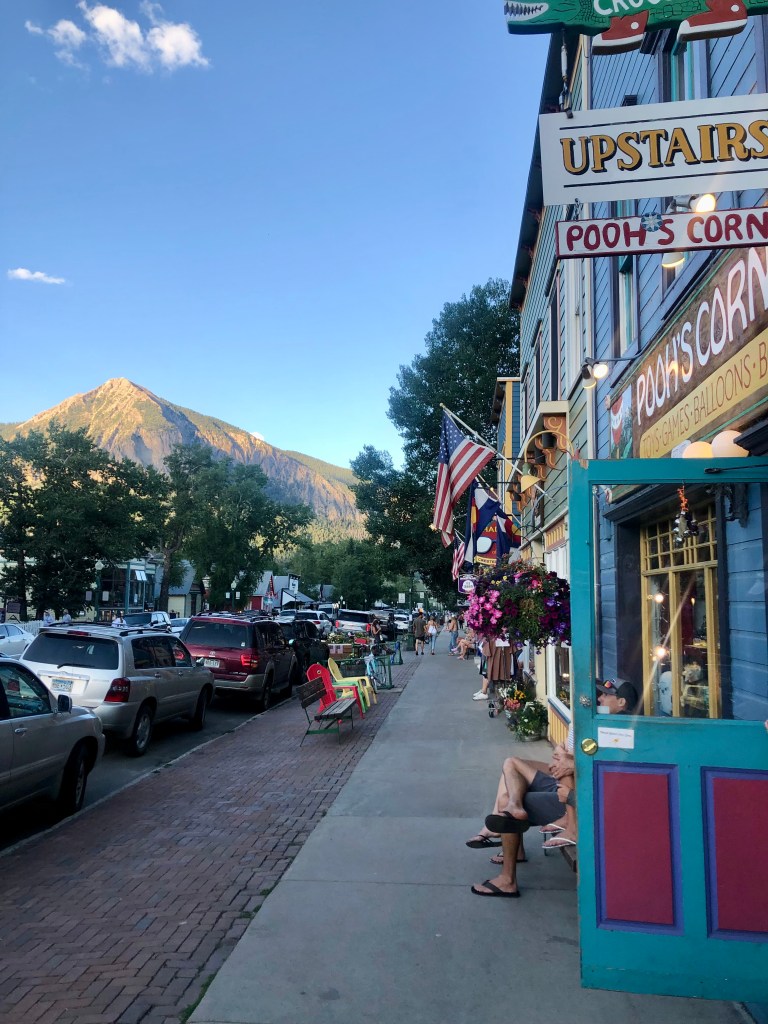
On a personal note, hands down, Crested Butte is my favorite for its laid-back vibes, vibrant food and small business scene, down-to-earth locals and visitors alike, and expansive beauty…it still feels relatively “undiscovered”. It’s just quintessentially Colorado!
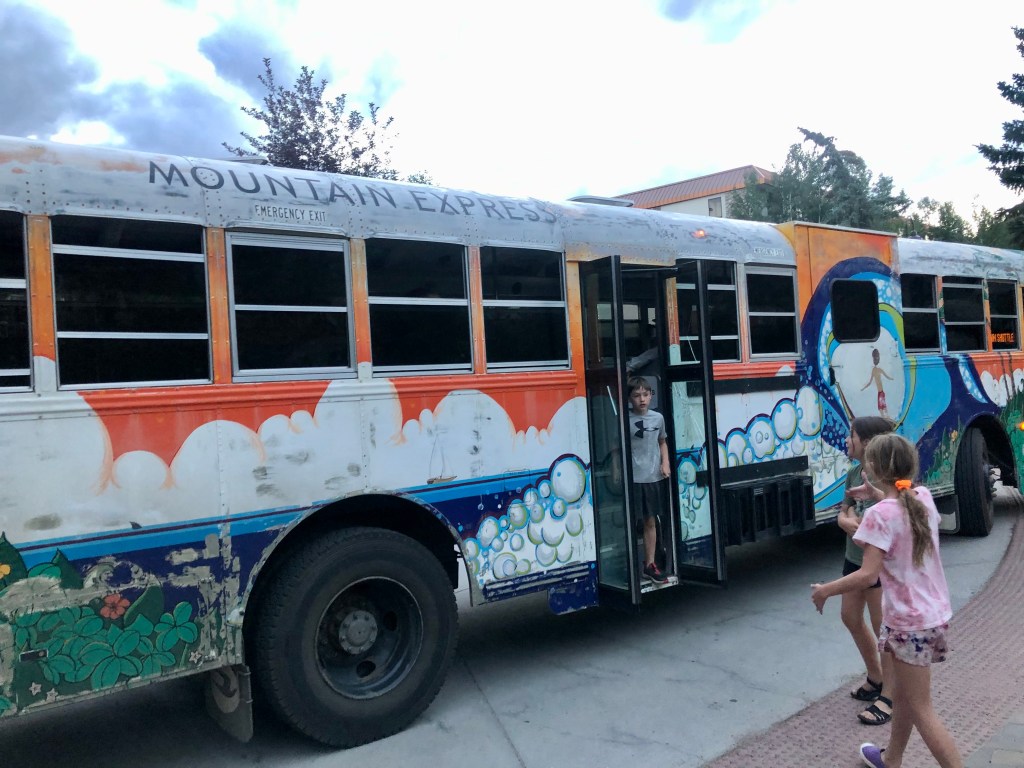
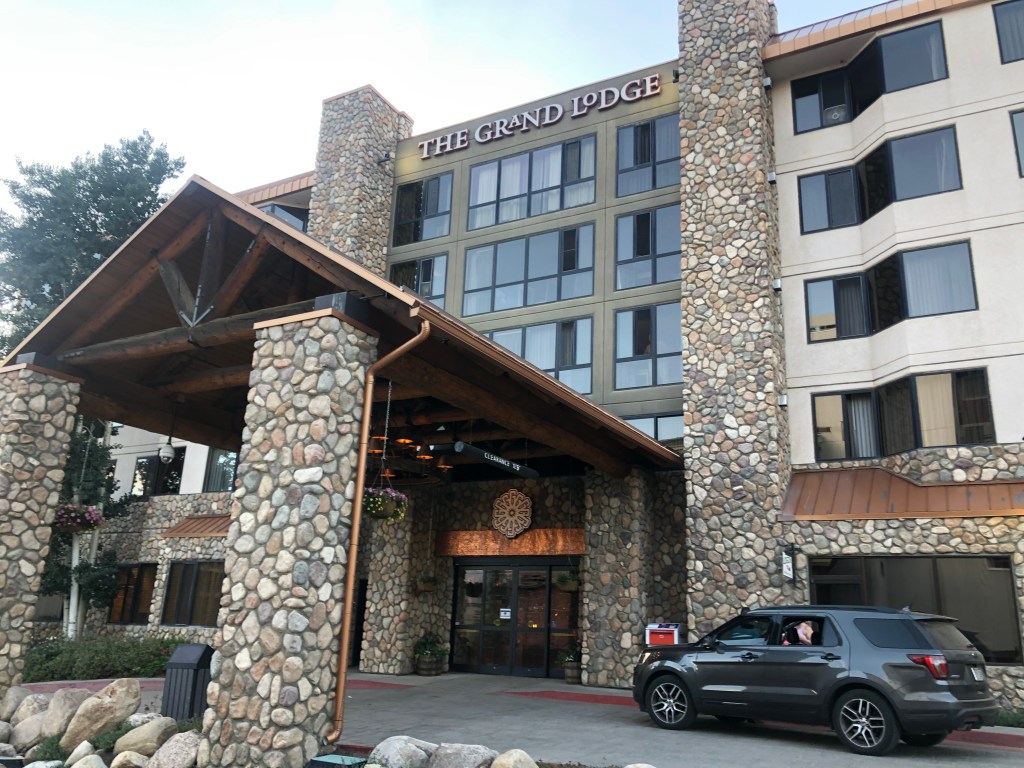
We stayed at the Grand Lodge Crested Butte, which is up the road a couple minutes from downtown, near the ski resort of Mt. Crested Butte. That’s where you’ll find more condo-style accommodations and it’s ultimately slightly closer to the trailhead. A nice feature the town offers is the Mountain Express (the free town shuttle that connects Mt. Crested Butte with downtown Crested Butte), and runs until 11:30 pm during summer evenings. They’re darling retro school buses painted uniquely with bursting colors, for a new lease on life!
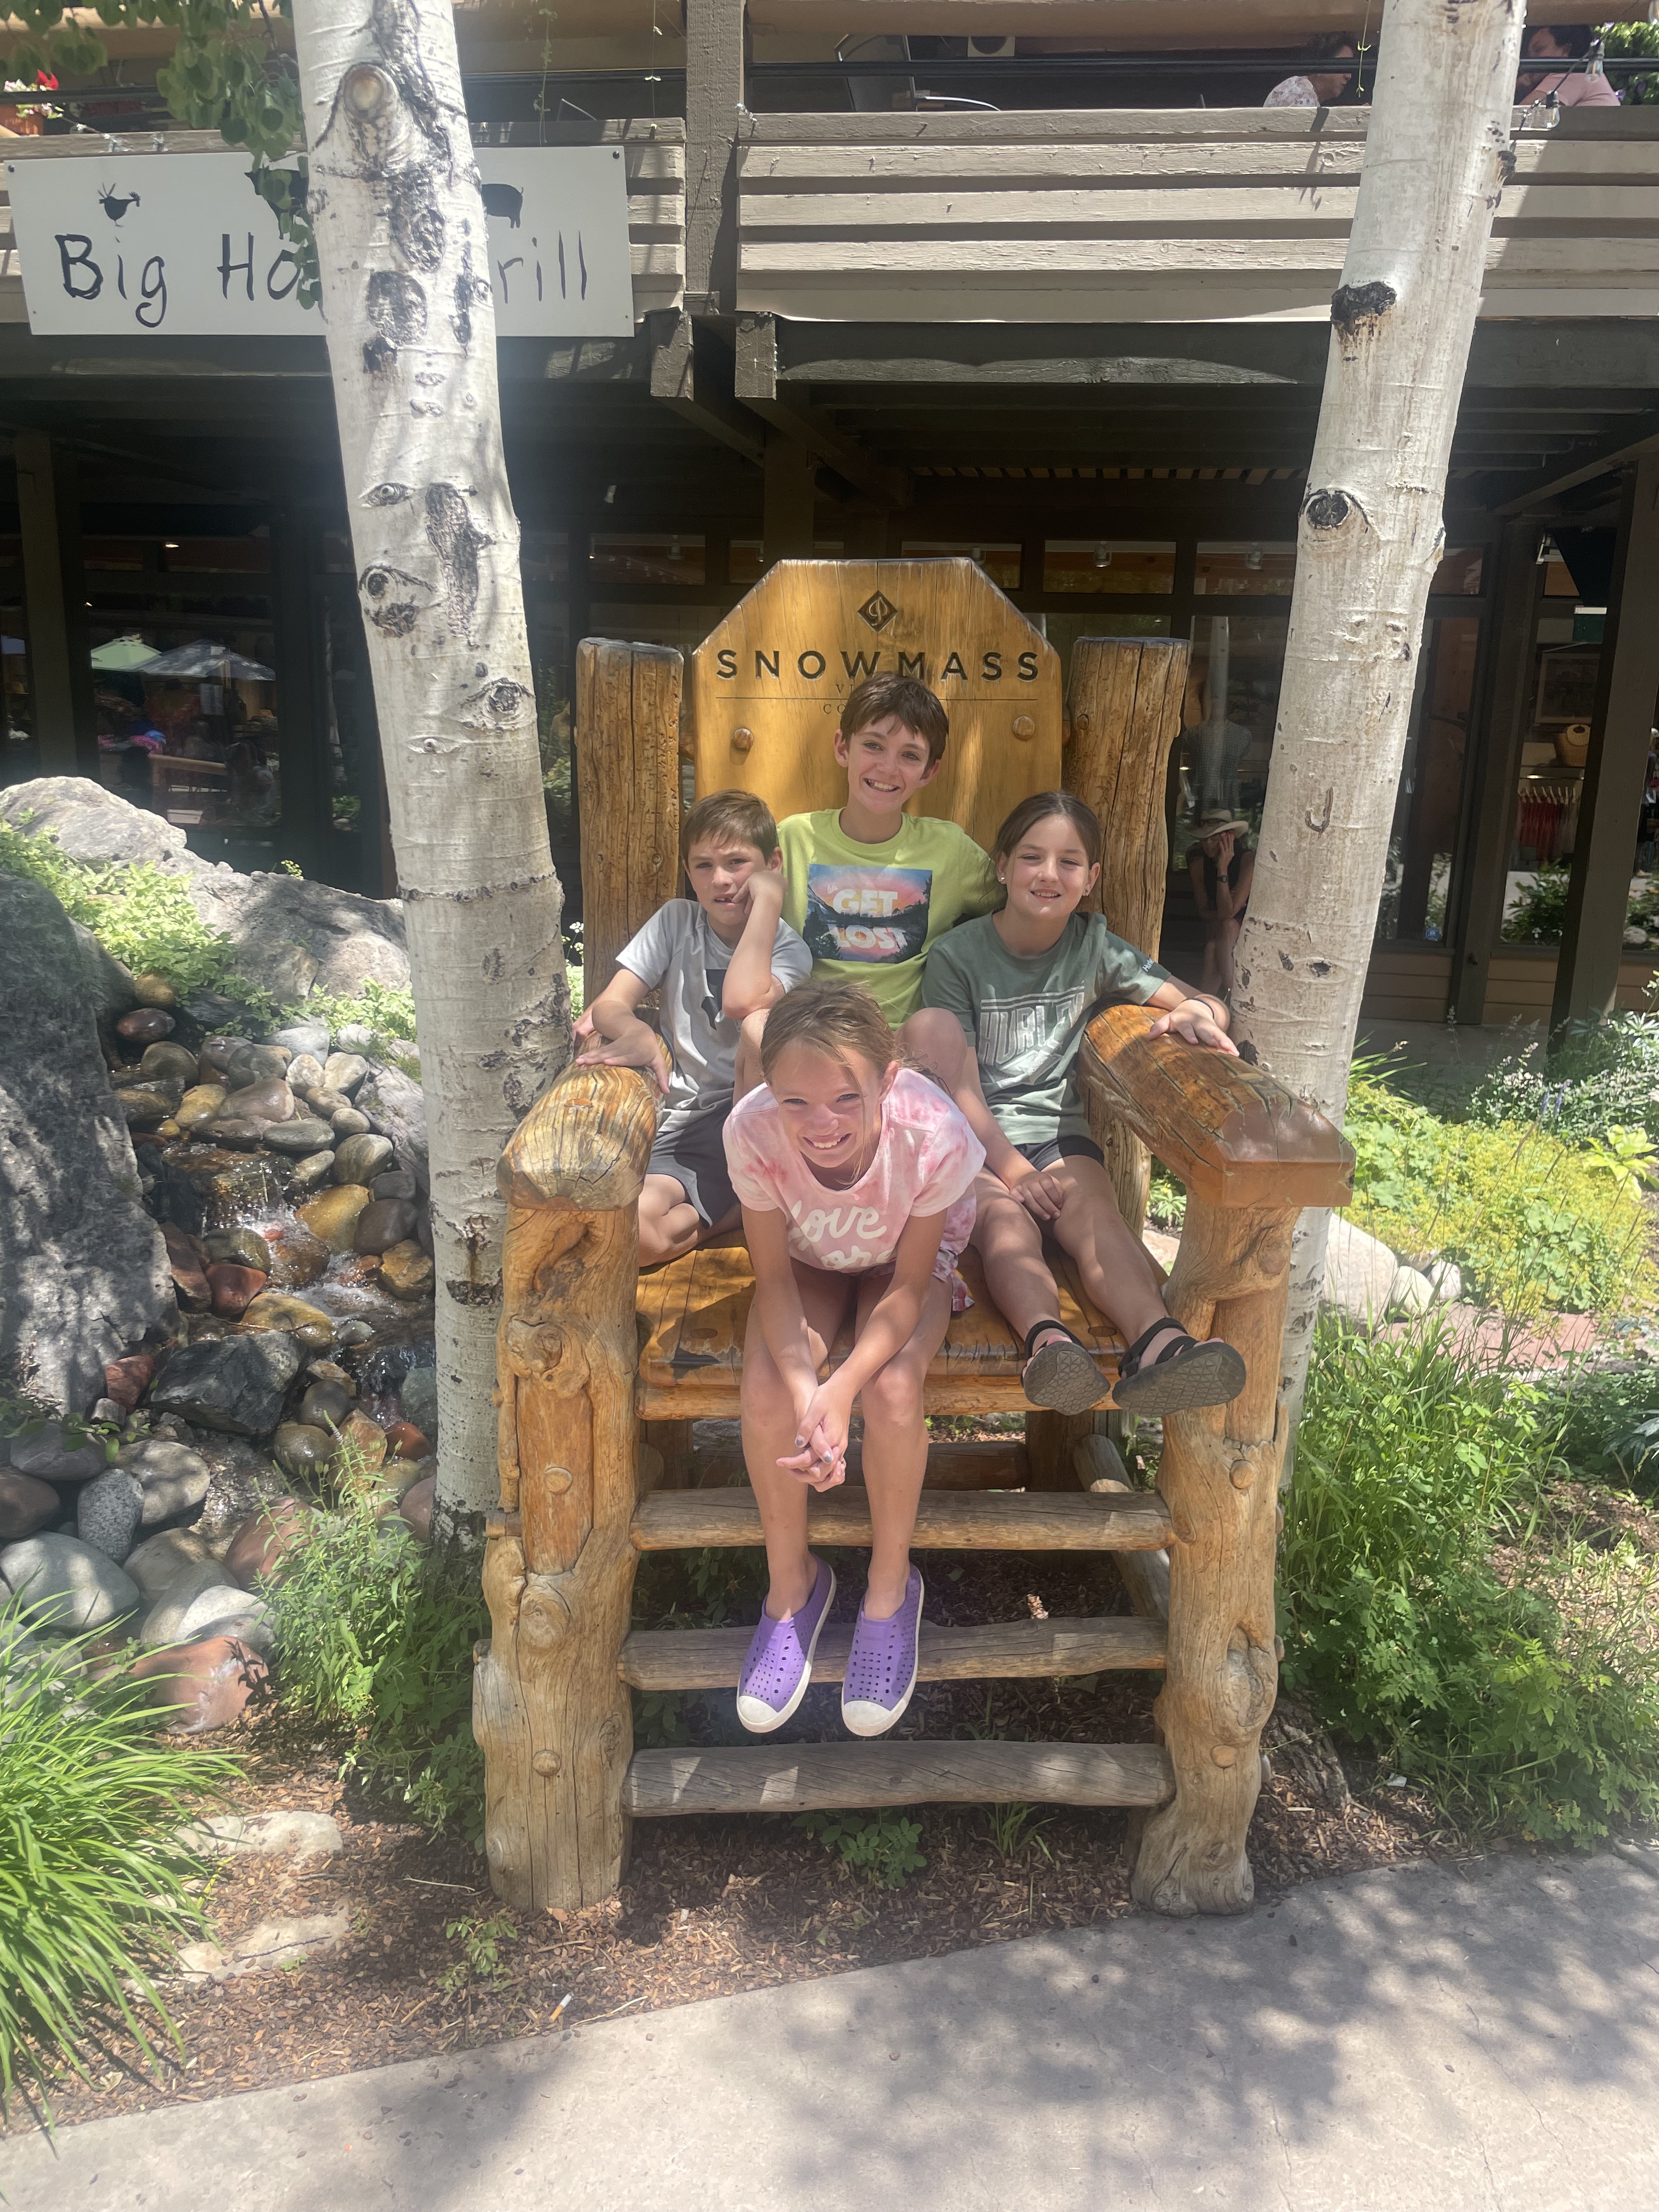
Aspen is my least favorite–it’s cute, but too many Louis bags and plumped lips for my taste. While Snowmass is down the valley from Aspen, it’s the less glitzy counterpart. It’s a small mountain town centered around the ski resort, with the bulk of its buildings terraced along the slope, making everything pretty convenient. We happened to be staying on a Thursday night when the town livened with its Free Summer Concert Series at the Village Mall and base of Fanny Hill, under the chairlift.

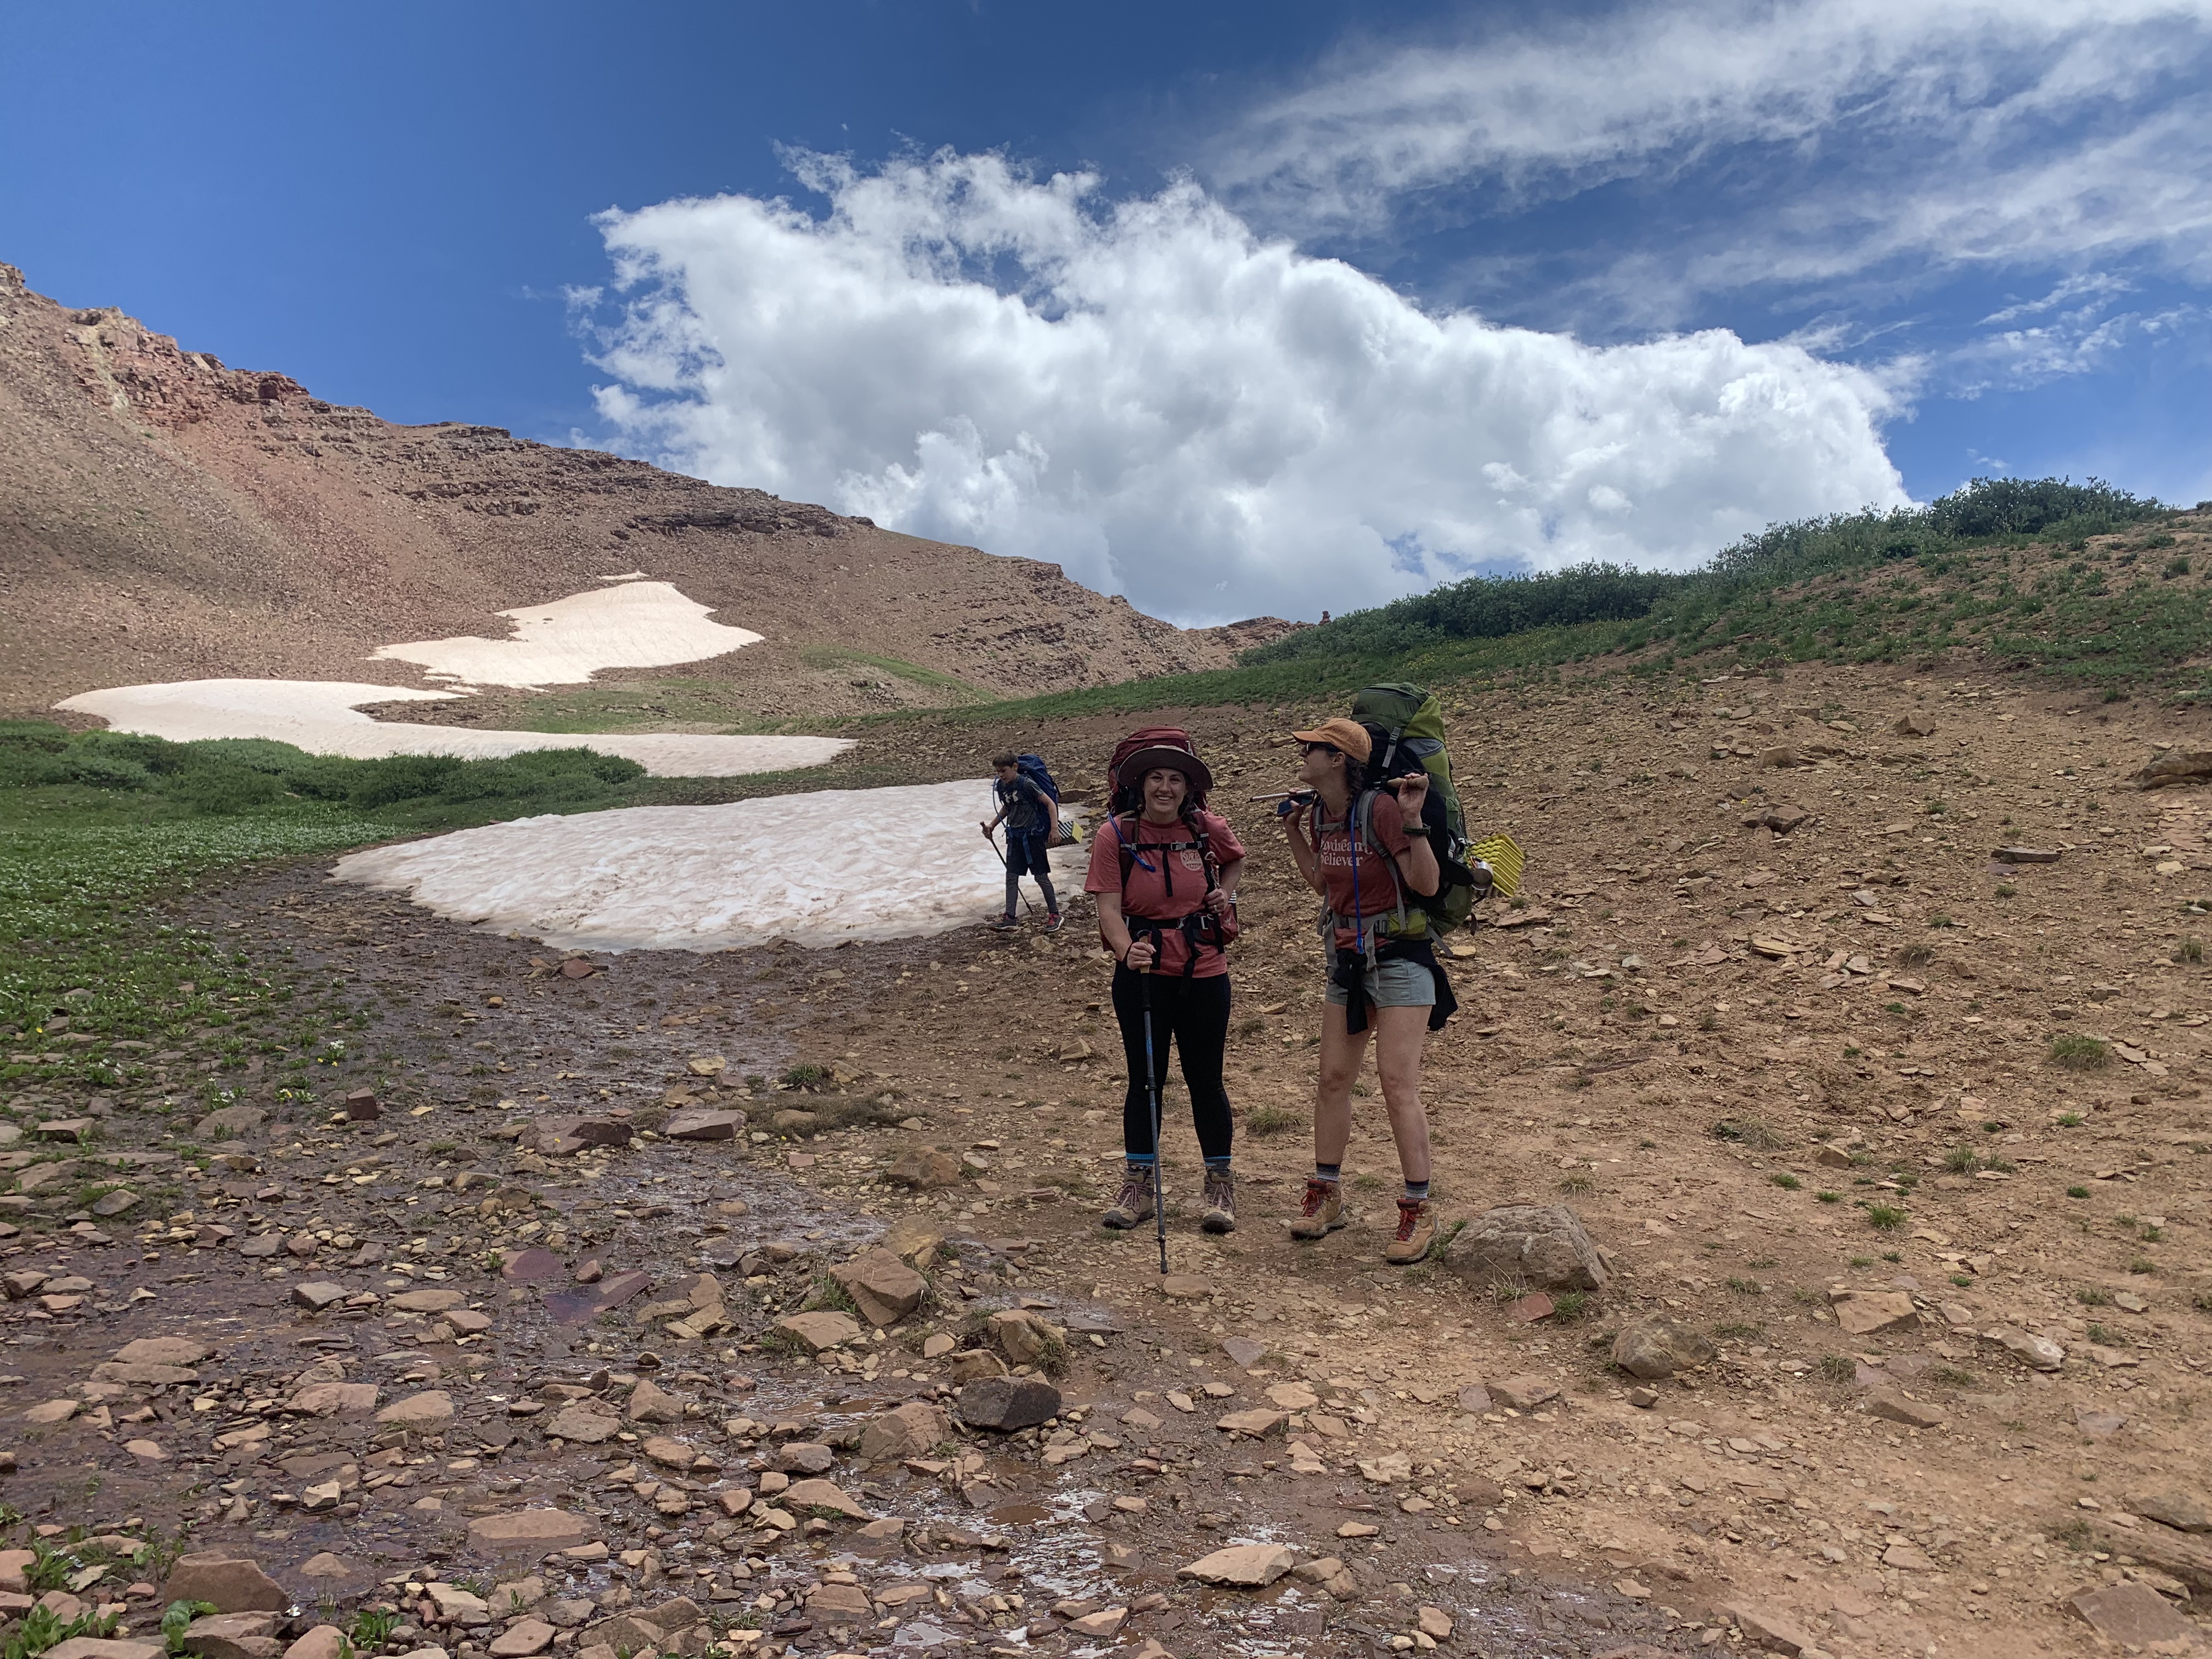
TRAIL EXPERIENCE: We arrived at Schofield Park (the trailhead on the CB side) around 8:30 AM, which was much later than anticipated. NOTE: Be sure to get there earlier than us to ensure you get over the Pass before the afternoon thunderstorms during Summer months. While AllTrails.com states the average time to complete this trail is just shy of 6 hours, our personal experience was much longer. It took us from about 9 AM to 2 PM to get to our campsite, about 5 miles in, just on the other side of the Pass (coordinates below on where we camped).

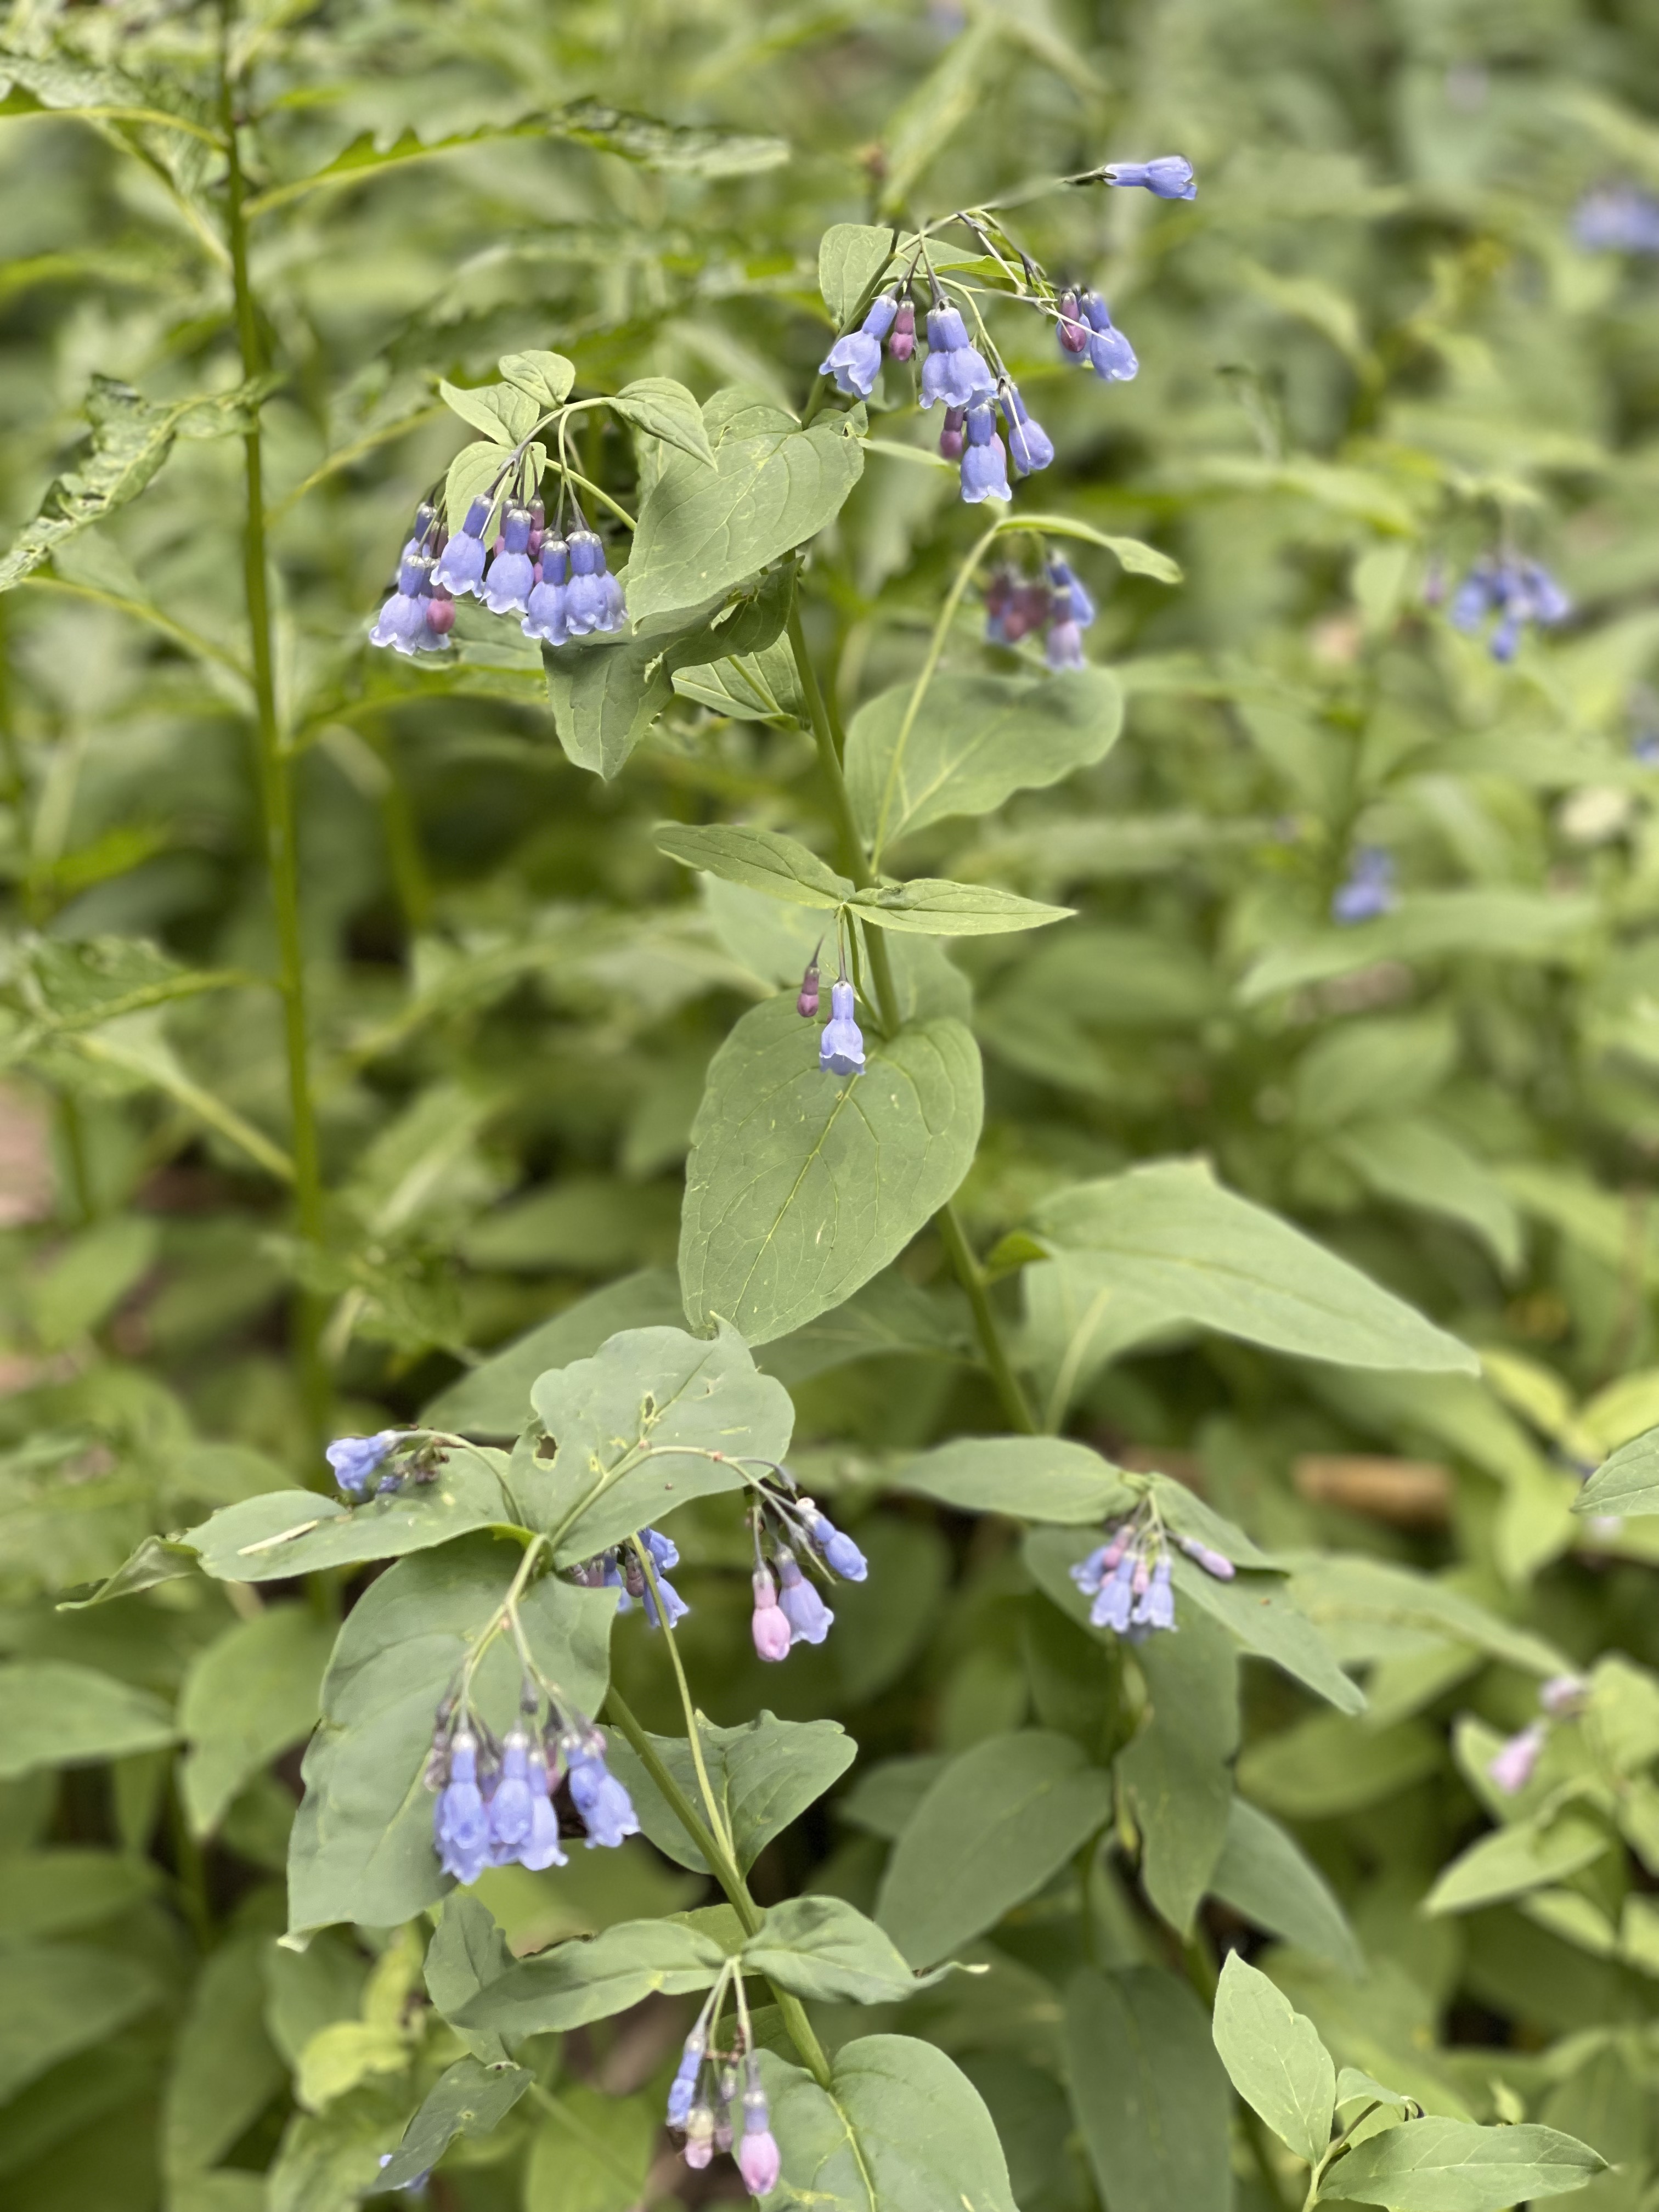
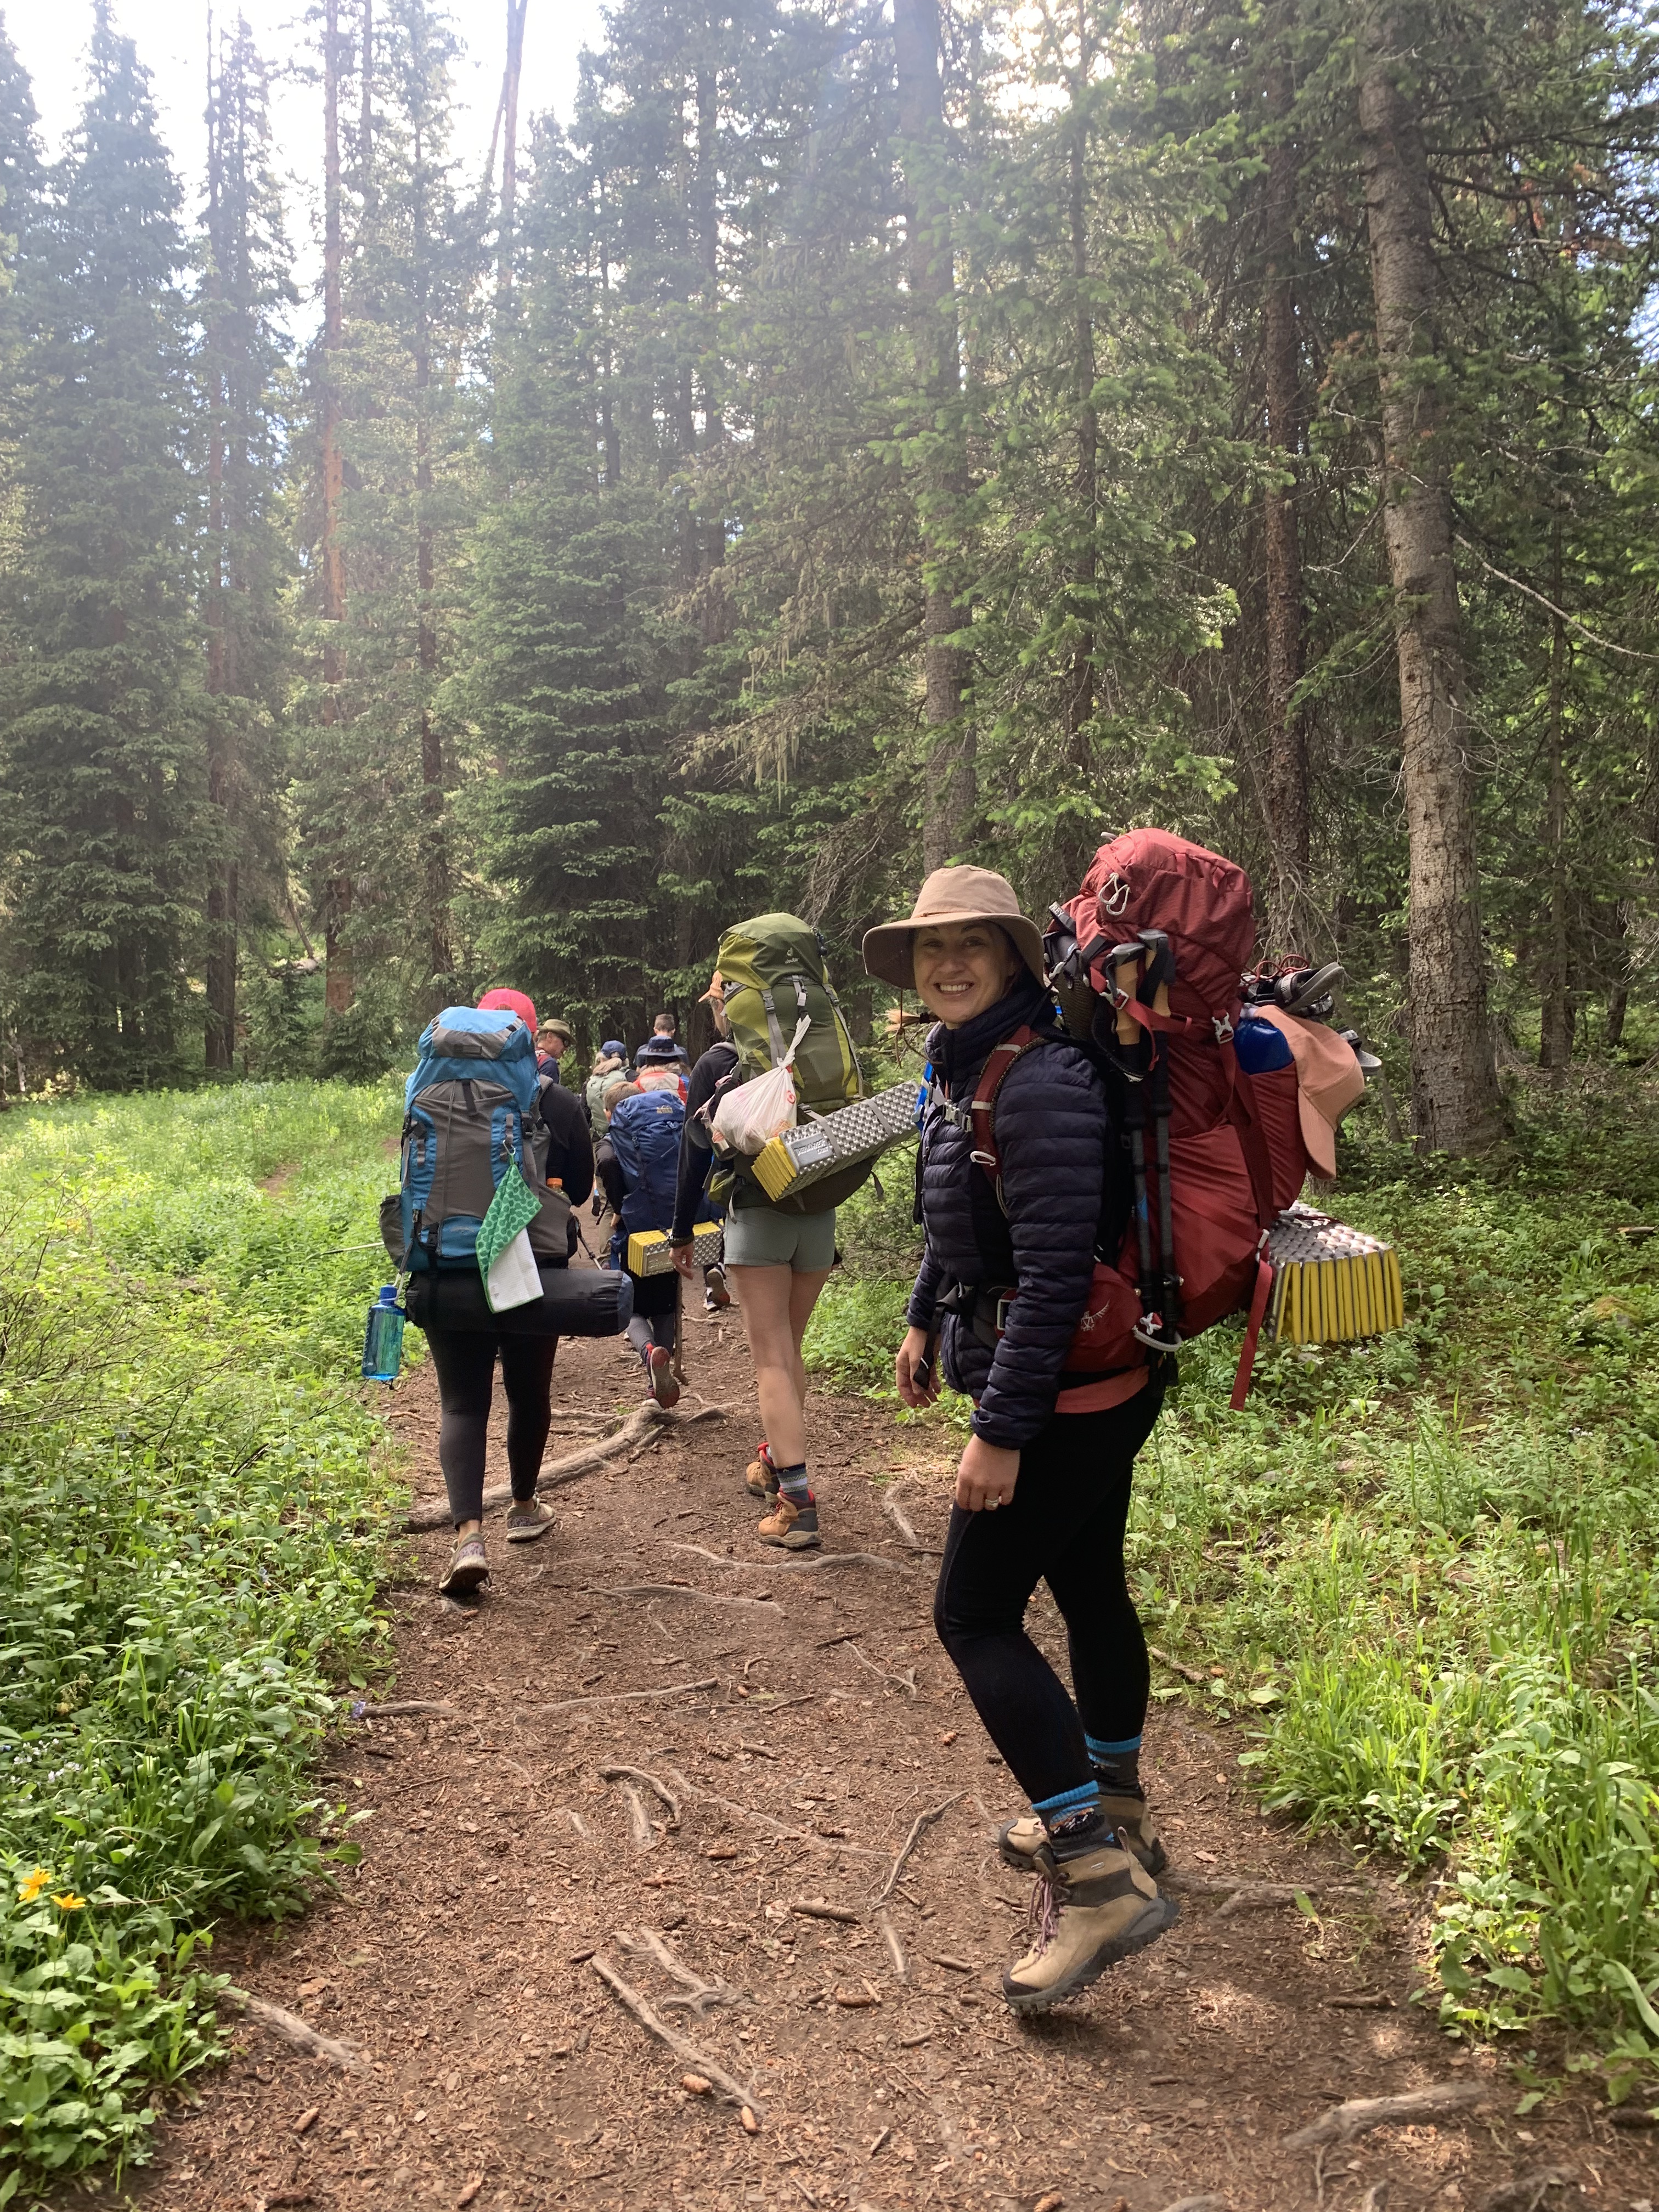
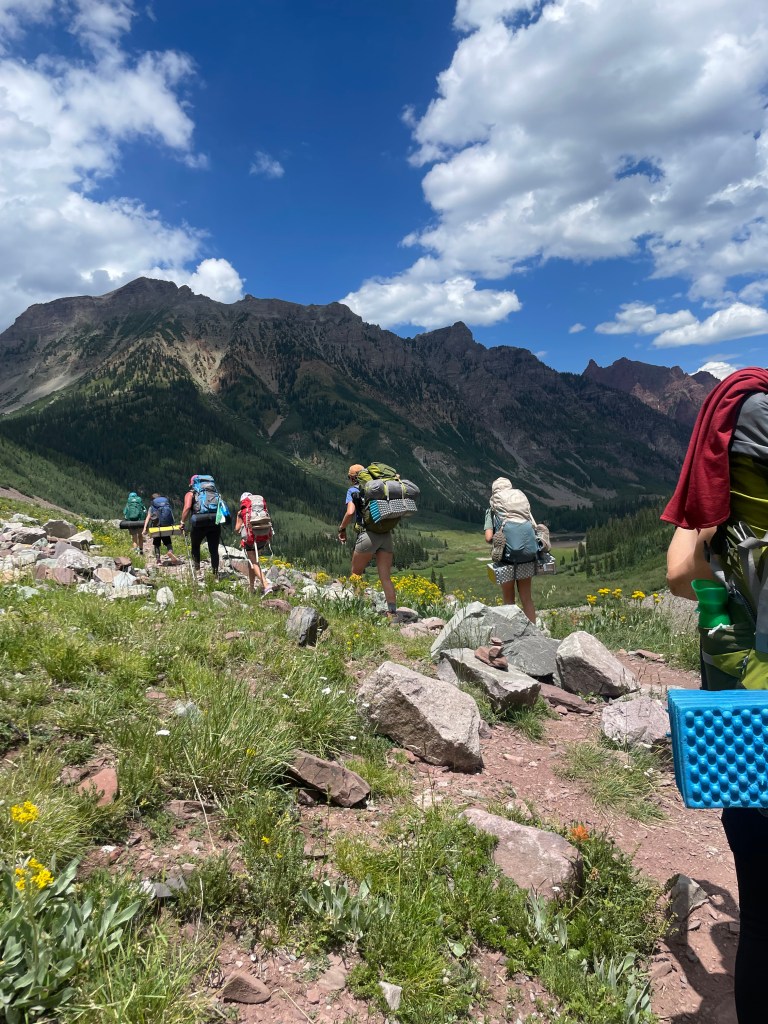
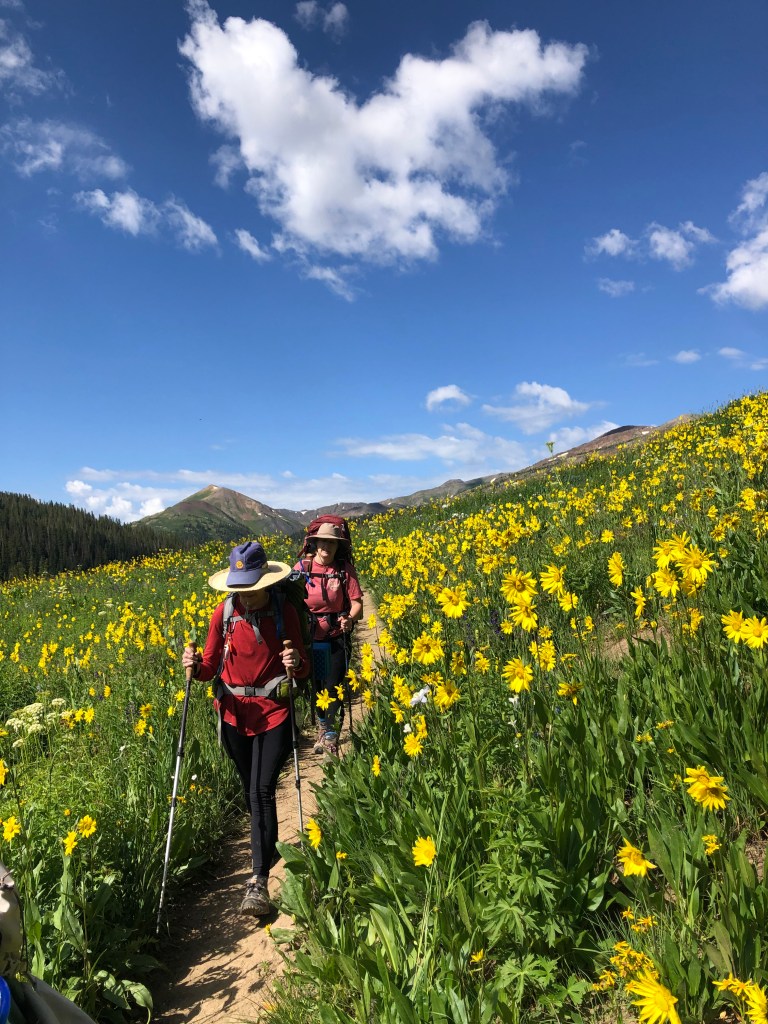
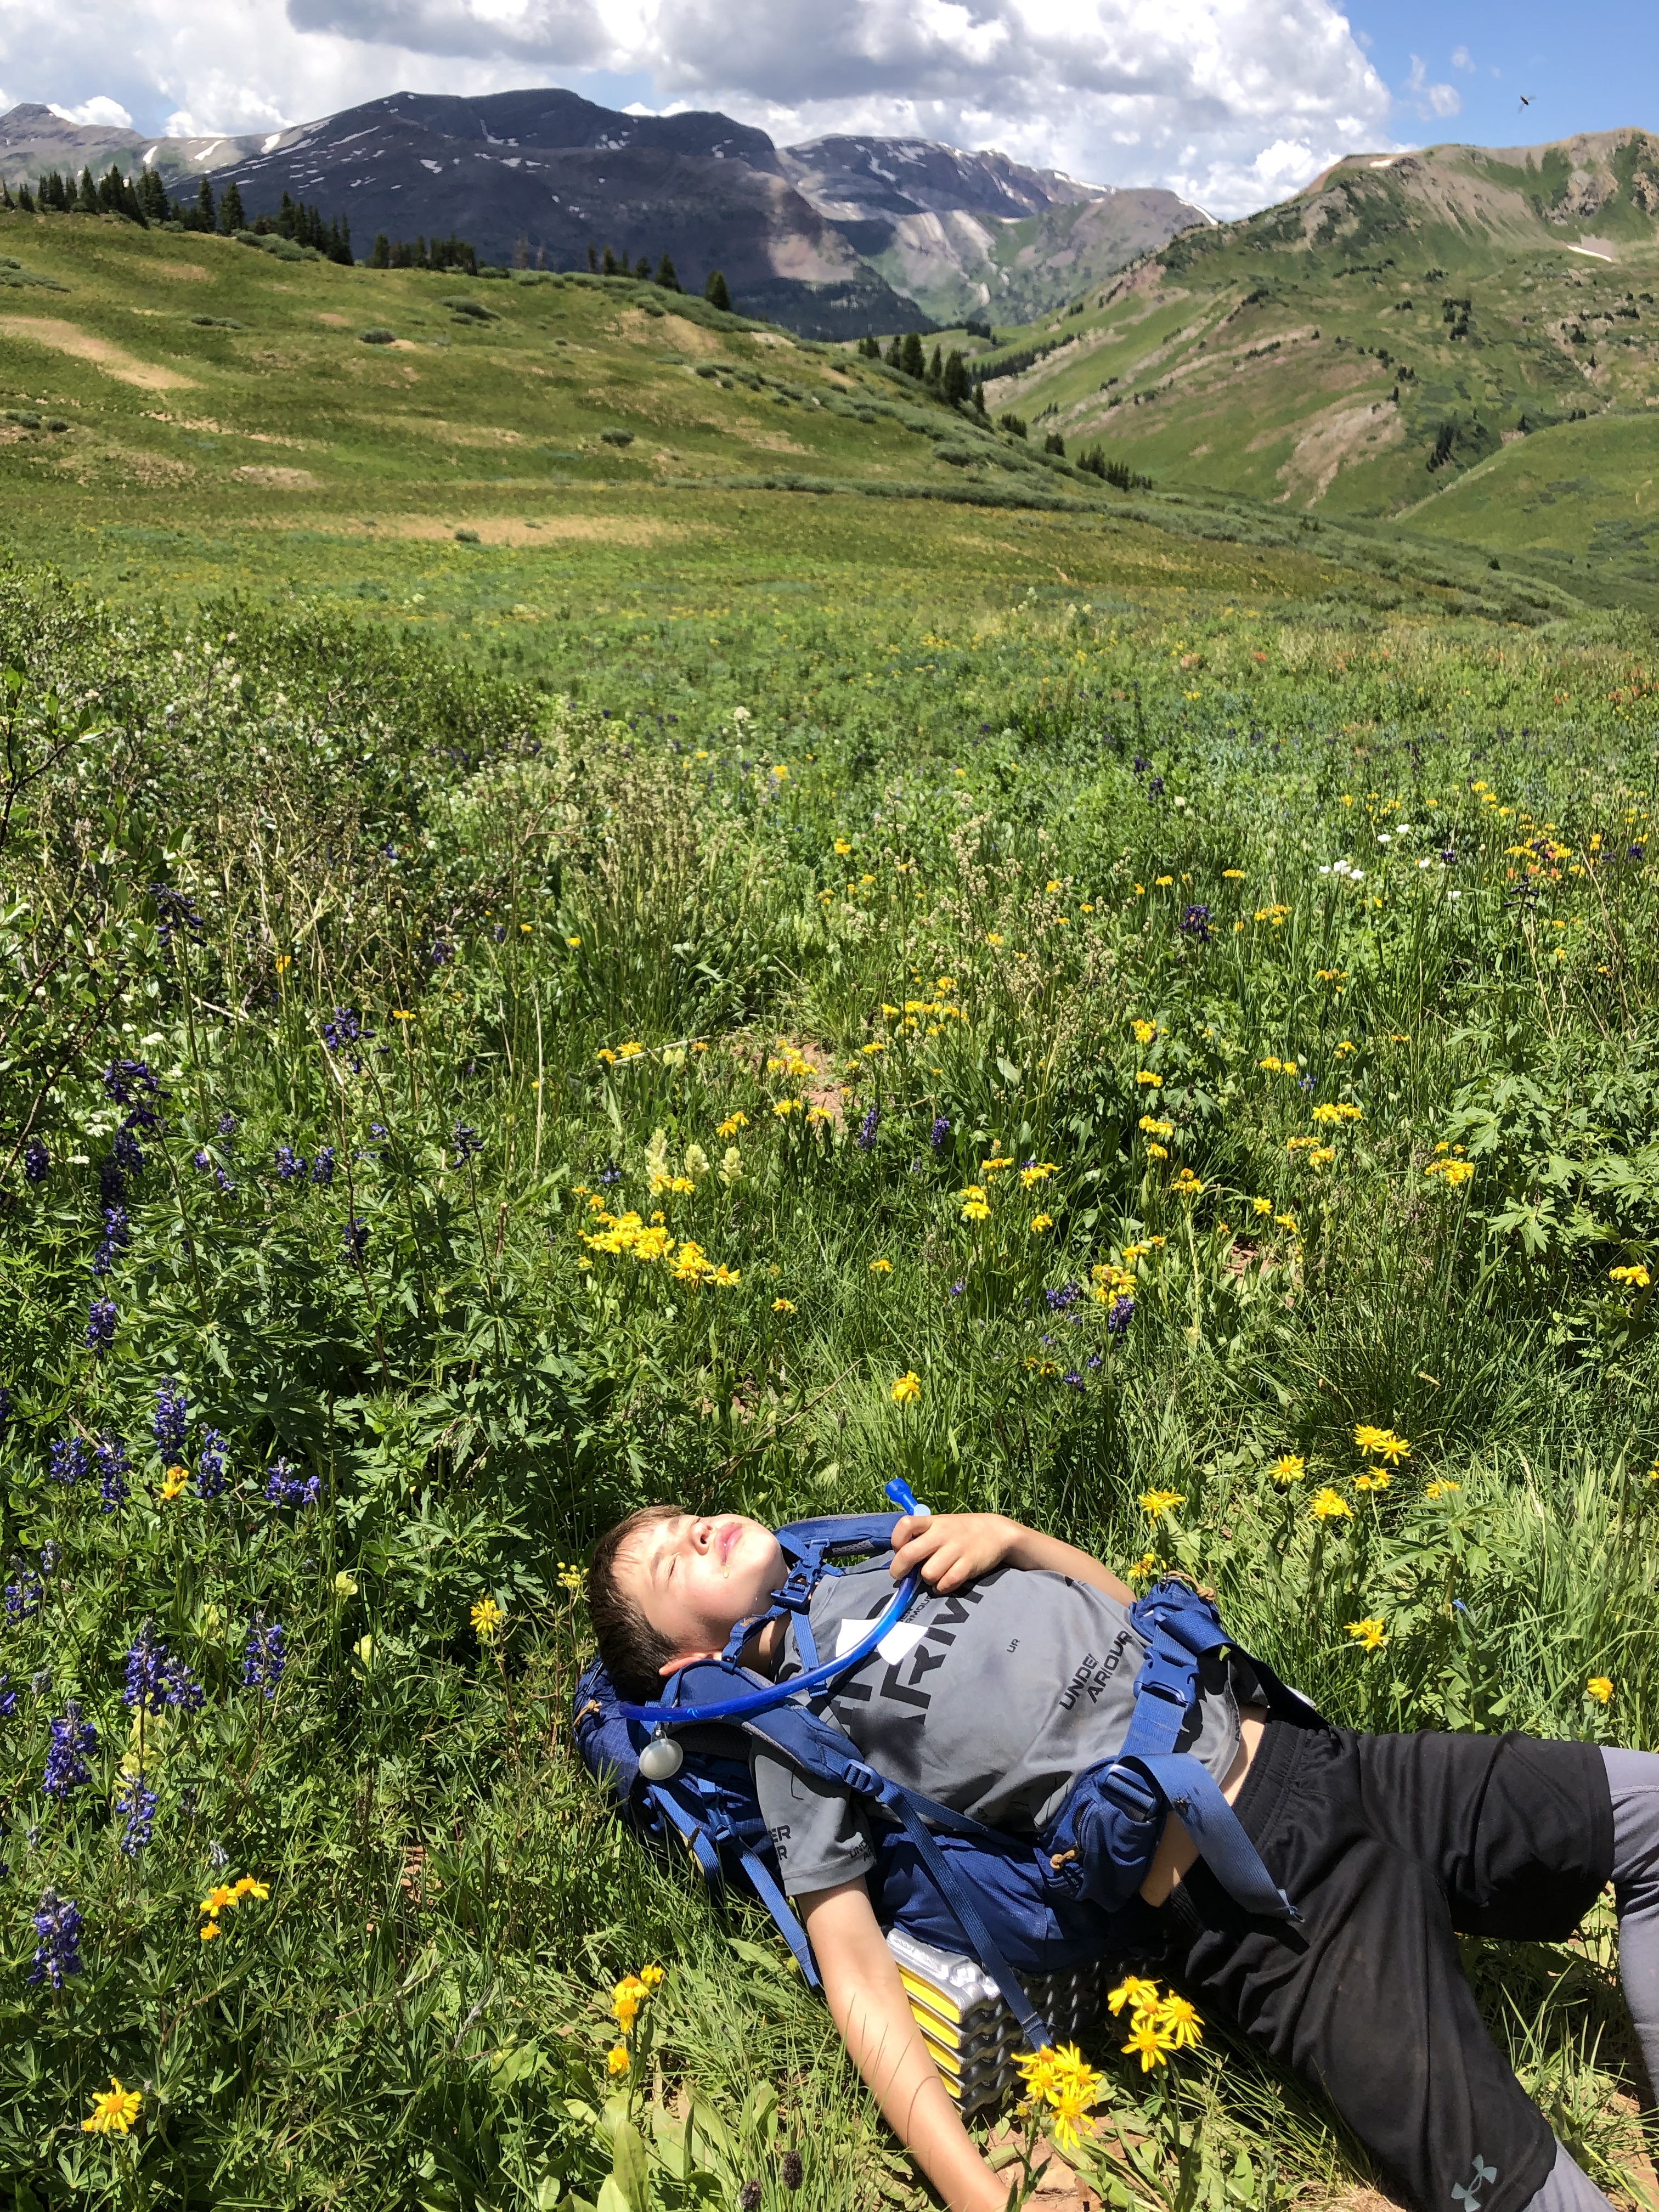
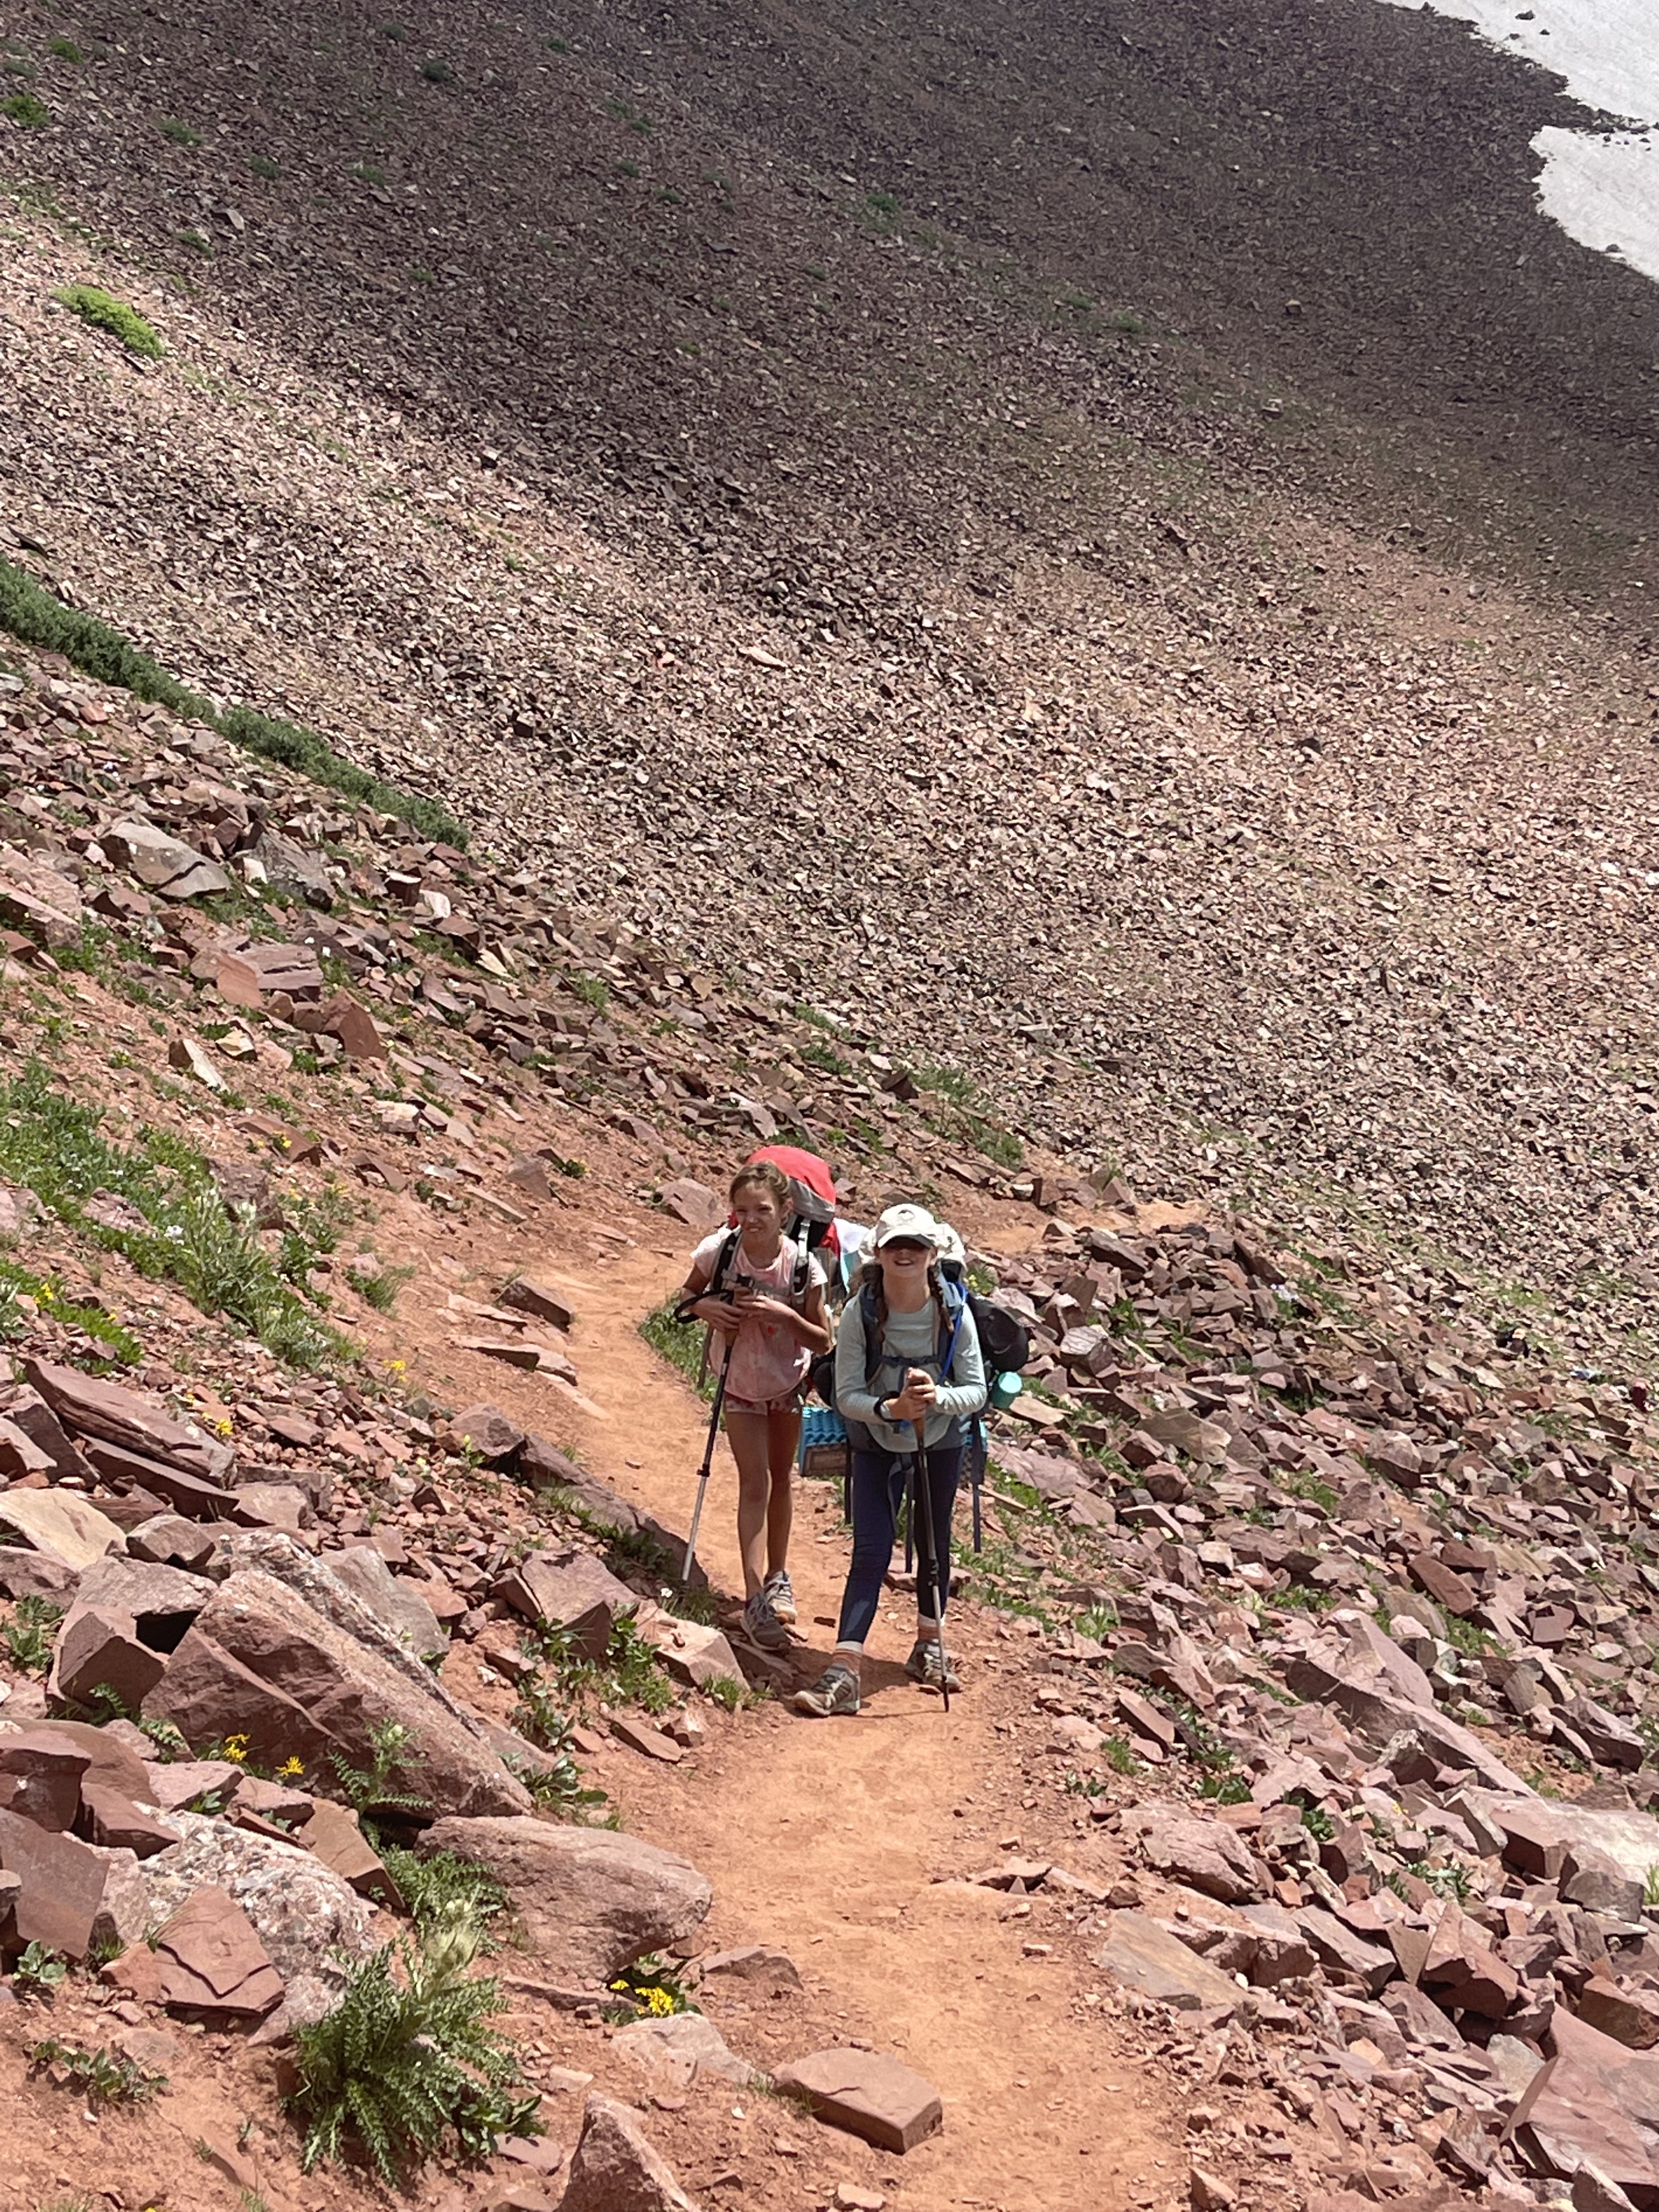
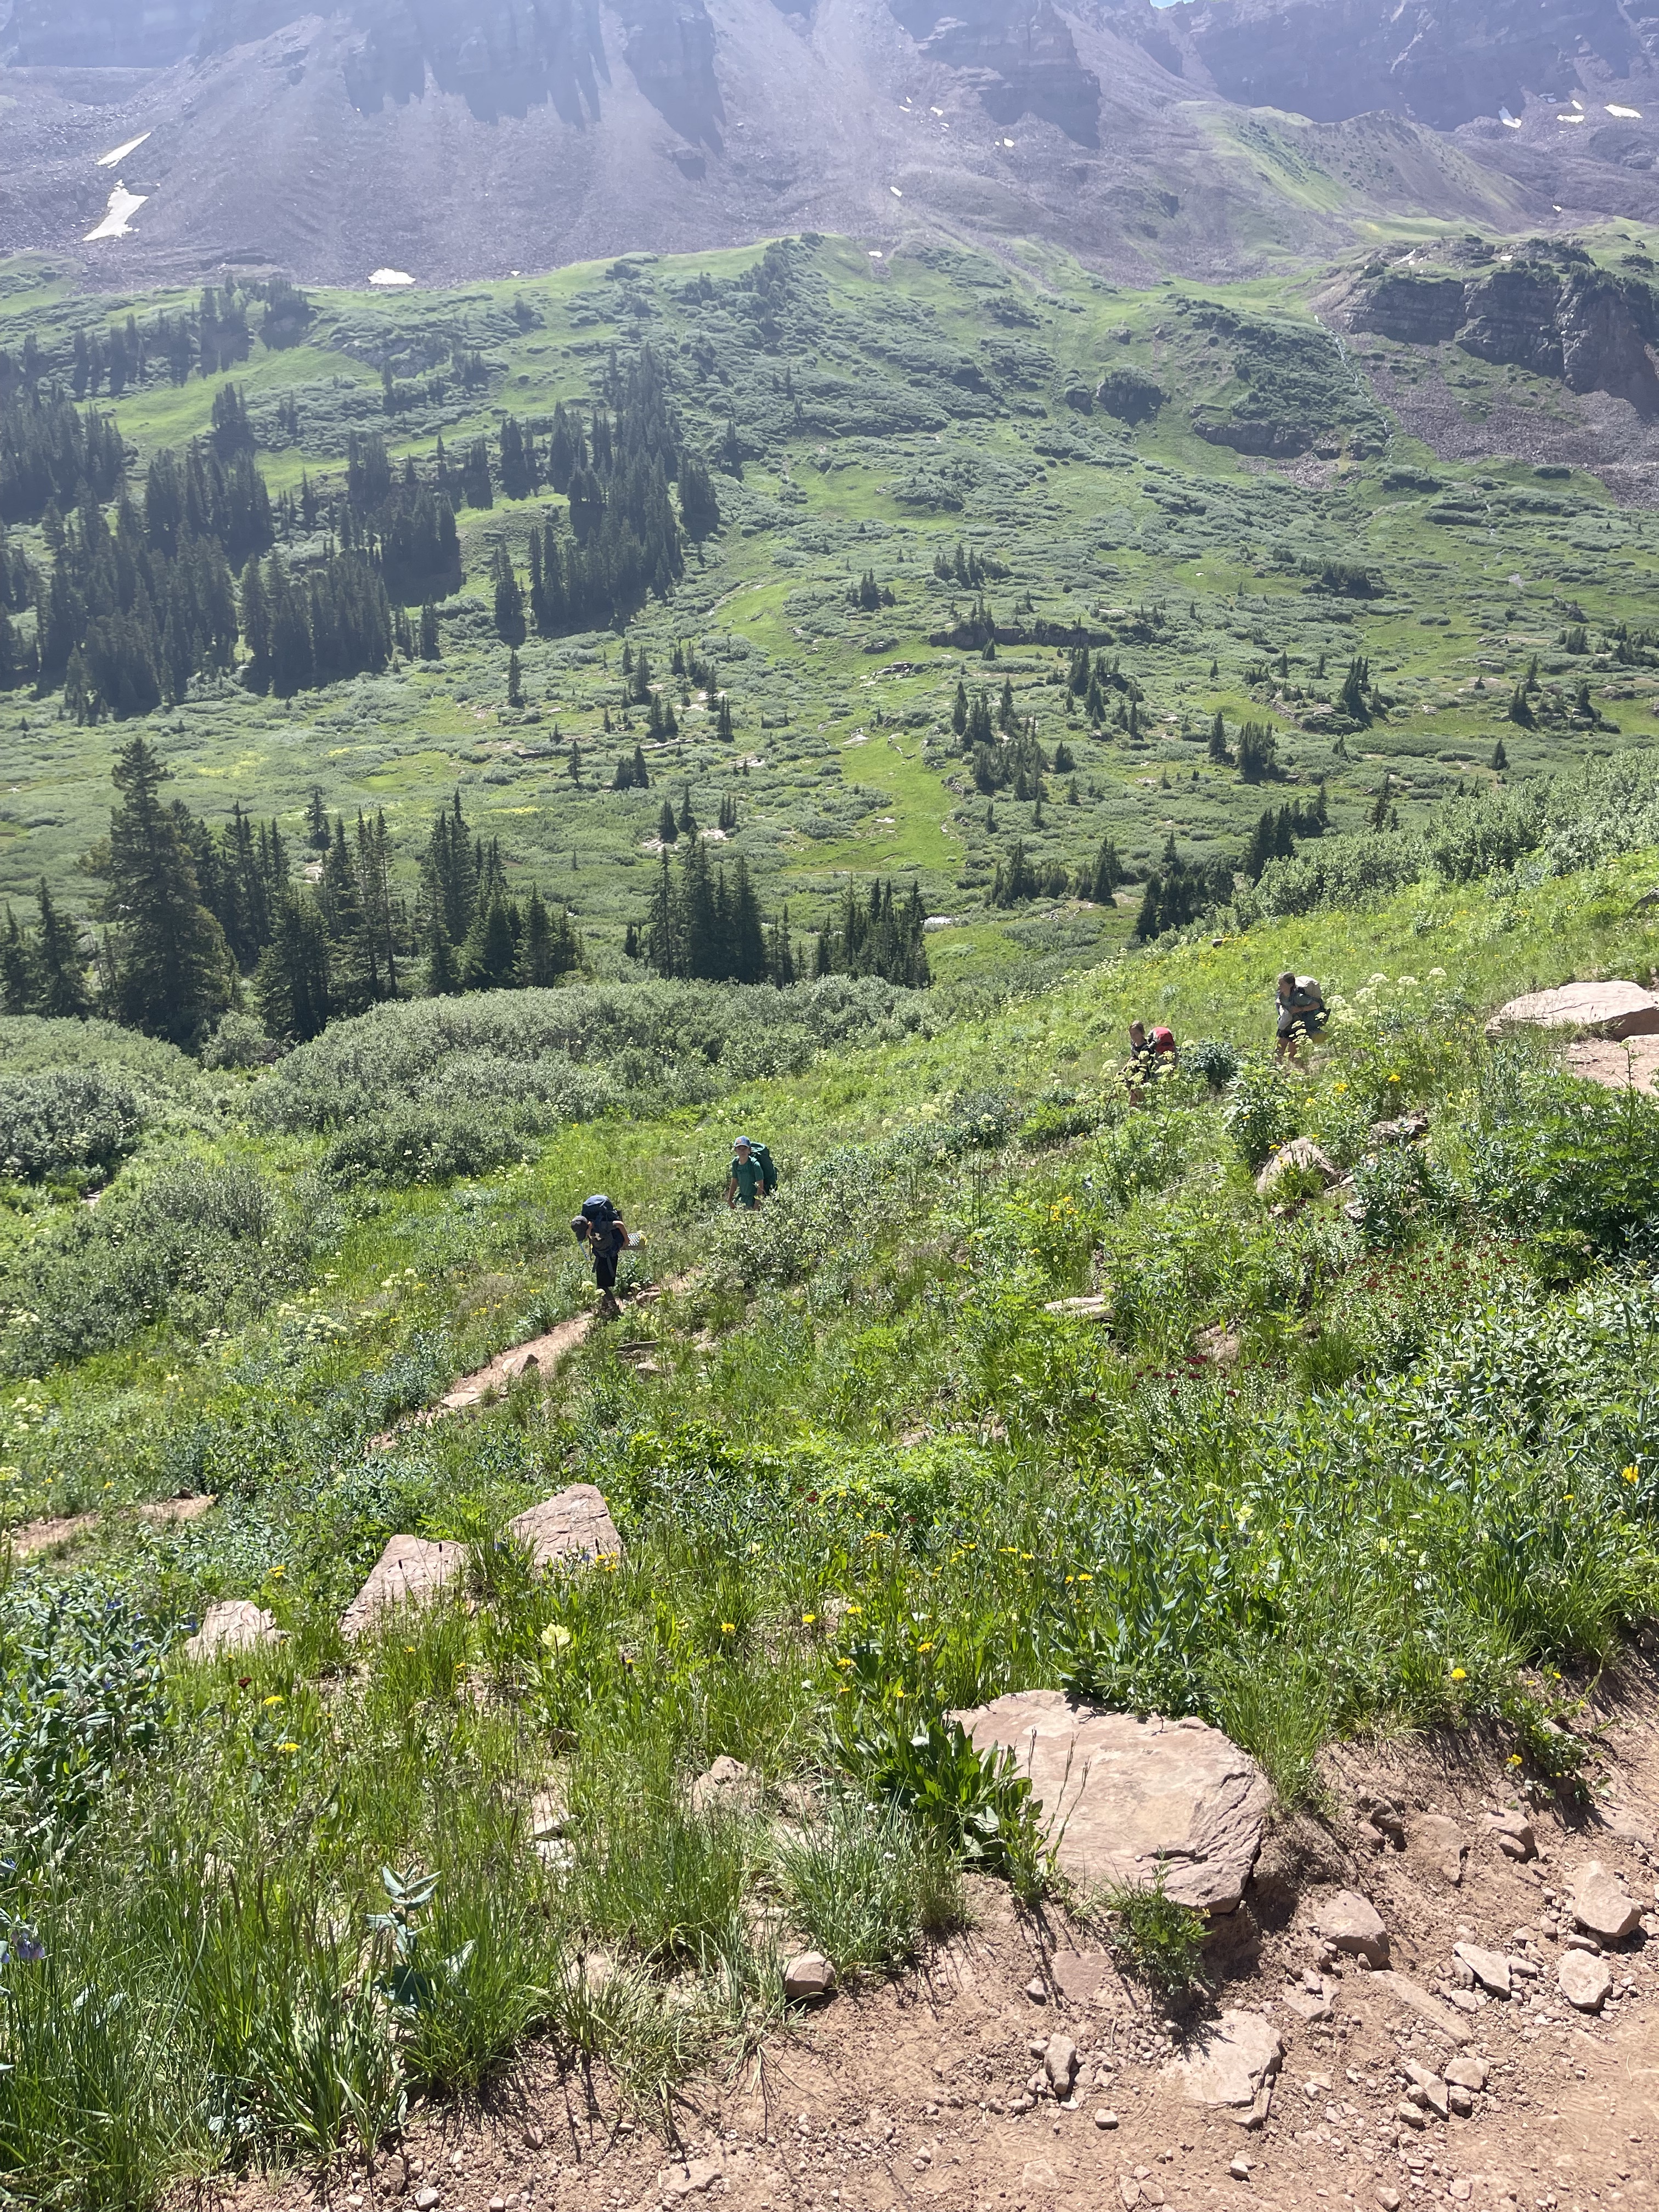
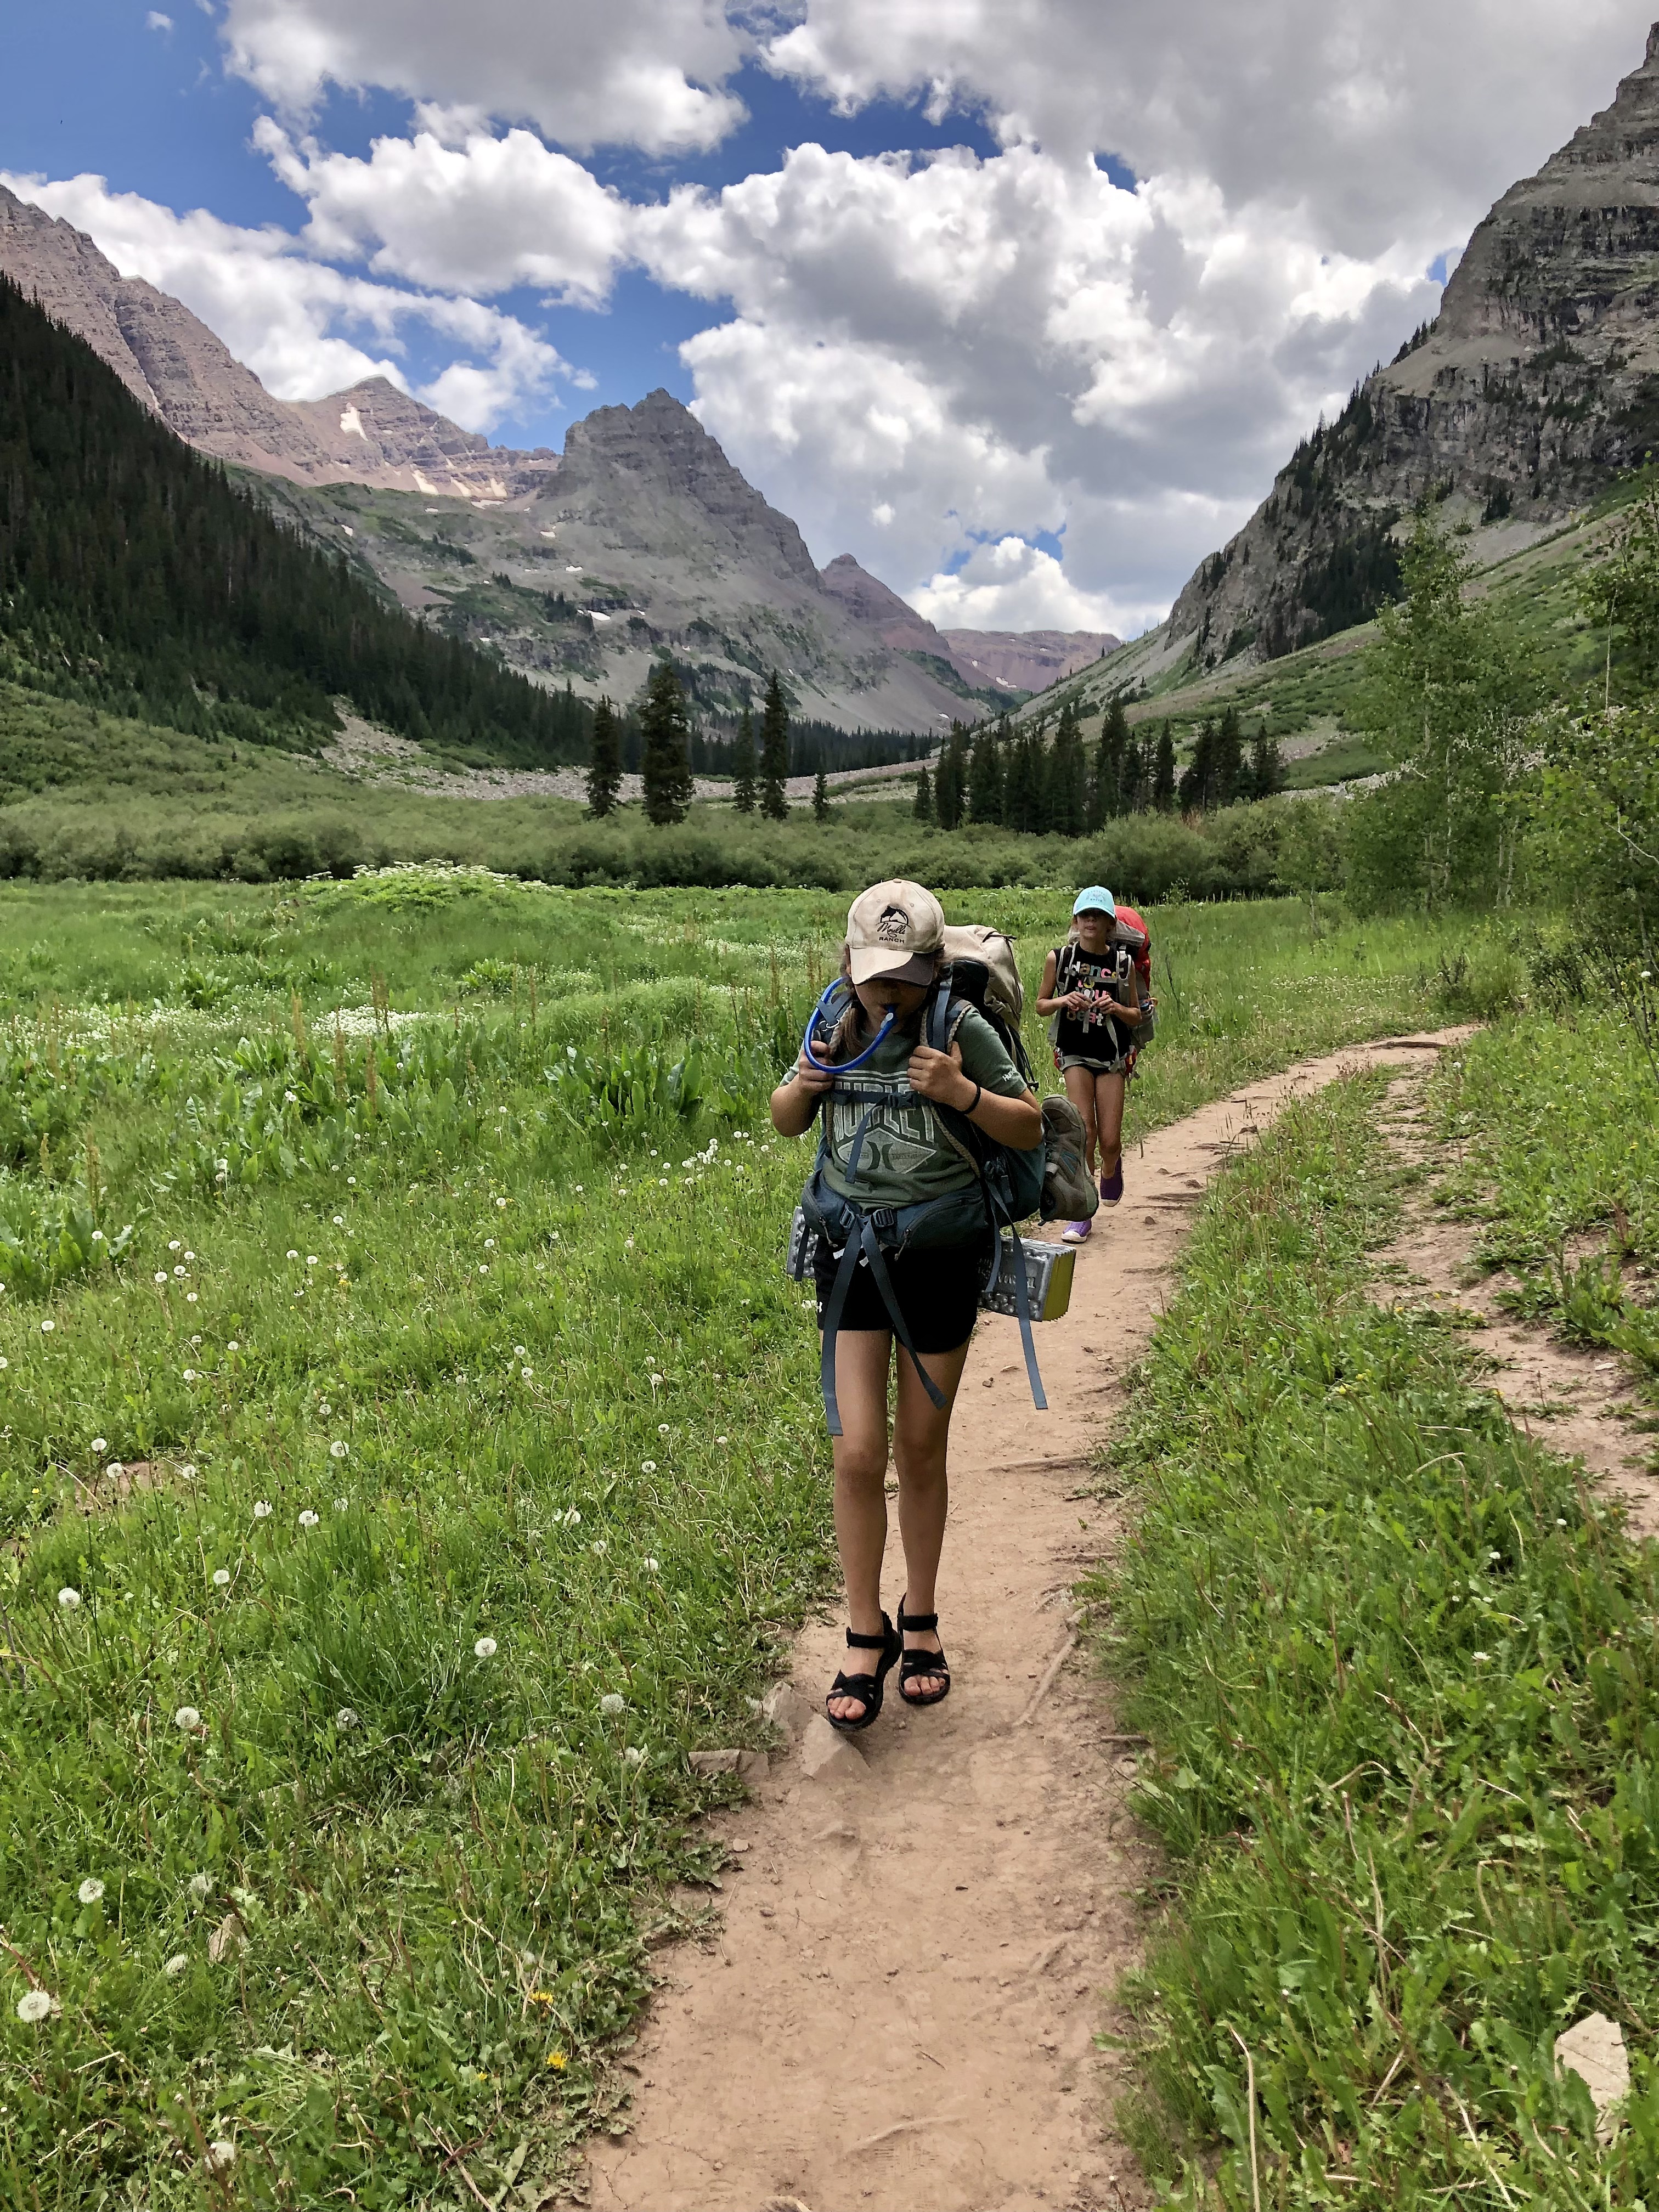
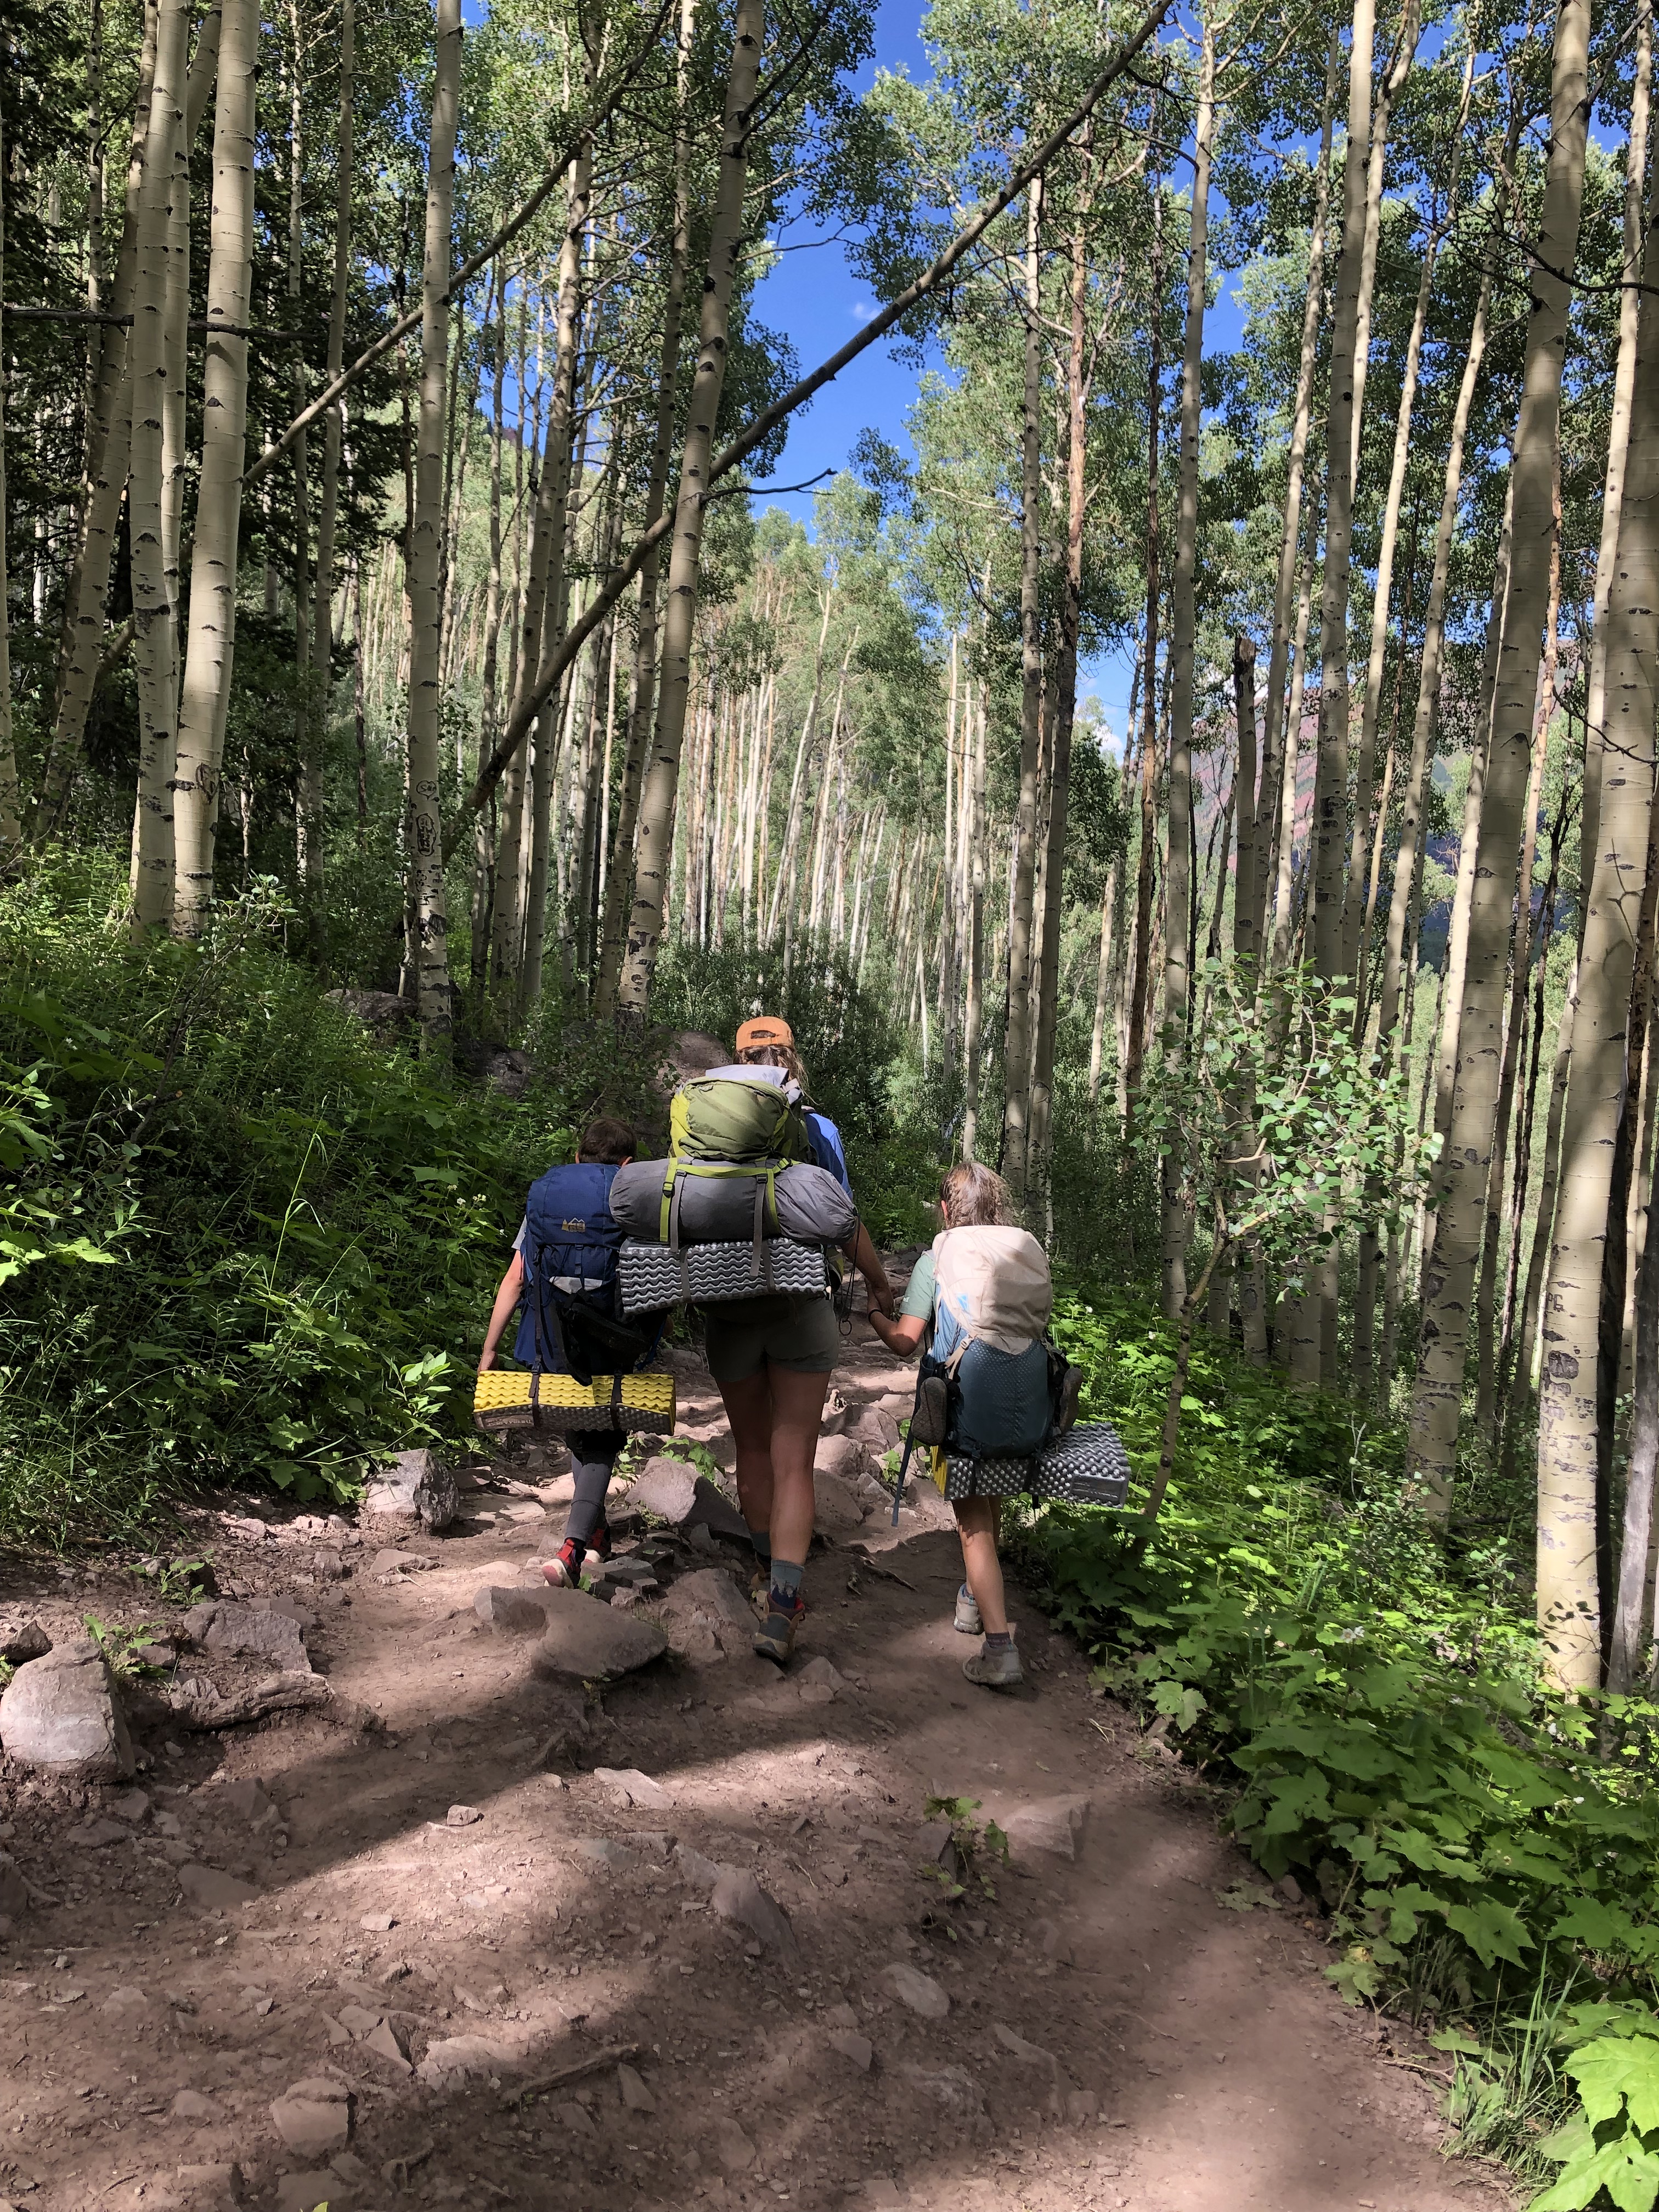
The first 4-miles is a gradual uphill on the Crested Butte side. The wildflowers during this stretch are epic, with Sunflowers, Columbines, Indian Paintbrush, and many others blanketing the gently undulating hills and mountain sides. The flowers were up to our hips or higher, and their presence didn’t let up until we reached the switchbacks that ascend to West Maroon Pass.
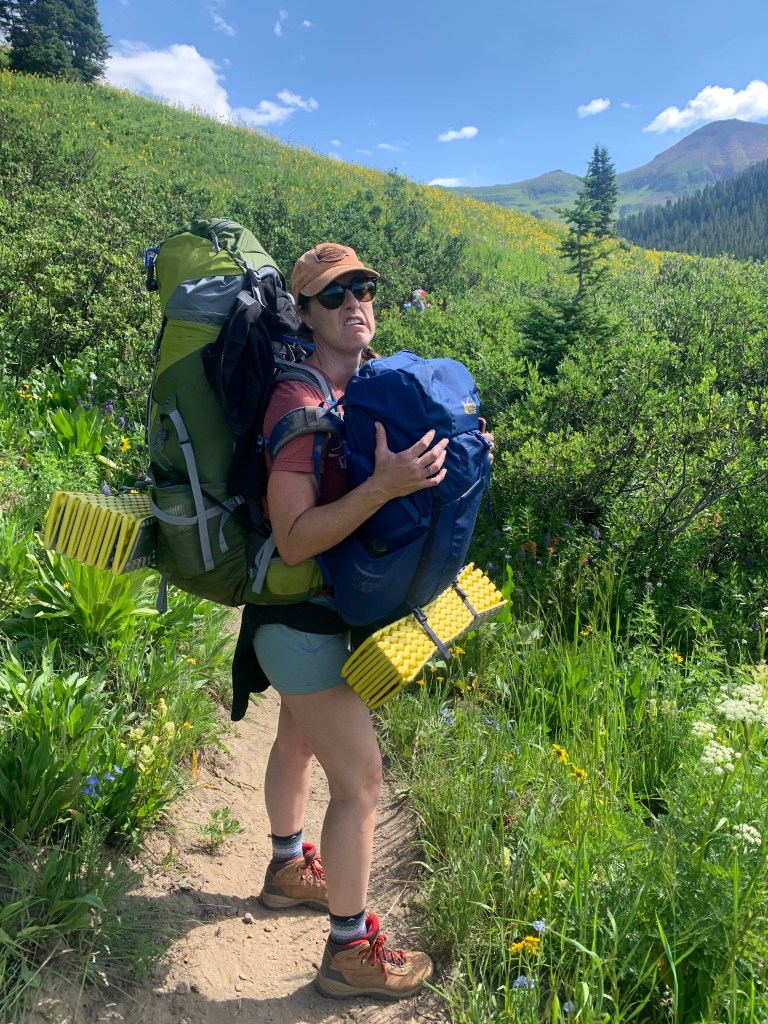
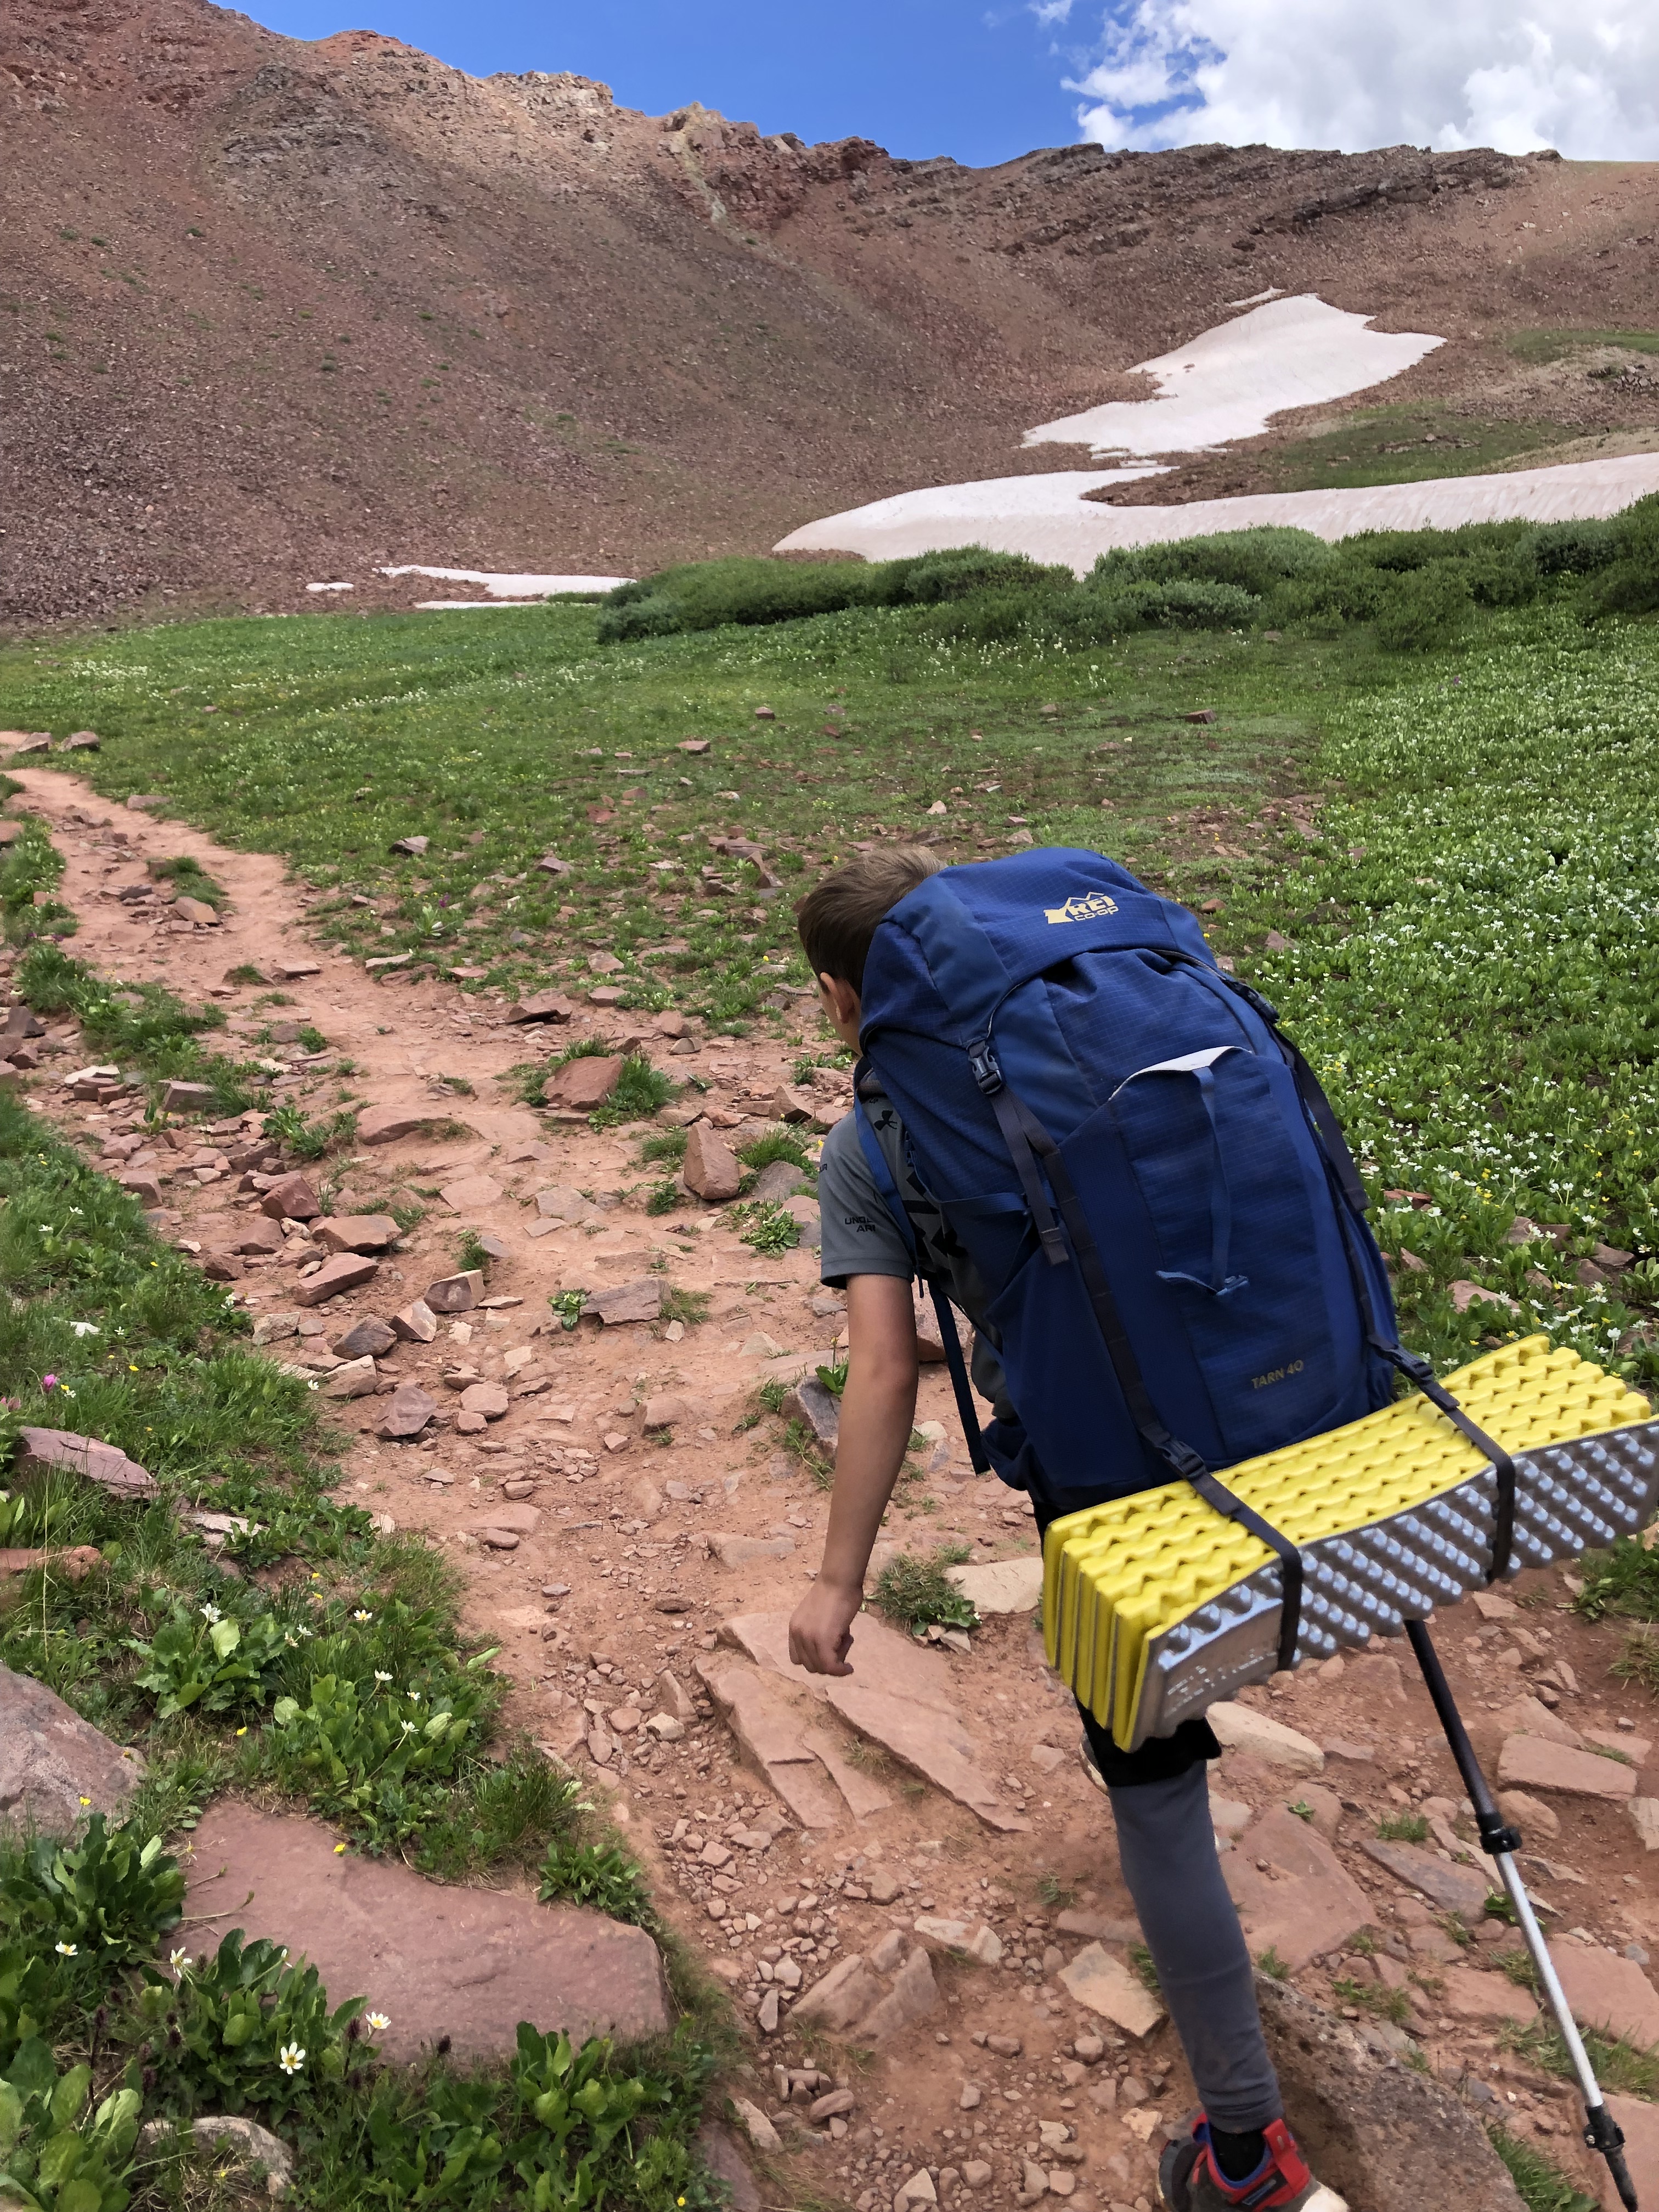
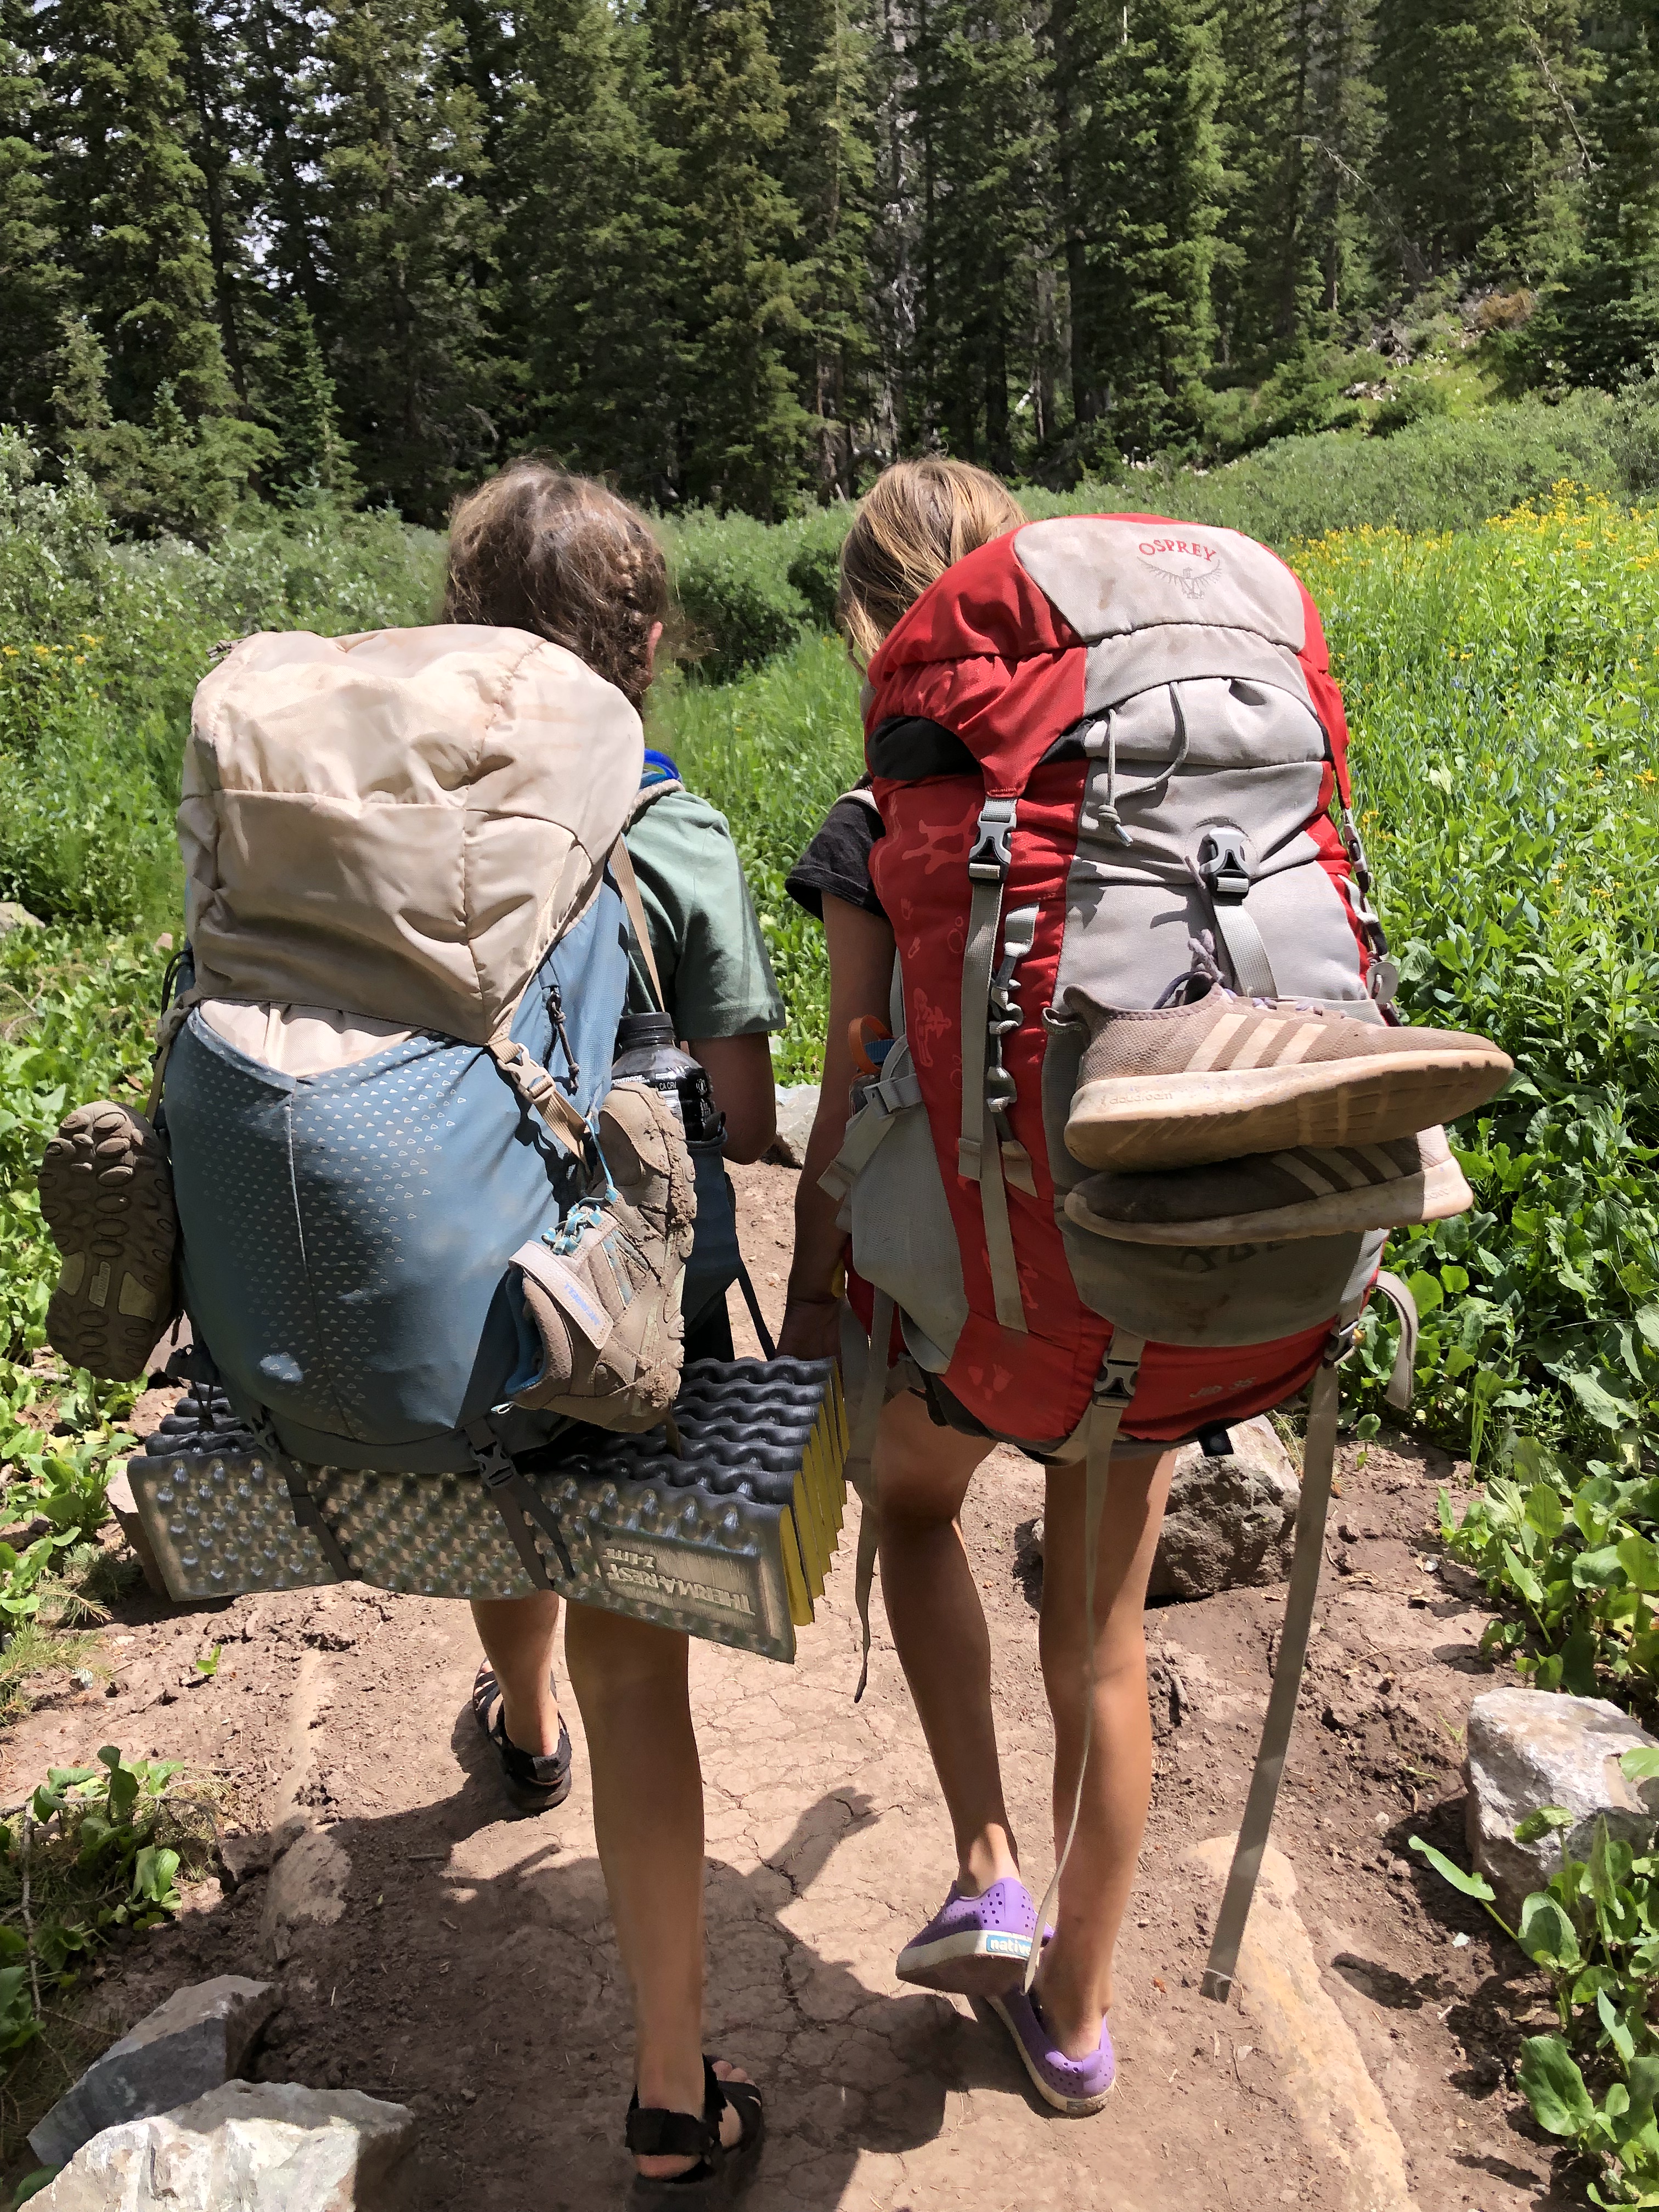
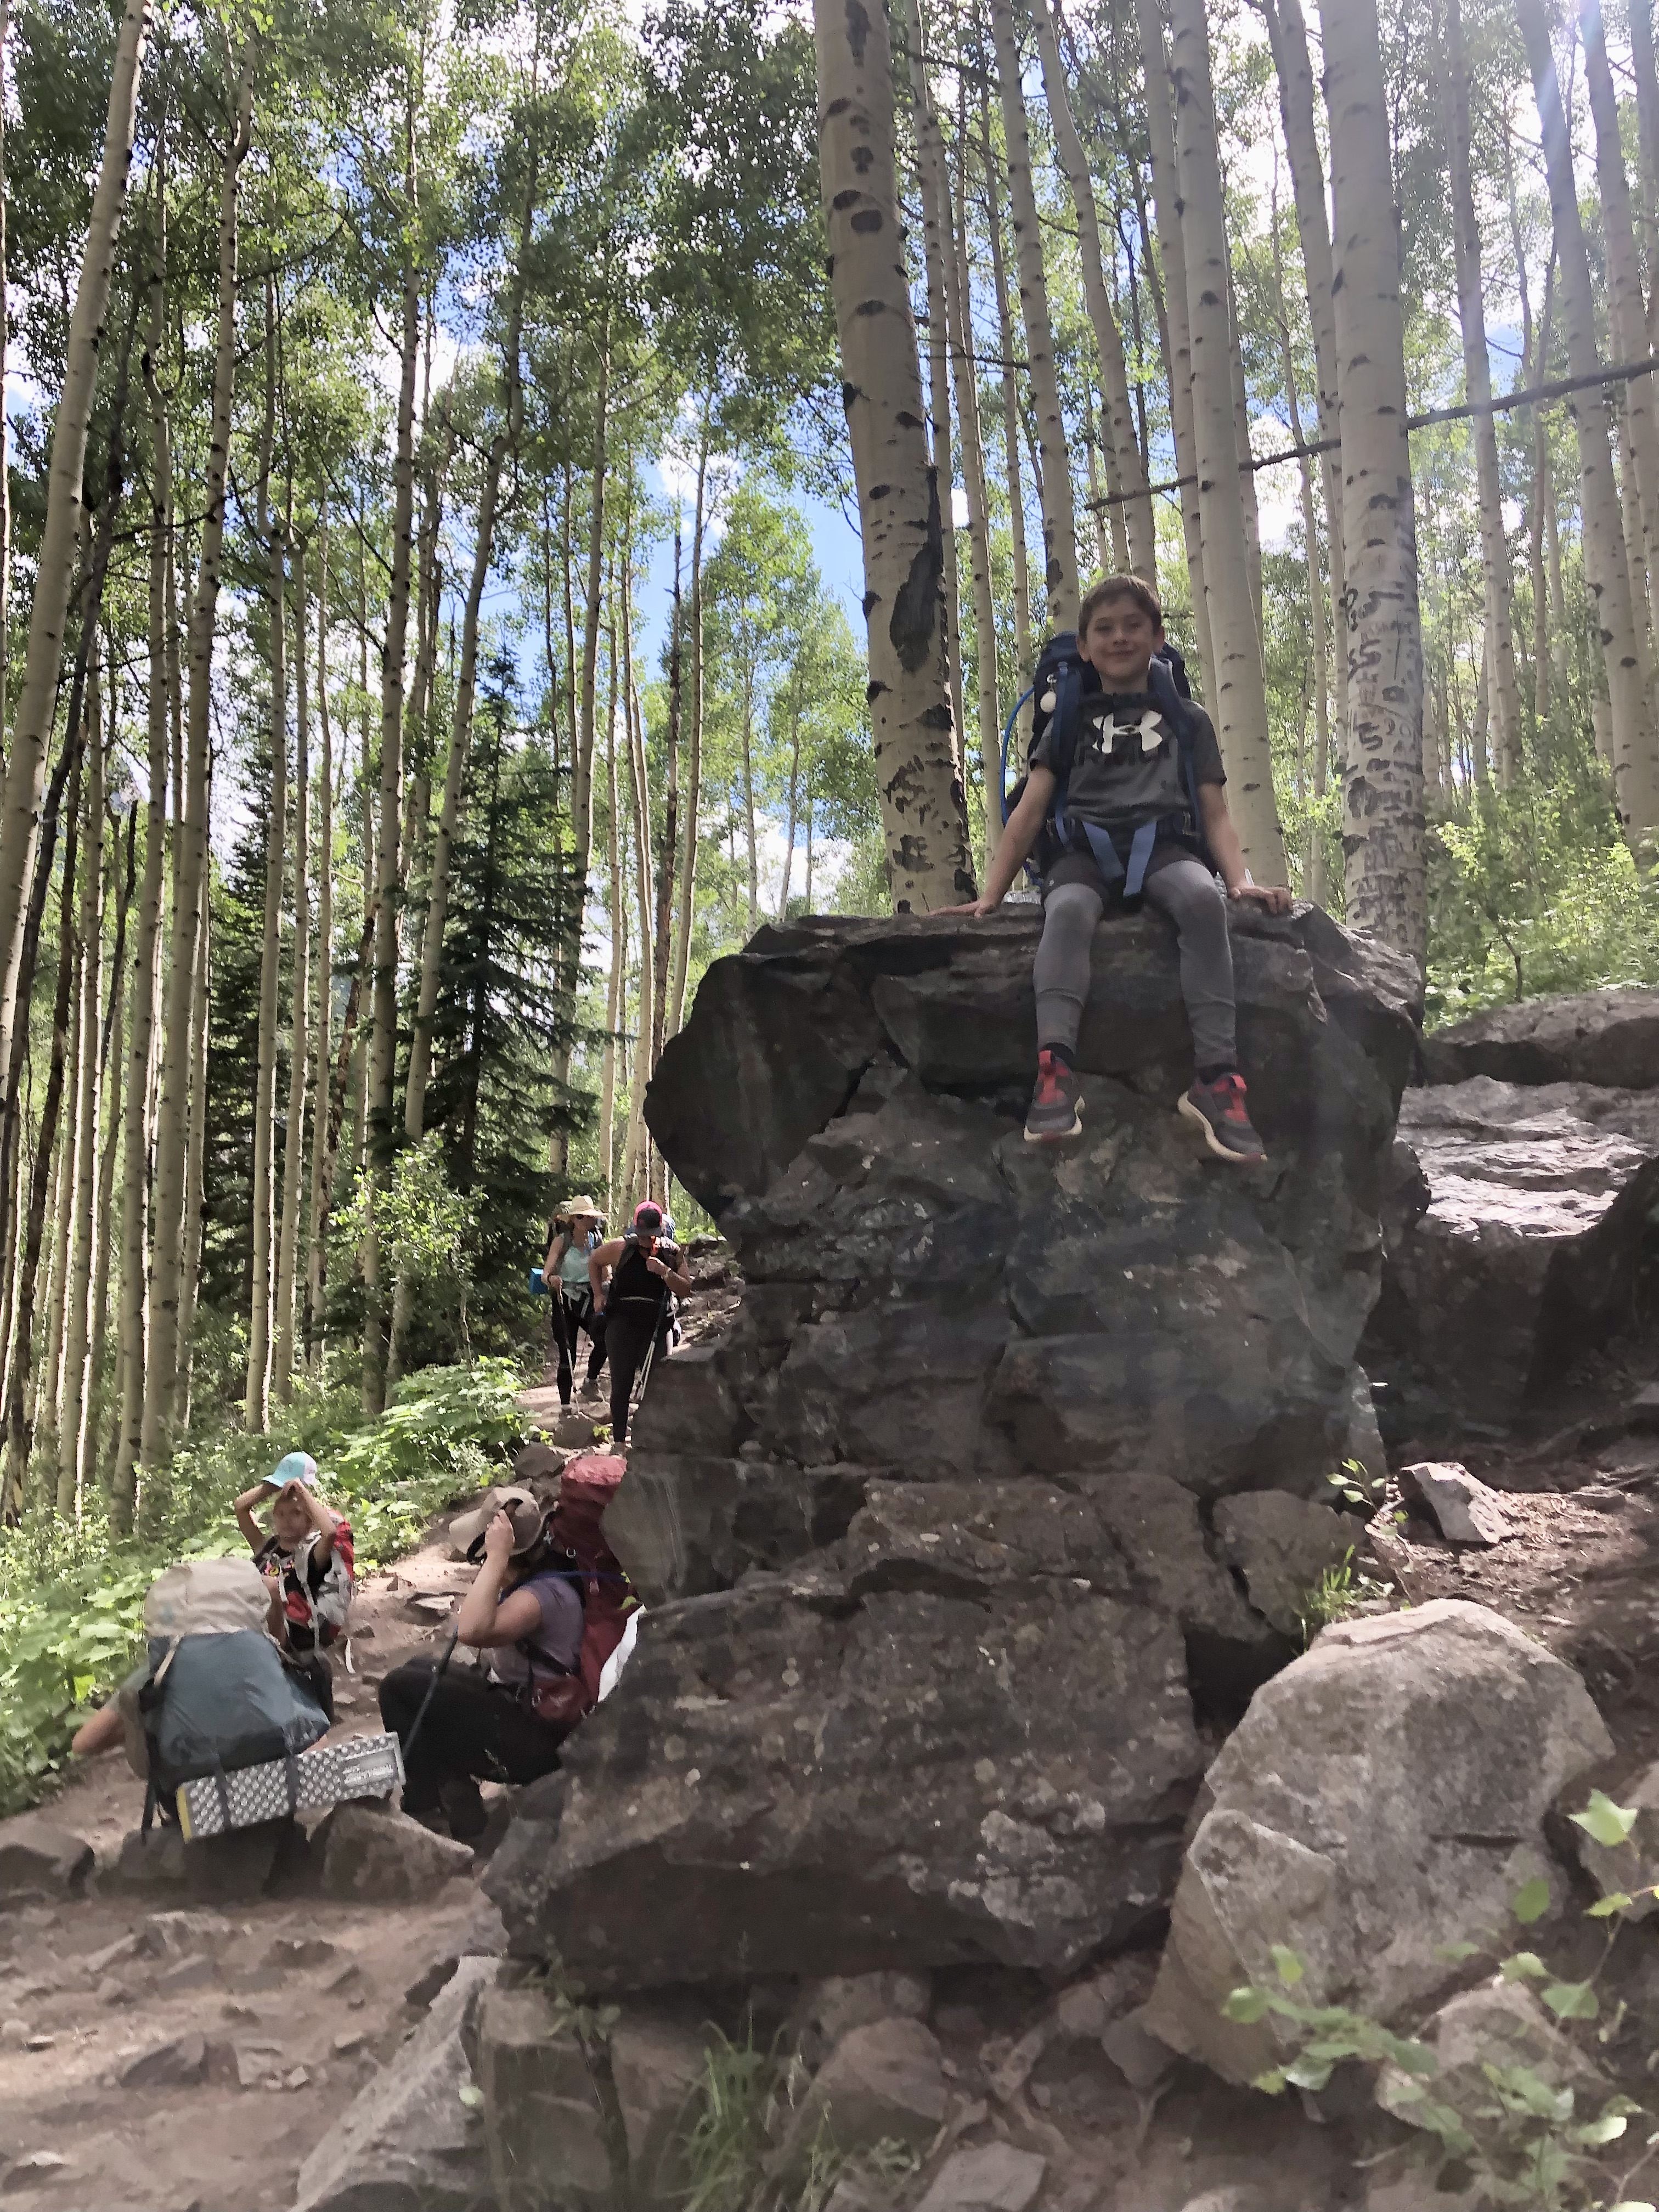
Our kids did pretty well during the first stretch among the wildflowers. Micah, the youngest, however, struggled with his pack at times, so I “mom-muled” it–carrying it for him about 50% of Day #1. Some of the other ladies in the group got frustrated with his reliance on me, so bribery became a main tool.

They promised him $10 if he’d carry his own pack the remainder of the trip, and it worked! Best ten bucks ever spent, and he totally bucked up without complaint! Lesson learned: Don’t underestimate the power of a few dollars and your child’s capabilities! (Gwen, my 9-year-old, impressively lugged her own pack from the get-go, never once asking for help, so we rewarded her proportionally).

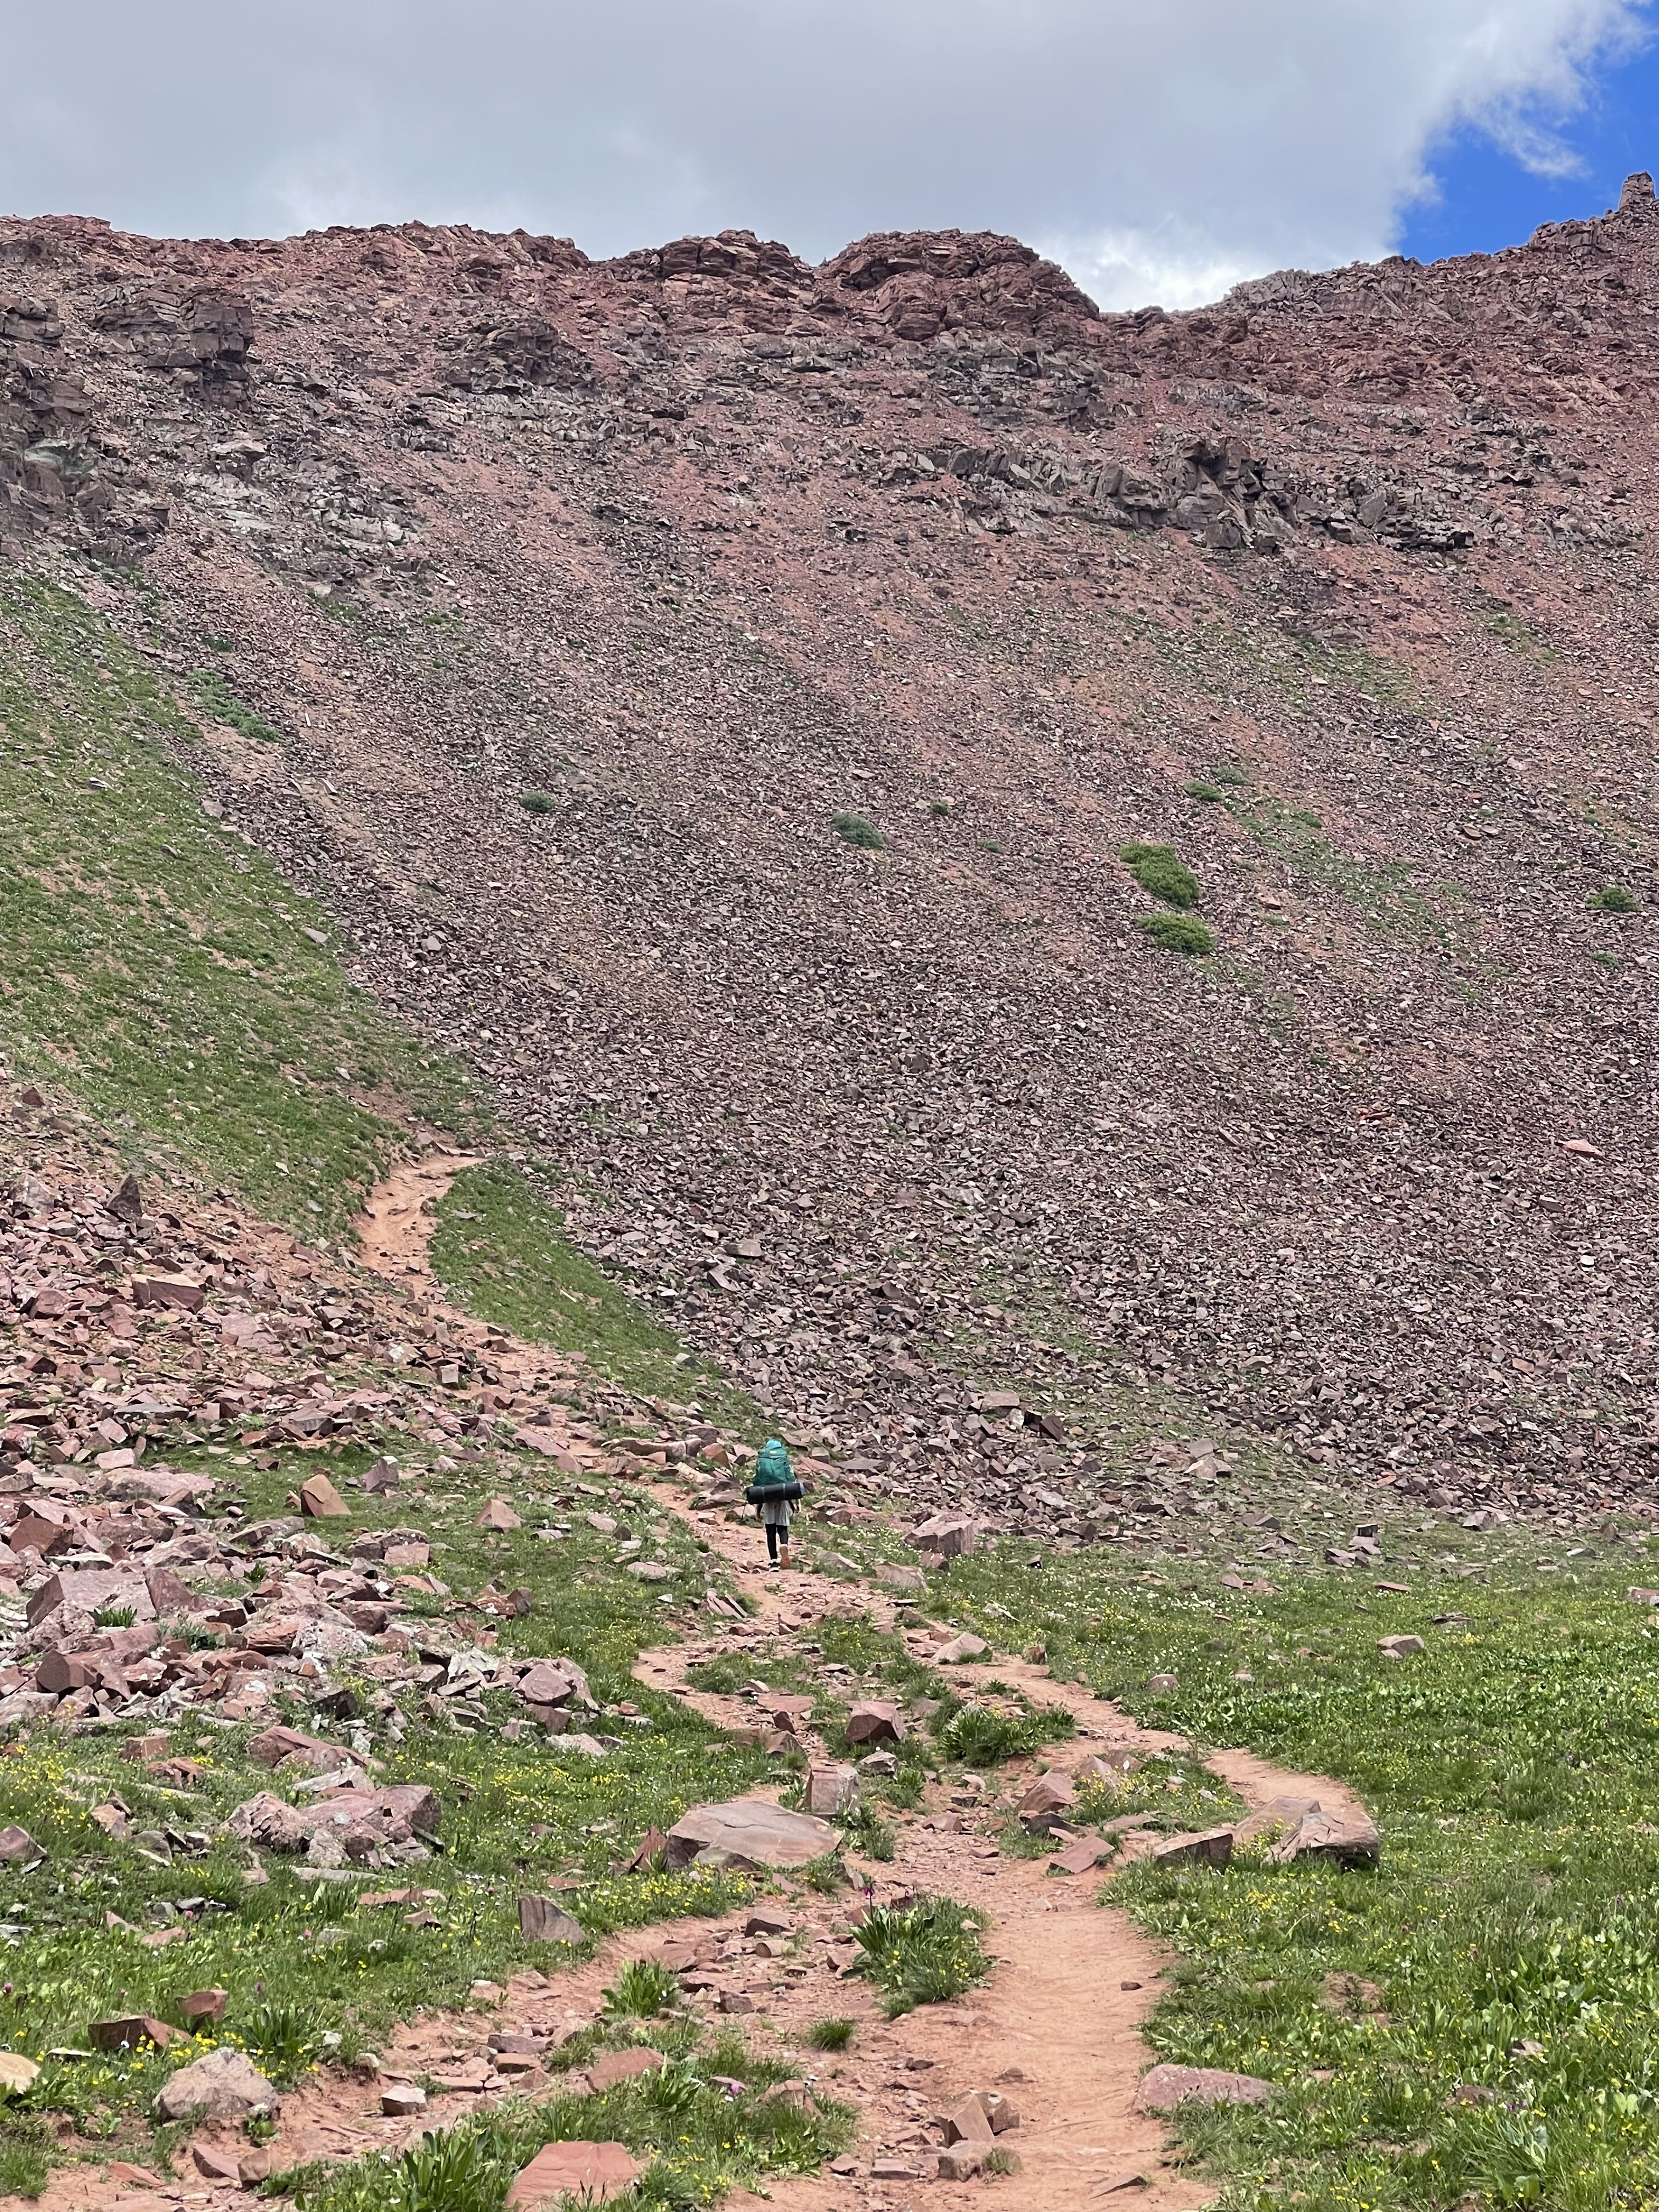
We took a long break and ate our picnic lunch on a big boulder in a meadow, after clocking about 3.5 miles (scroll down for what we packed for food!). After that, we began pressing upward toward the pass, as the terrain began to shift. It all looks very unassuming until you reach the last quarter-mile up to West Maroon Pass at 12,490 ft.
What had been a gradual incline with flowers everywhere, transitioned to strenuous switchbacks with lots of sun exposure, steep drop offs at times, and rocky terrain.
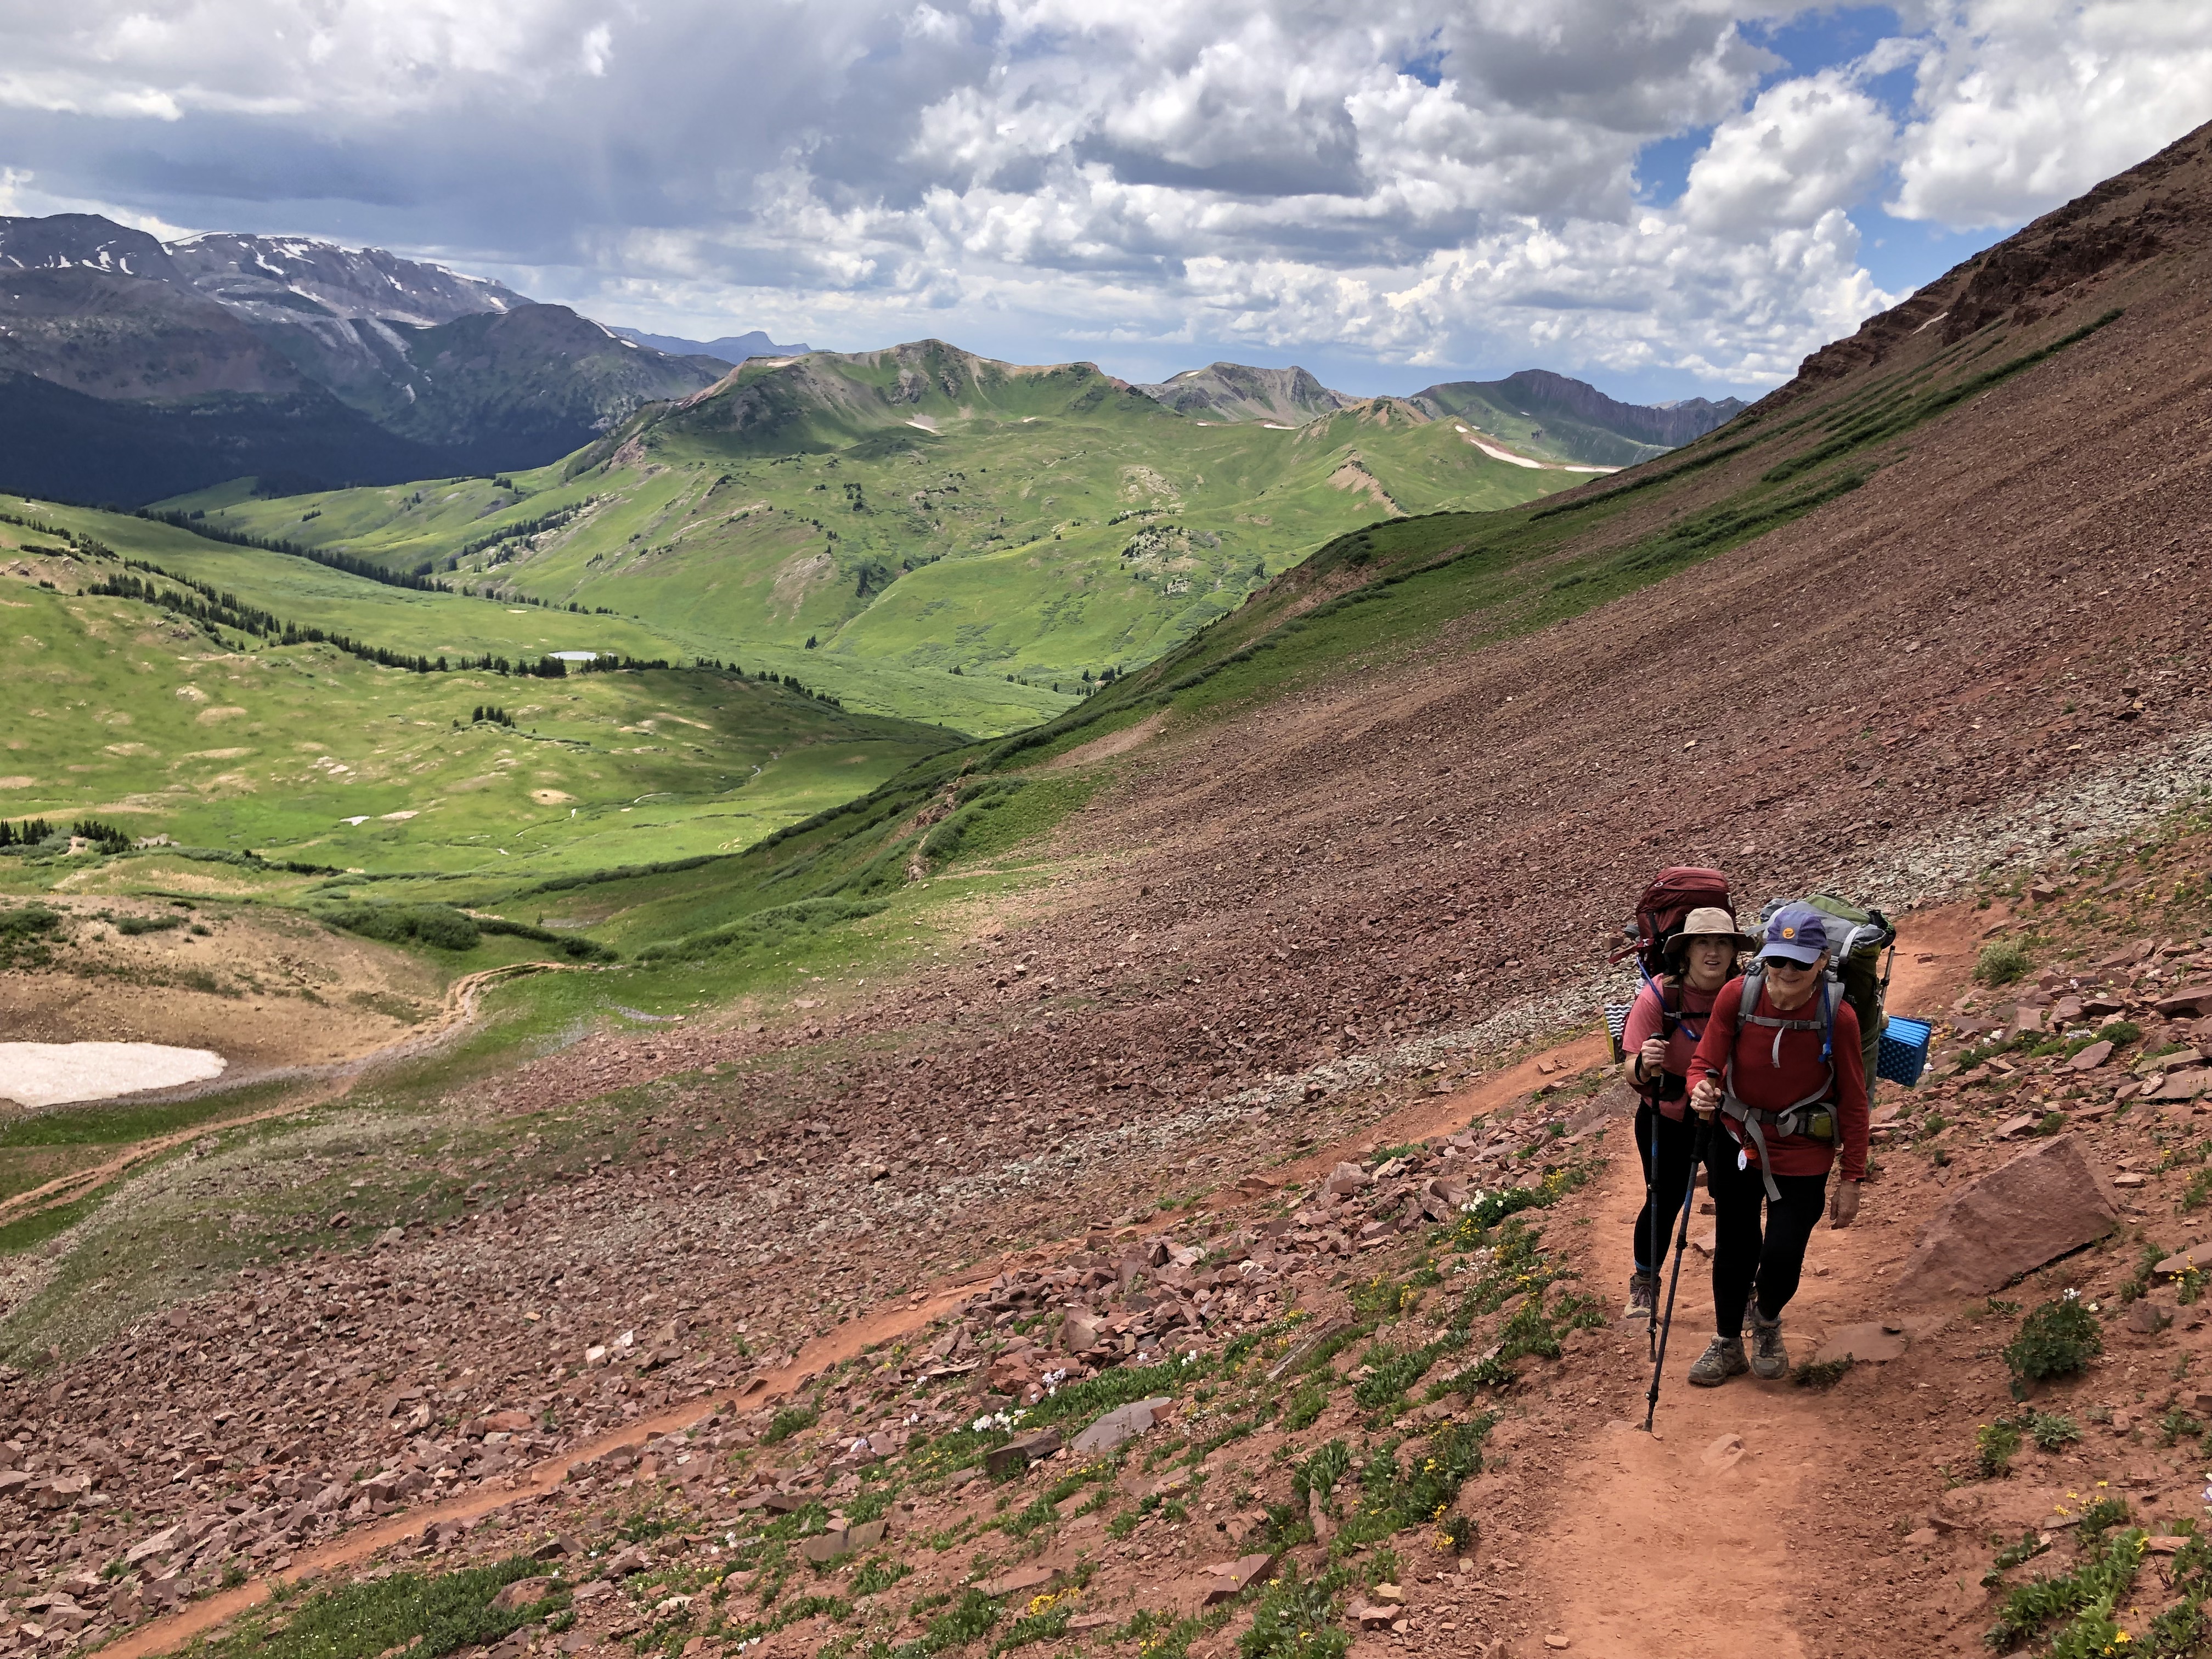
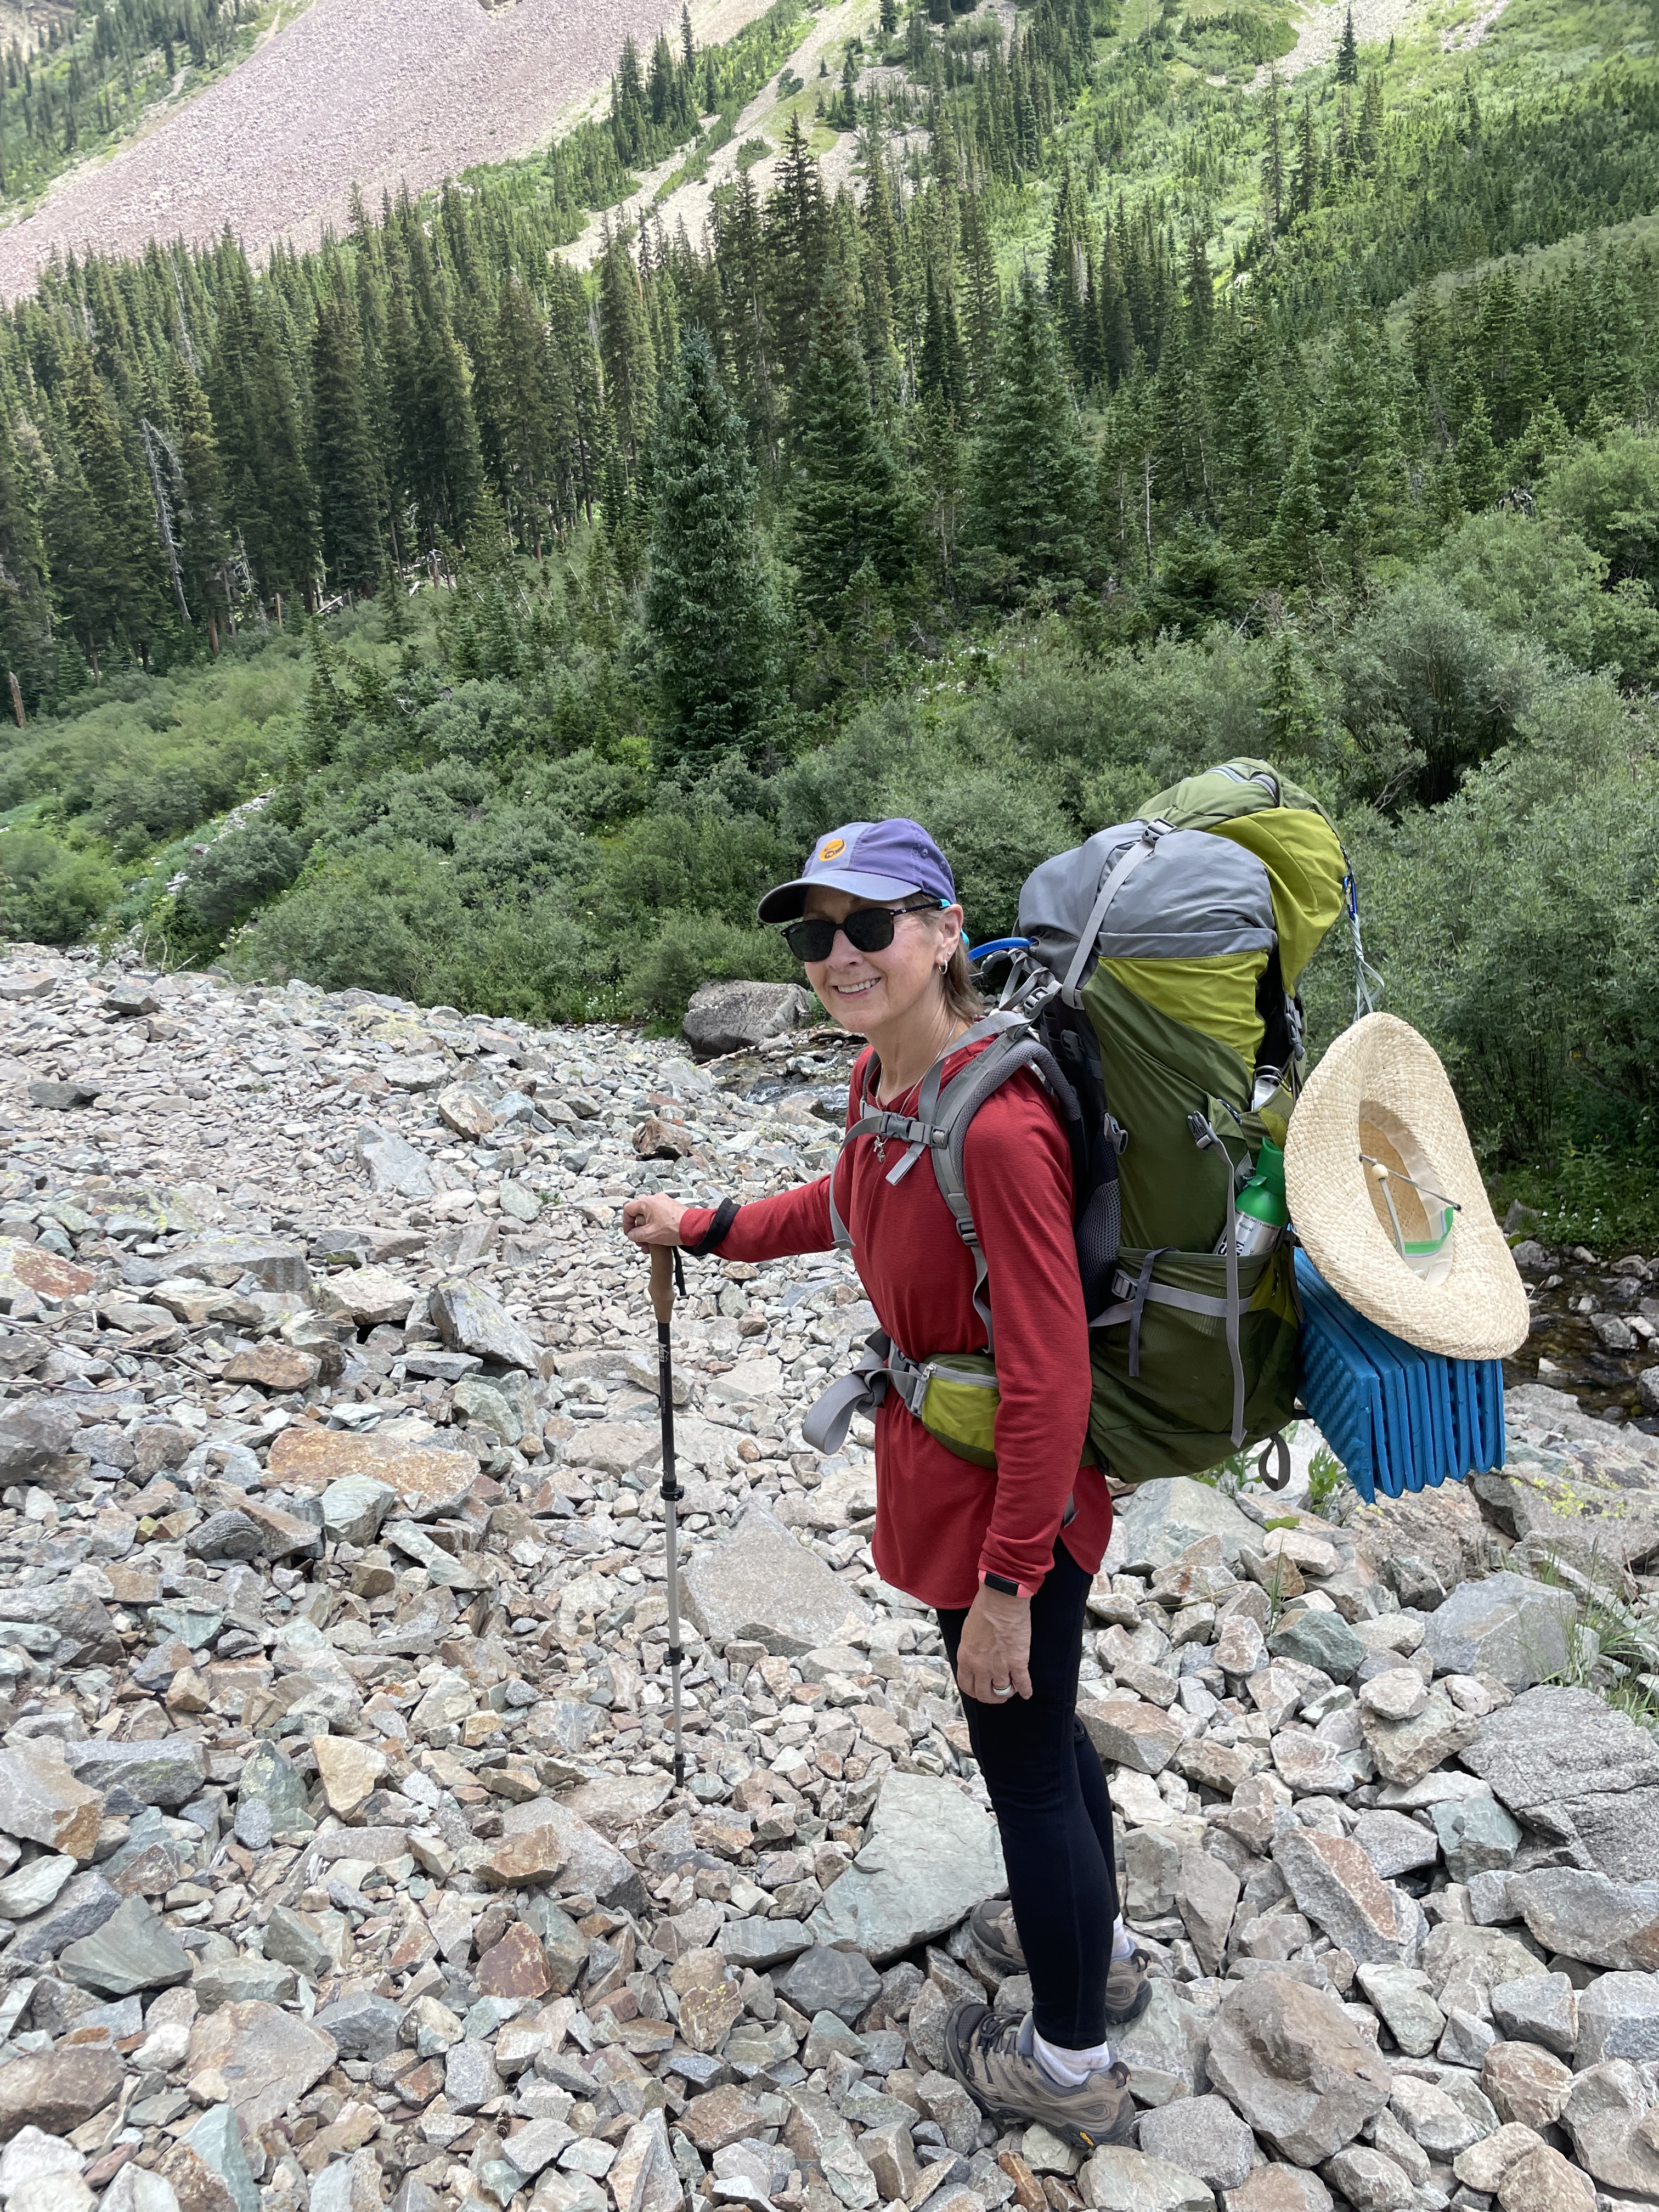
Once we reached the summit of the Pass though, we stopped to enjoy the magnificent views as we (very literally) straddled the two valleys! There’s not a lot of space up there, so be careful. From here, the hike would be all downhill–Woohoo!
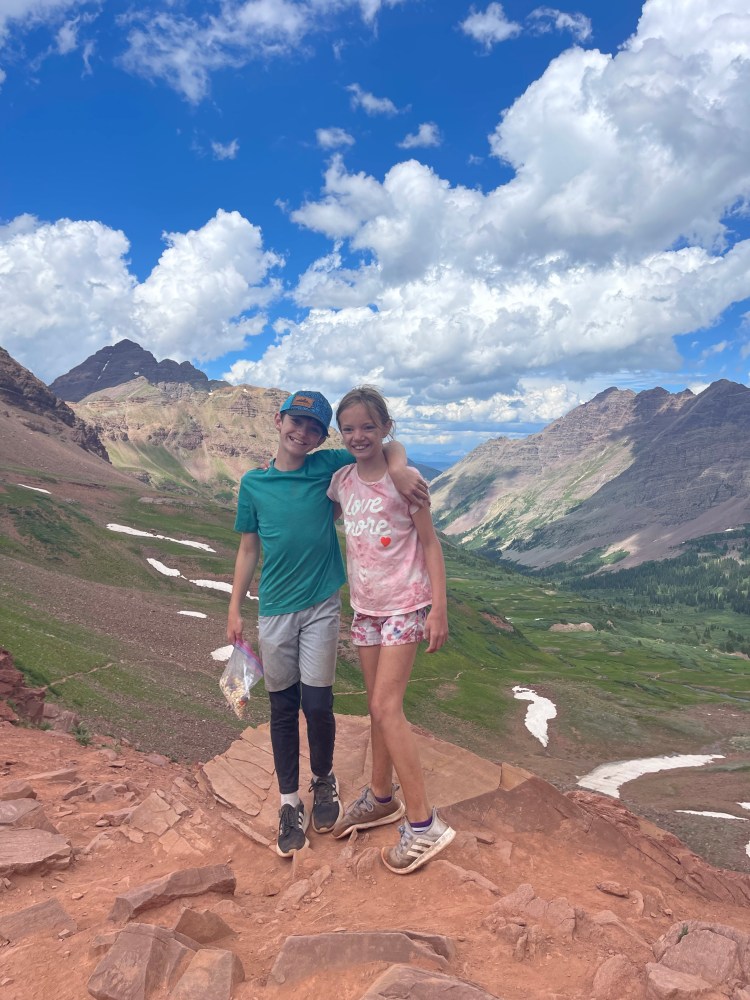
(background features the Aspen side)
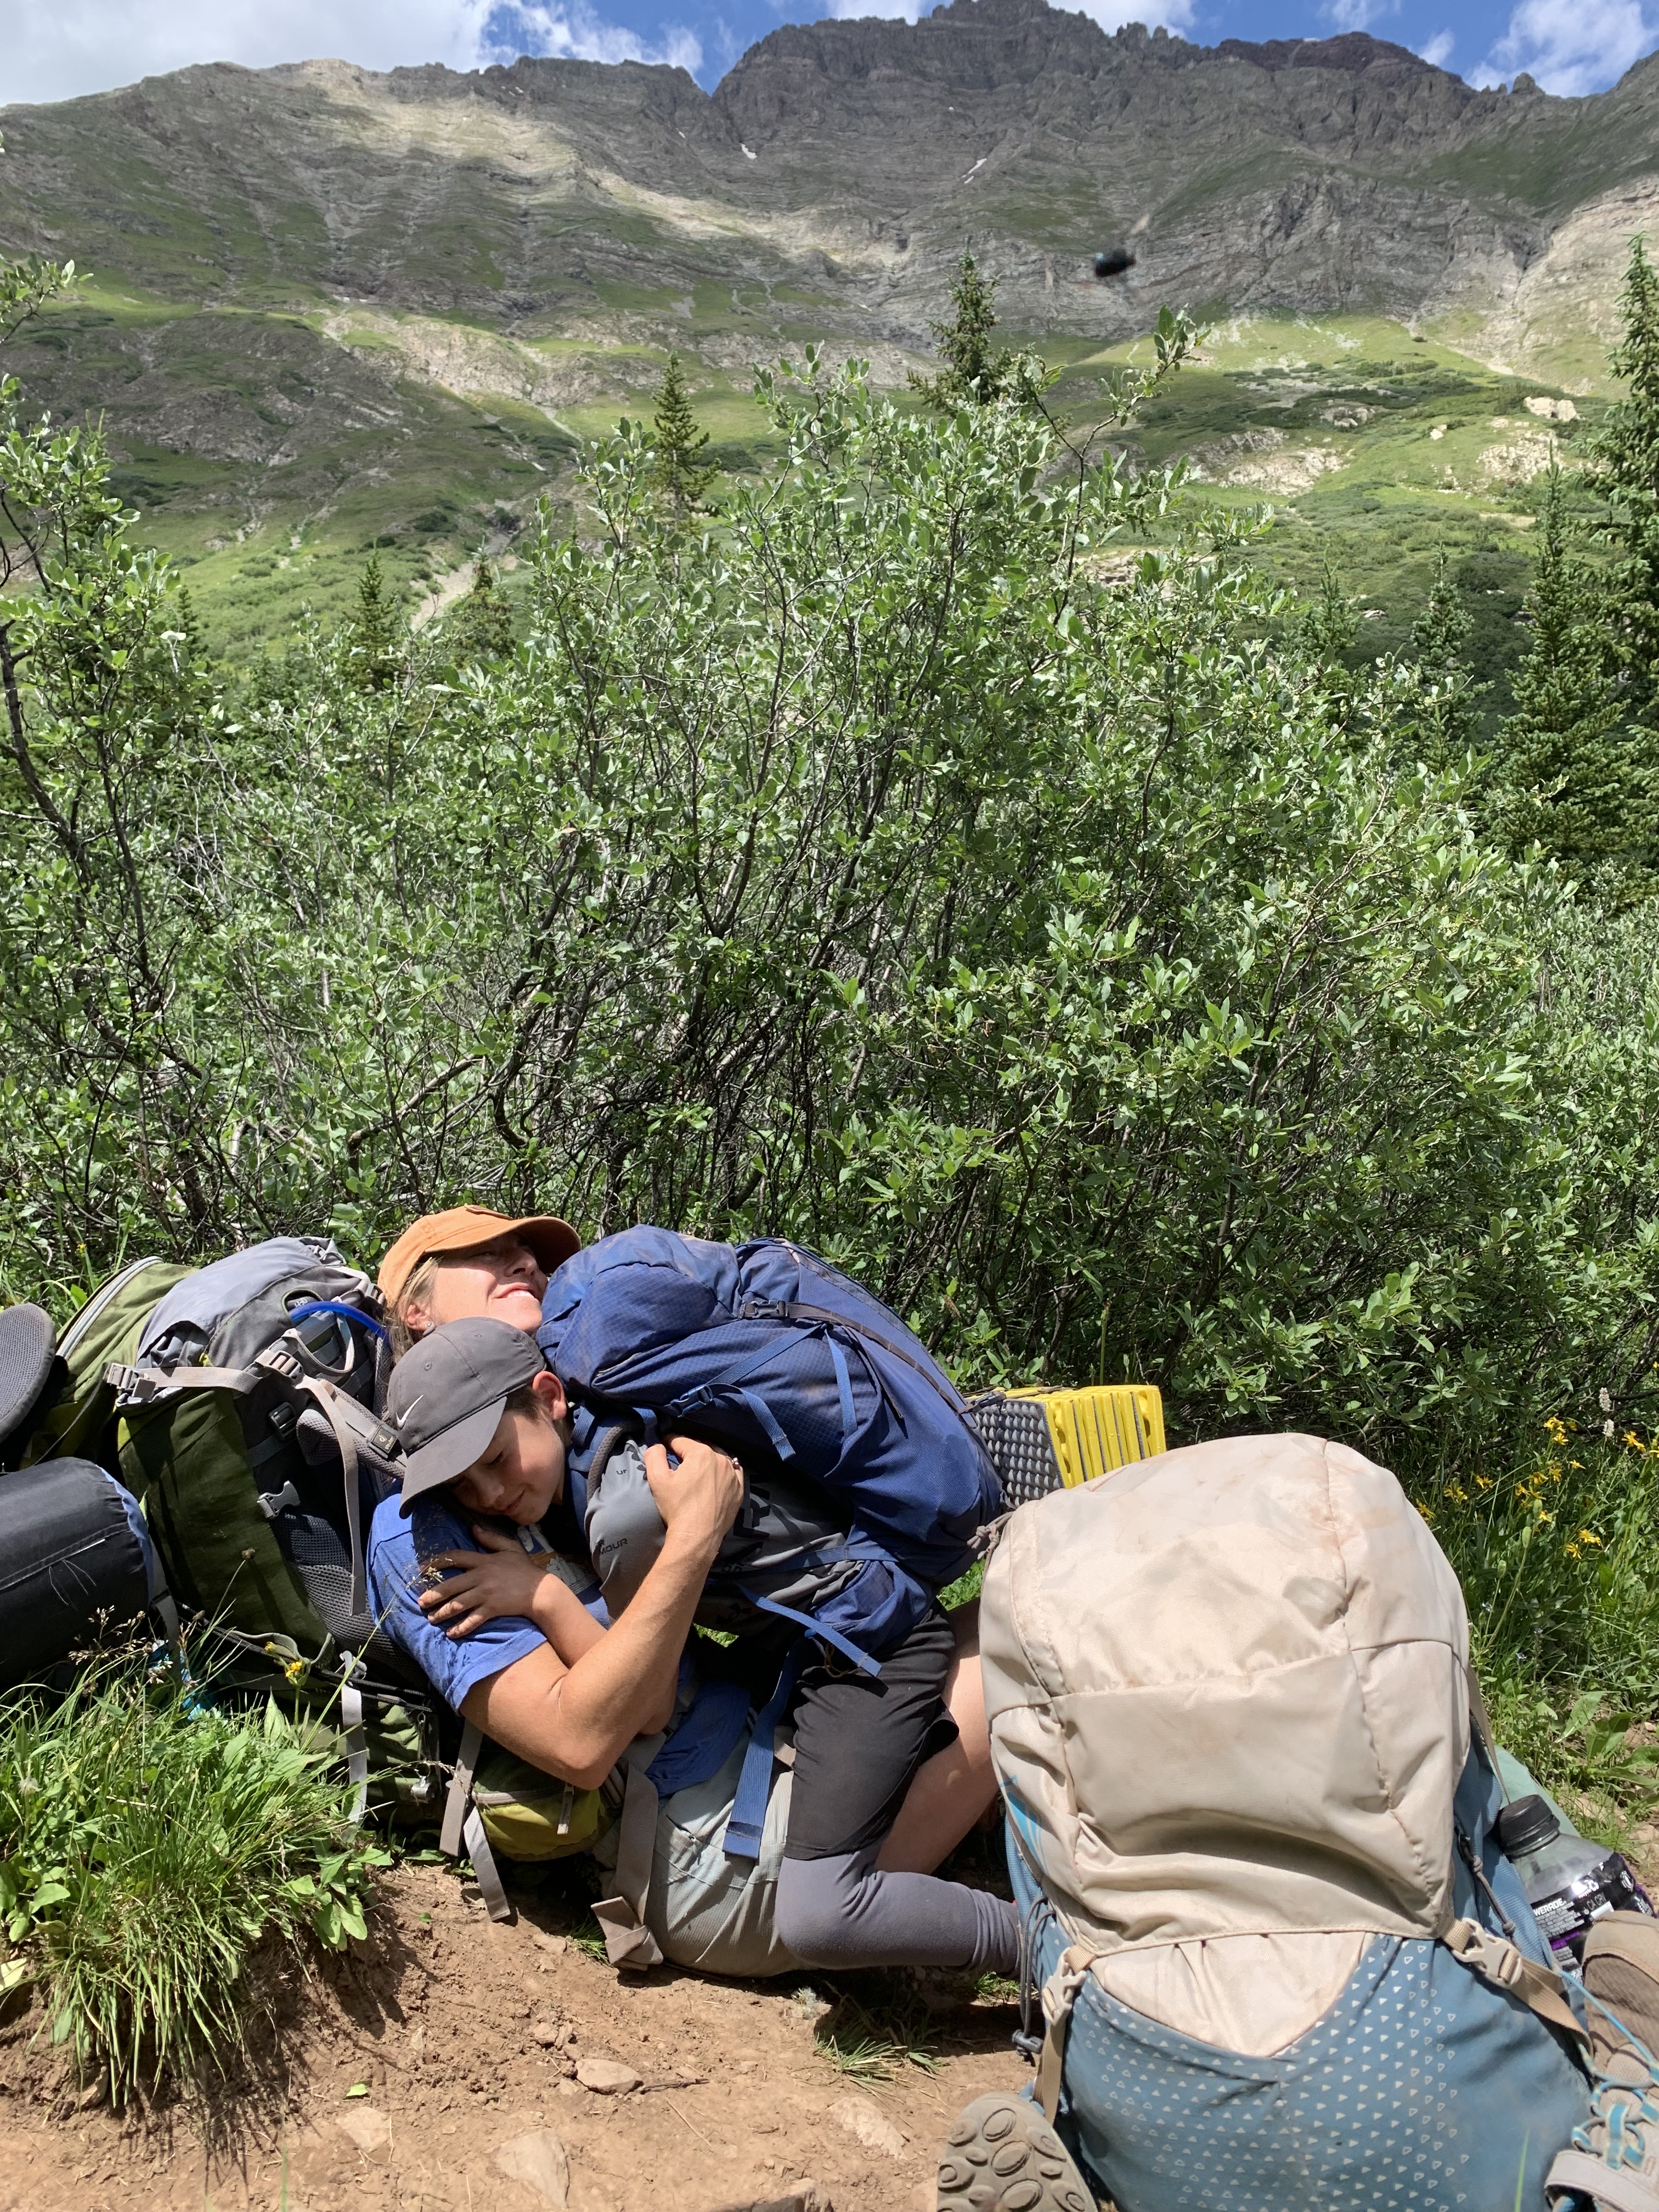
However, making our way down the Pass was super sketchy. It was slick and rocky, so had to stay vigilant. Actually, it was downright scary! I don’t even have a single picture…evidence I was too scared to snap a shot. Note you should really wear decent hiking boots for grip. Unfortunately, my son only wore a pair of Nike’s with minimal traction. He could have easily slipped down the steep slope if I hadn’t urged him to walk in his socks instead, leaning in and clinging to the mountainside, until the trail leveled out.
I carried his shoes and backpack because this section was VERY unnerving for all of us. My sea-level sister and 69-year-old mom almost had a panic attack on the way down! Subsequently, this is also when my sister assure me she had “officially retired from backpacking”.
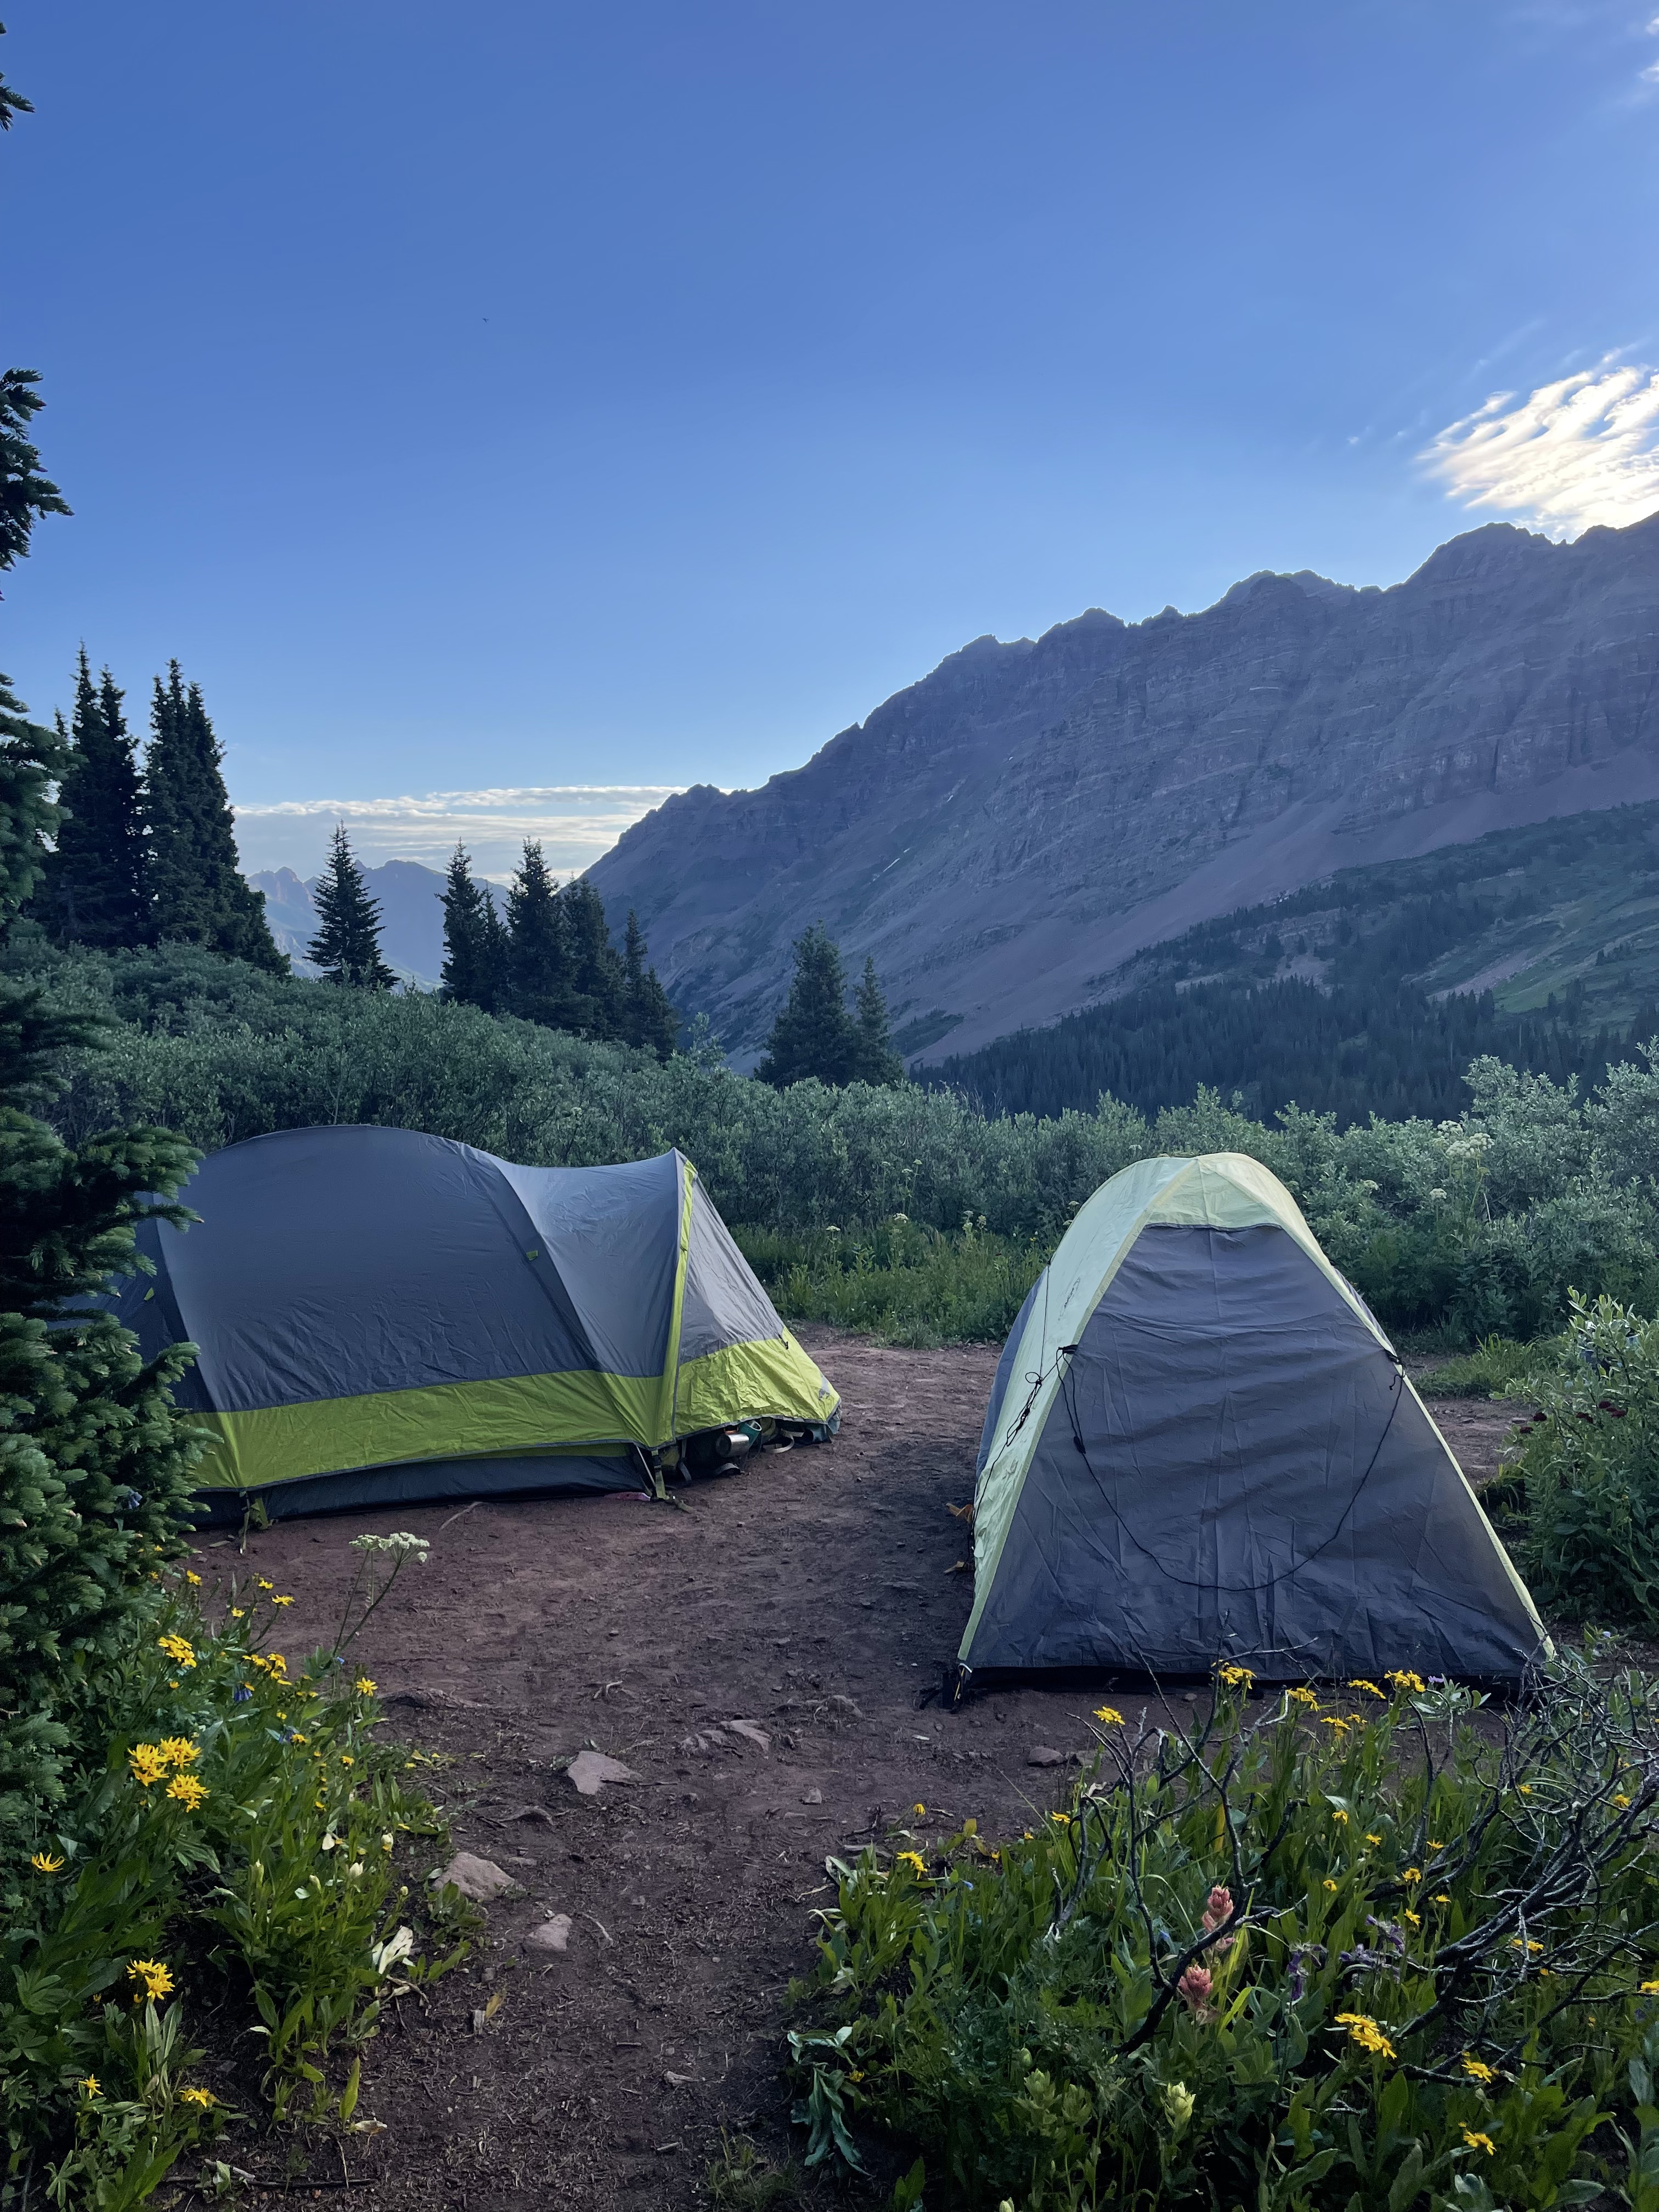
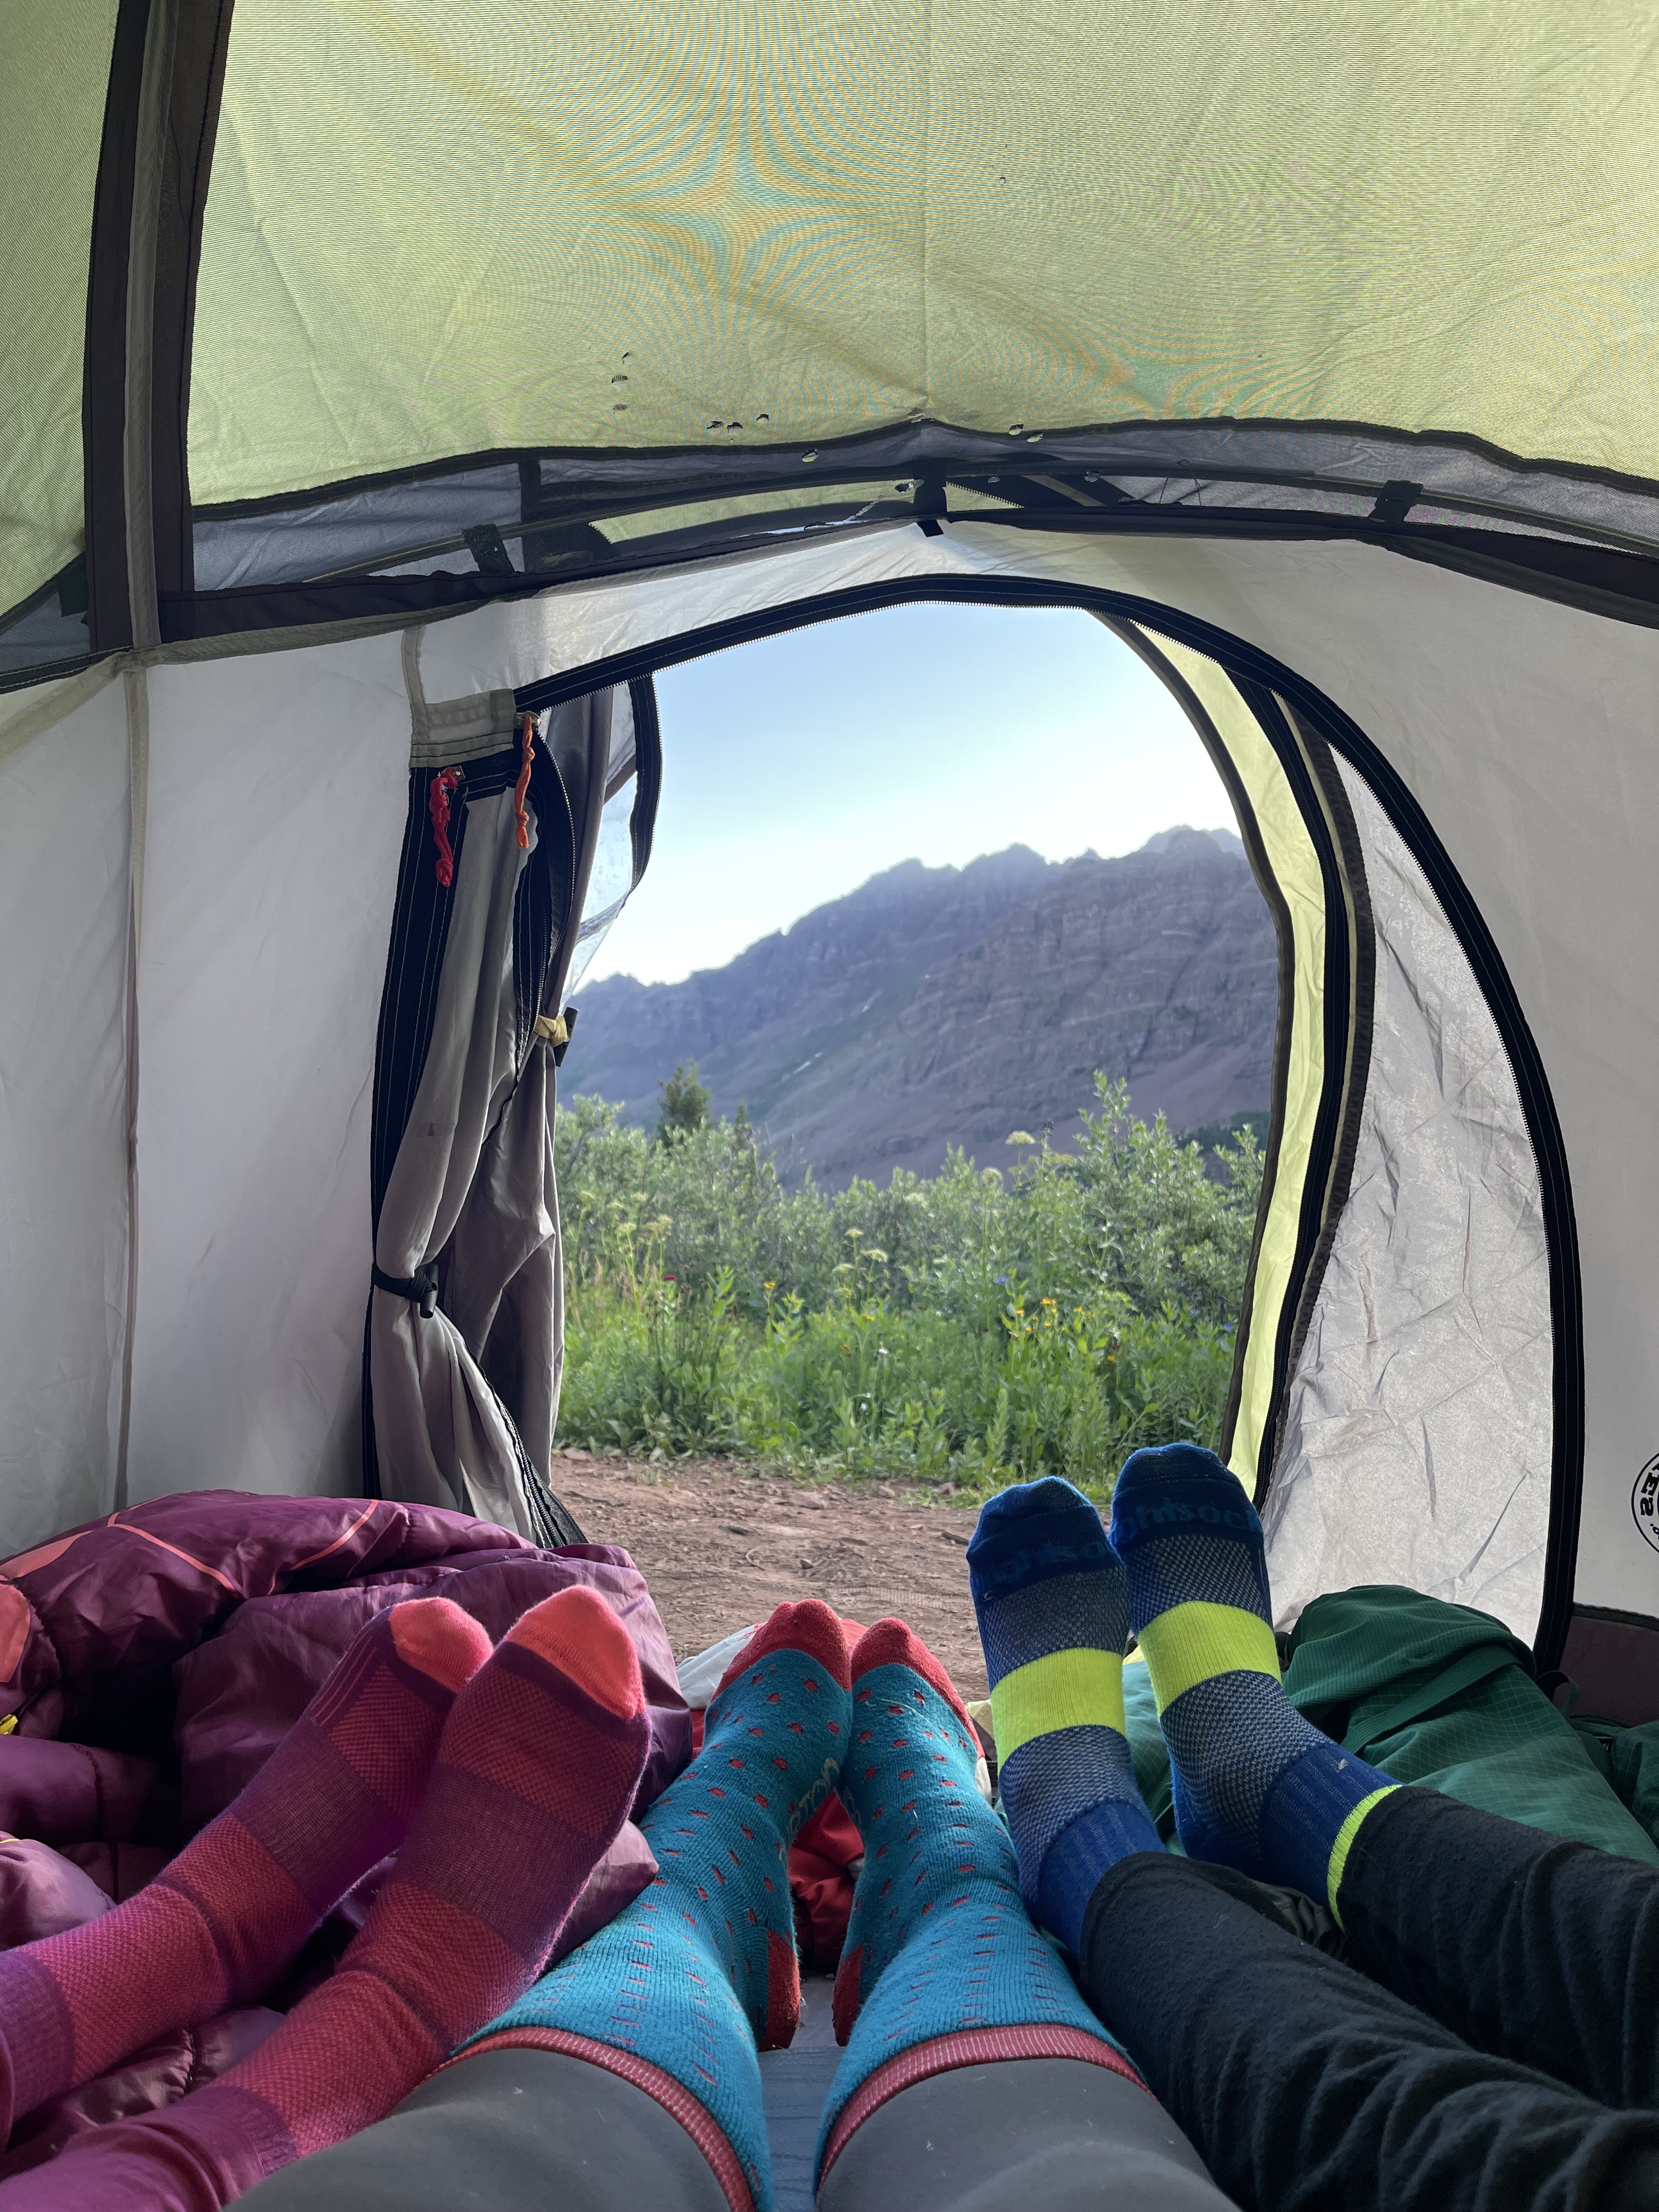
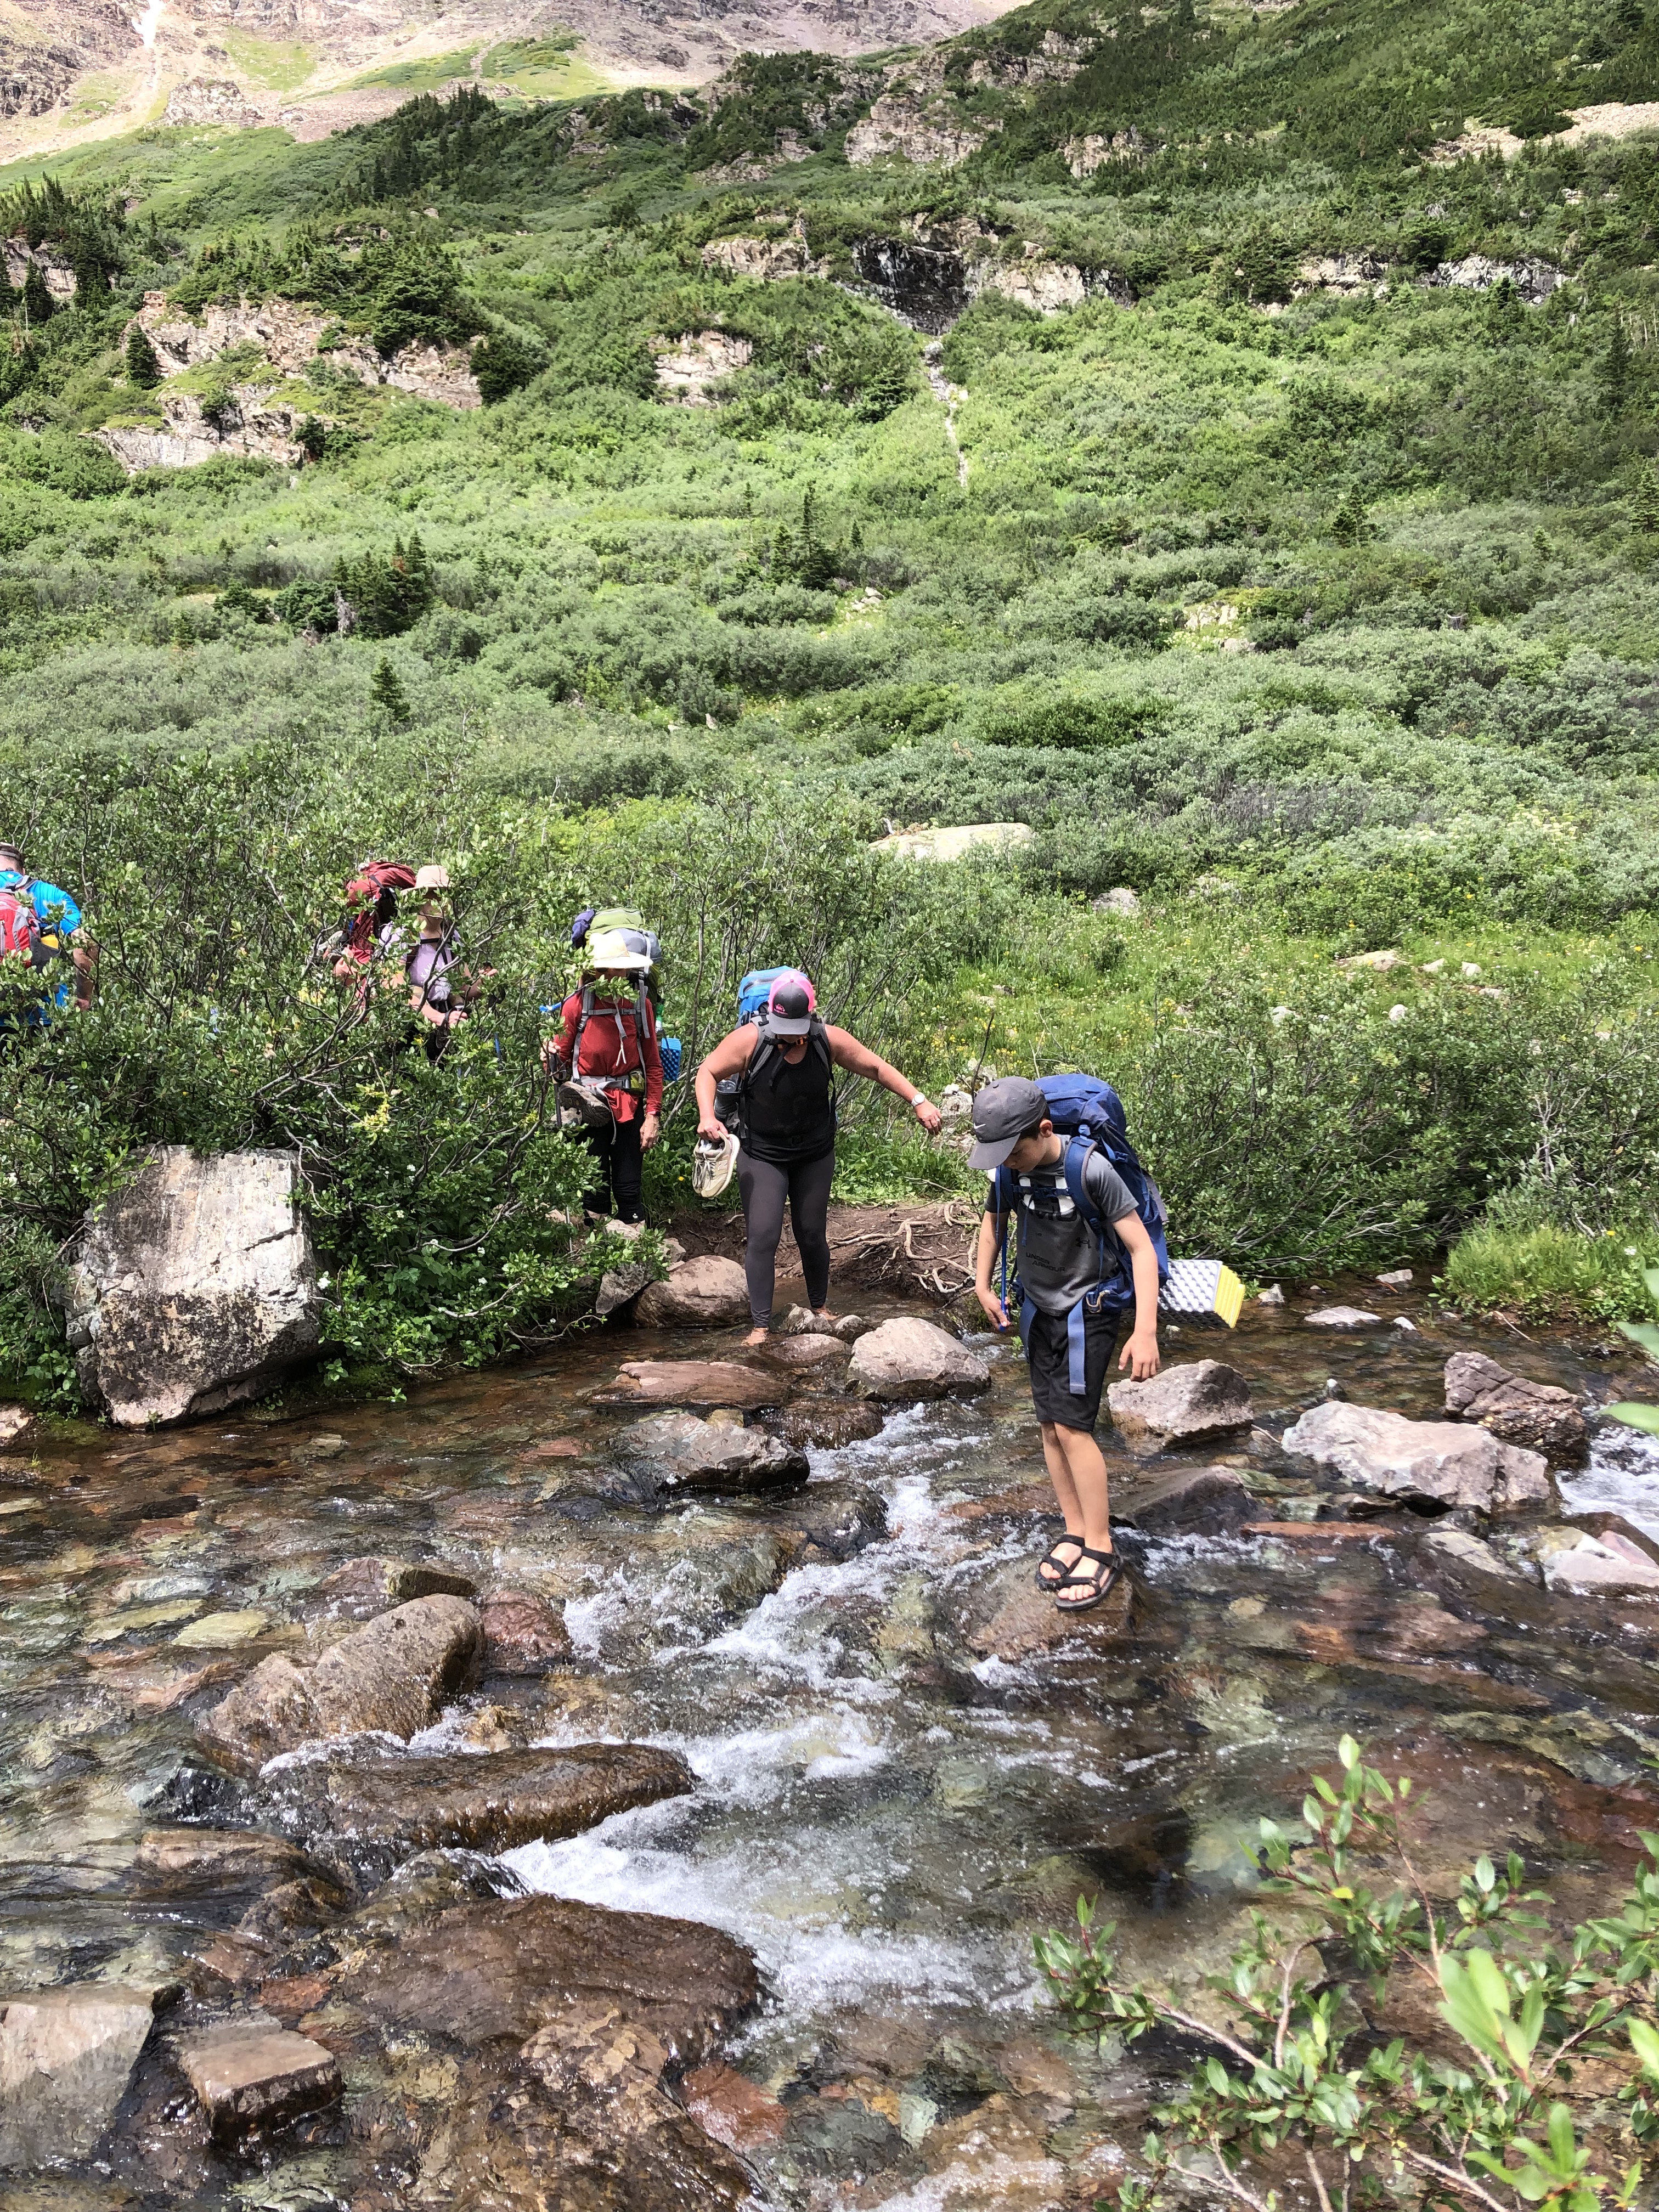
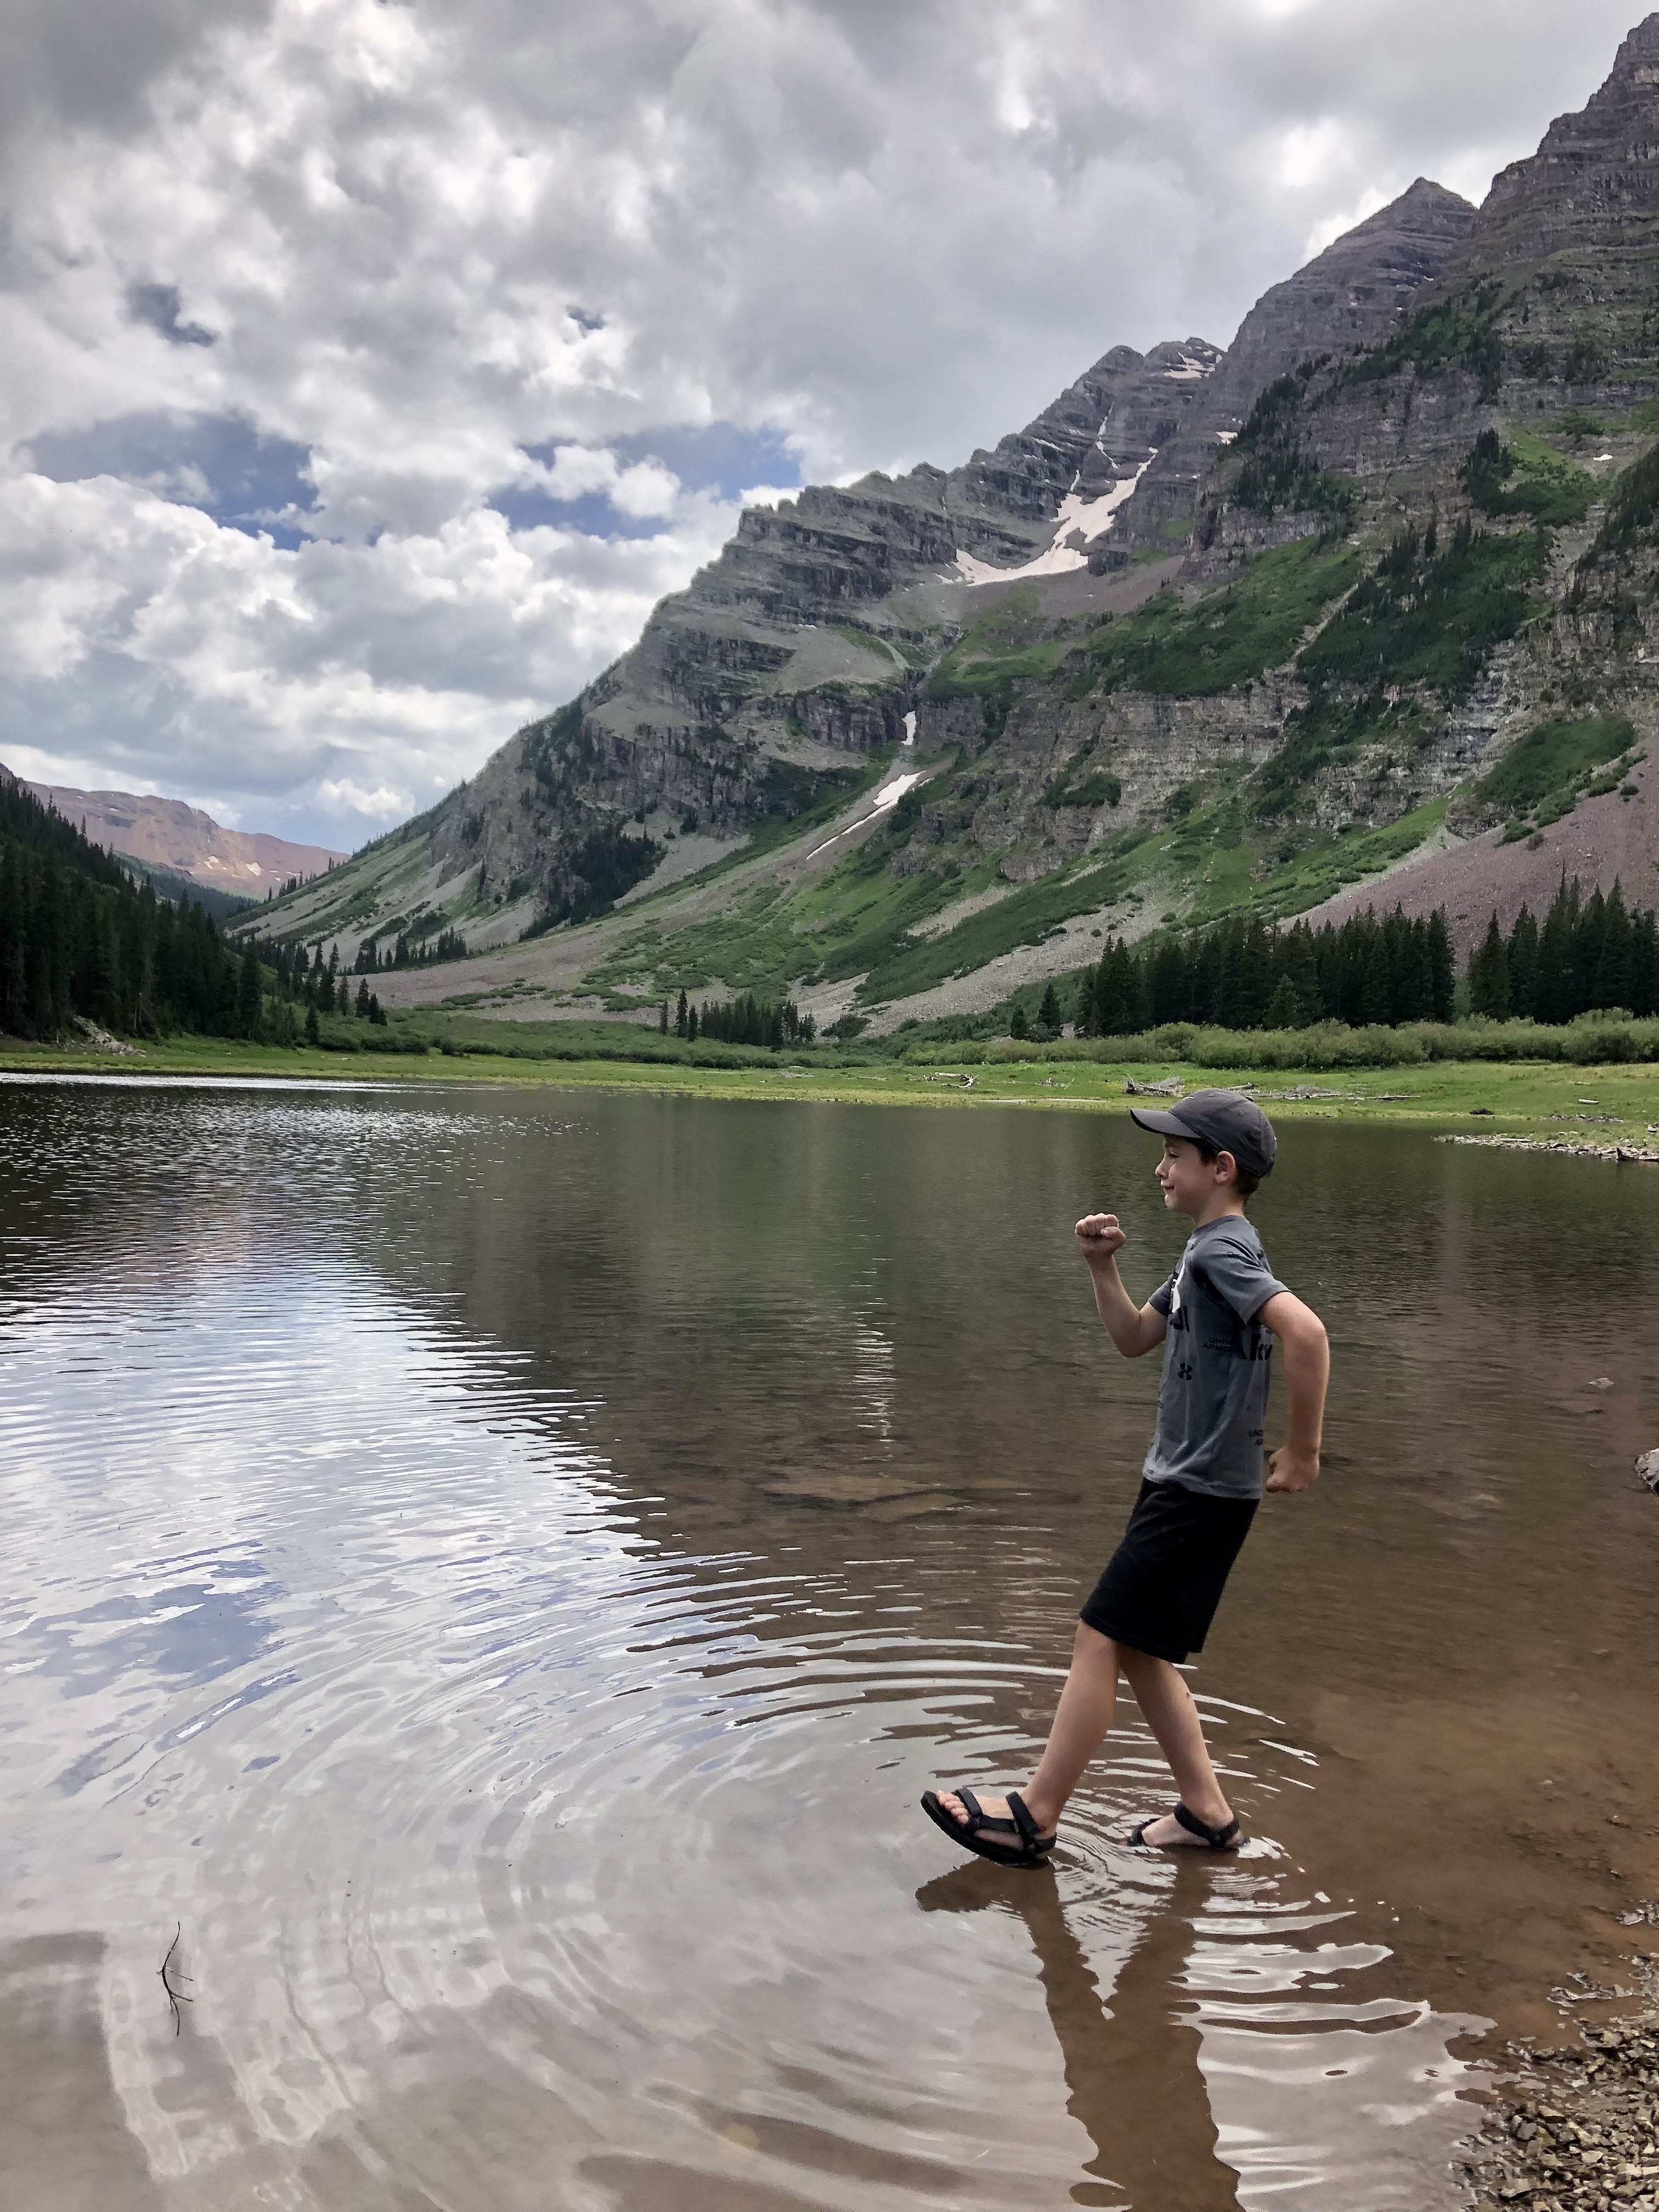
It didn’t take more than 10-15 minutes to get beyond this stressful section and into the alpine tundra and upper tree-line. After a stream crossing, it was maybe 100 yards up a slight hill to a meadow, where to the right a trail branched off and lead to a few tent sites tucked within pockets of Pine. And WOW the views from these sites too!!! We counted maybe 6-8 tent sites in this area (coordinates: 39.042553, -106.986626), and let the kids pick one for the evening.
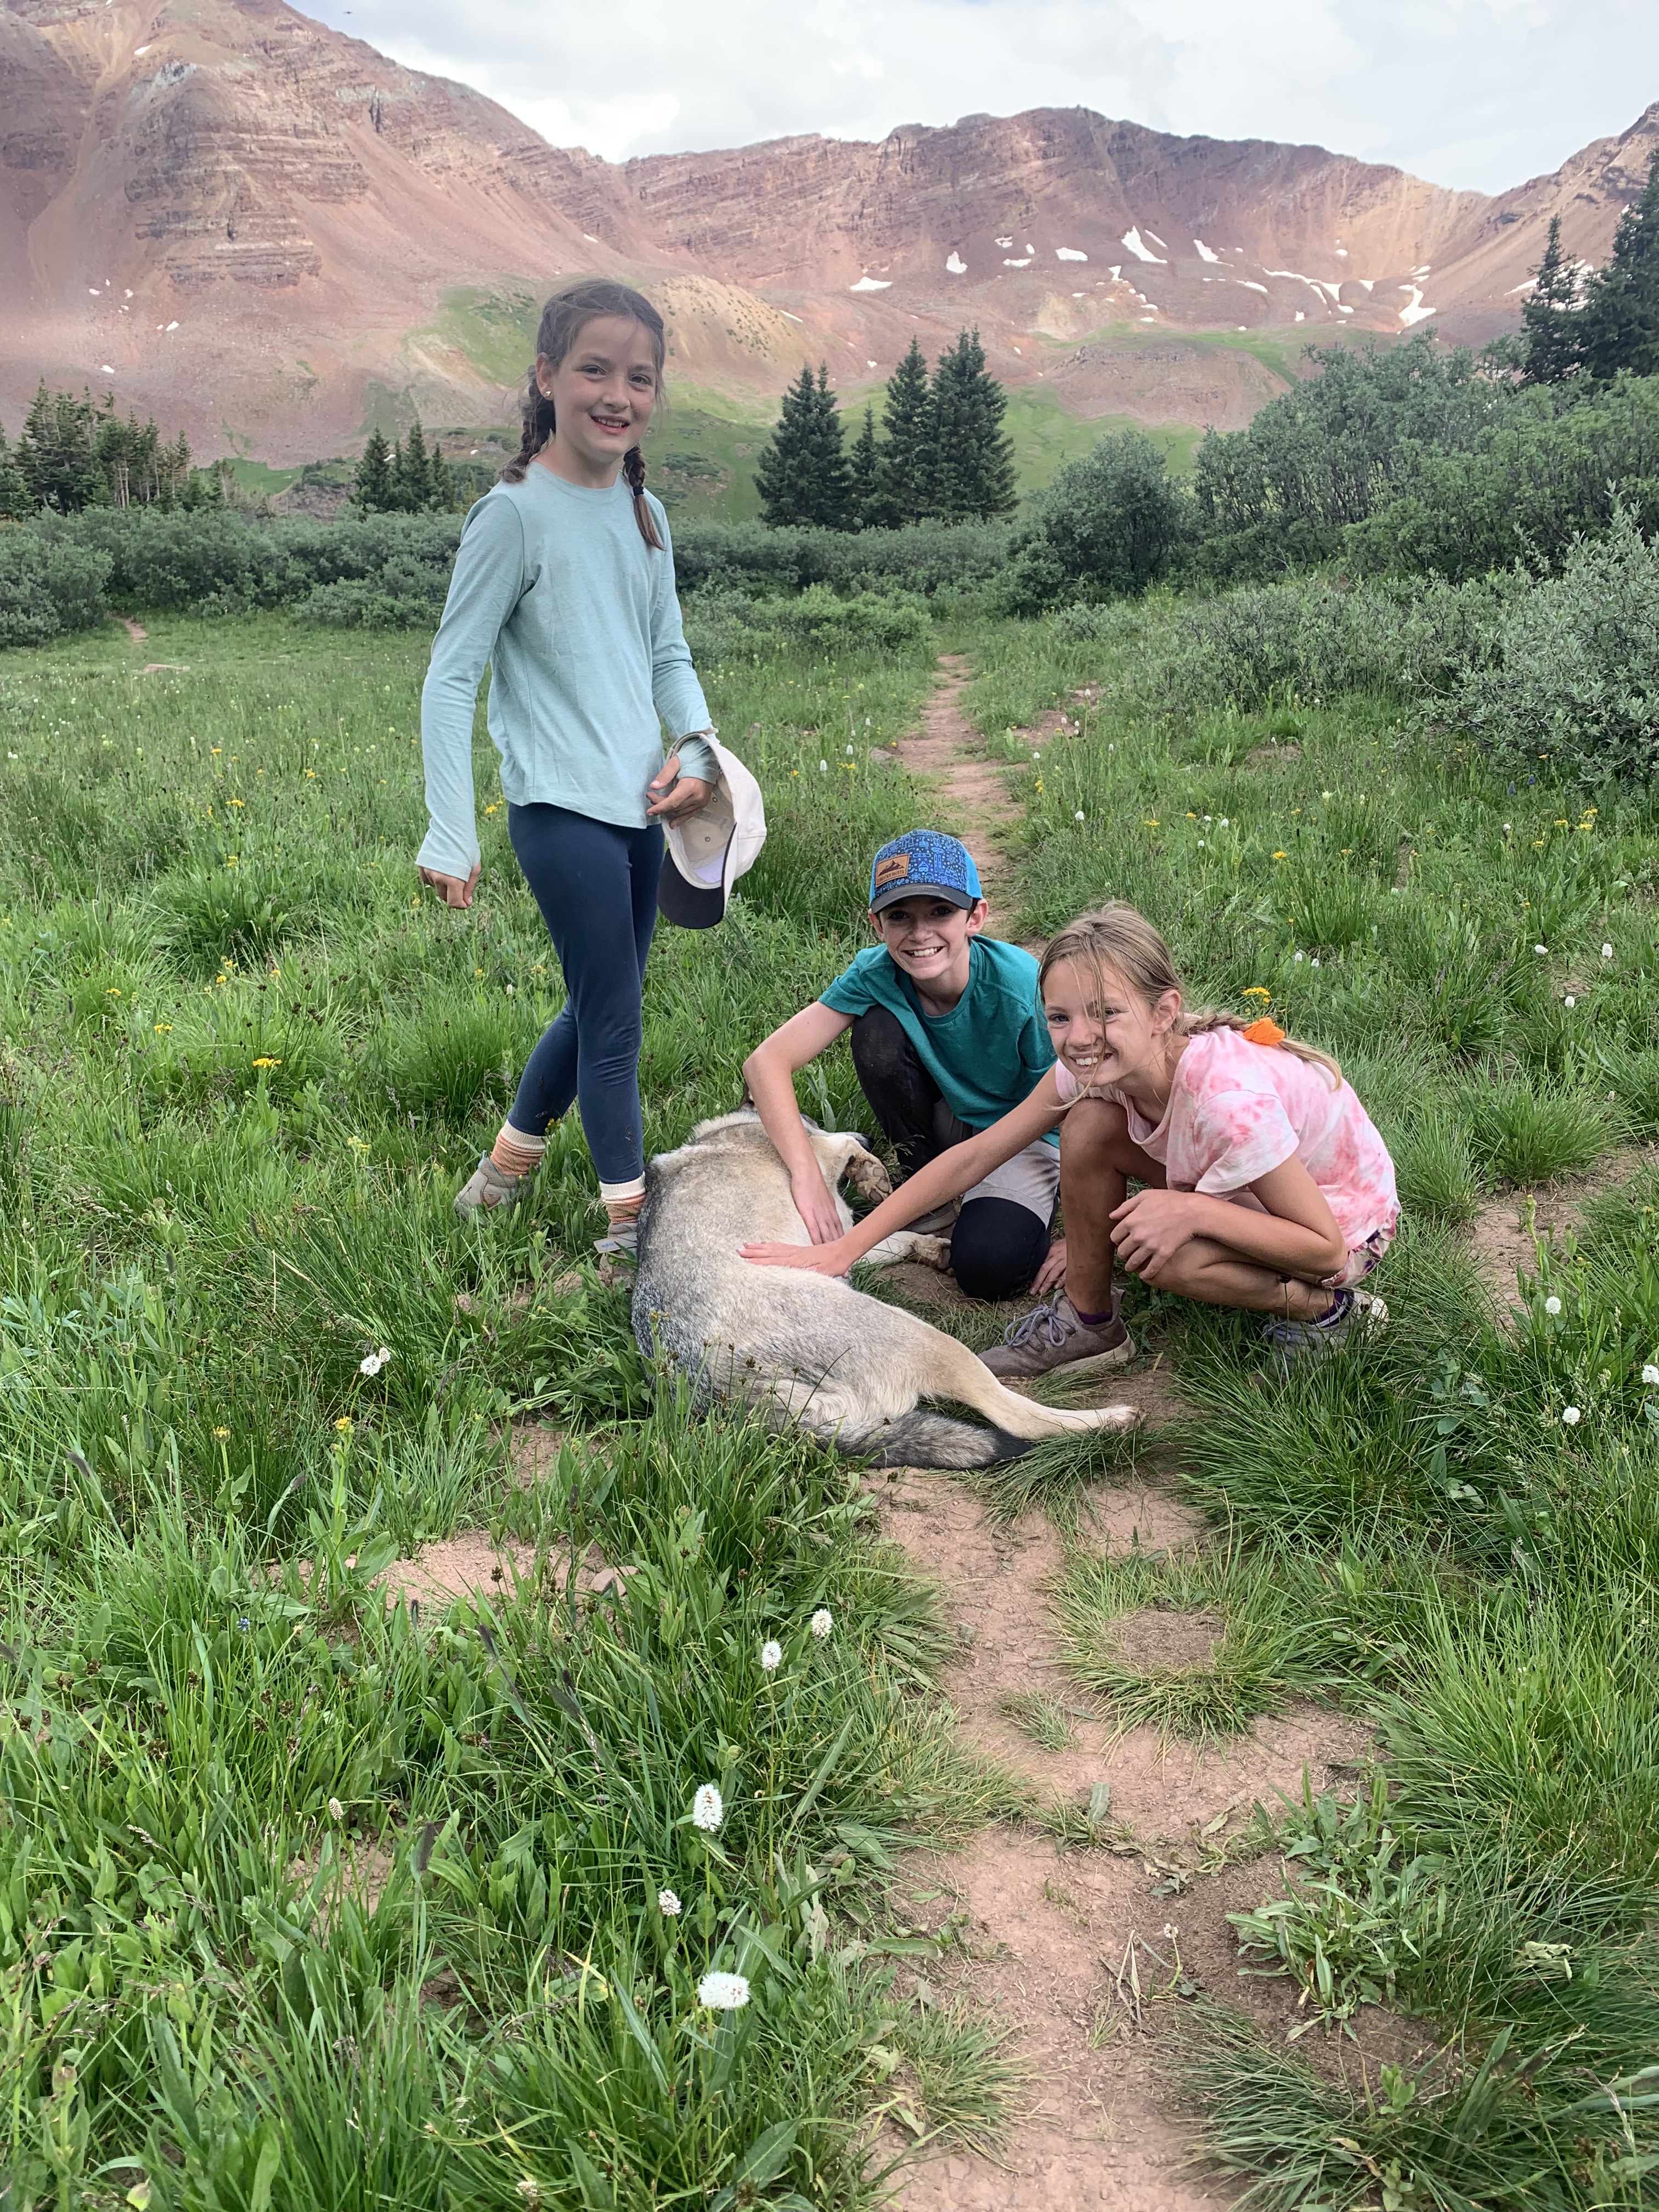
We weren’t the only ones who snagged a site, and chatted briefly with a couple others (and their pups) who had decided to stay the night here too. None of the sites are “designated”, yet they are well-established. If you can’t make it to Crater Lake where the designated sites are, this is your best option for ease and to limit your impact.
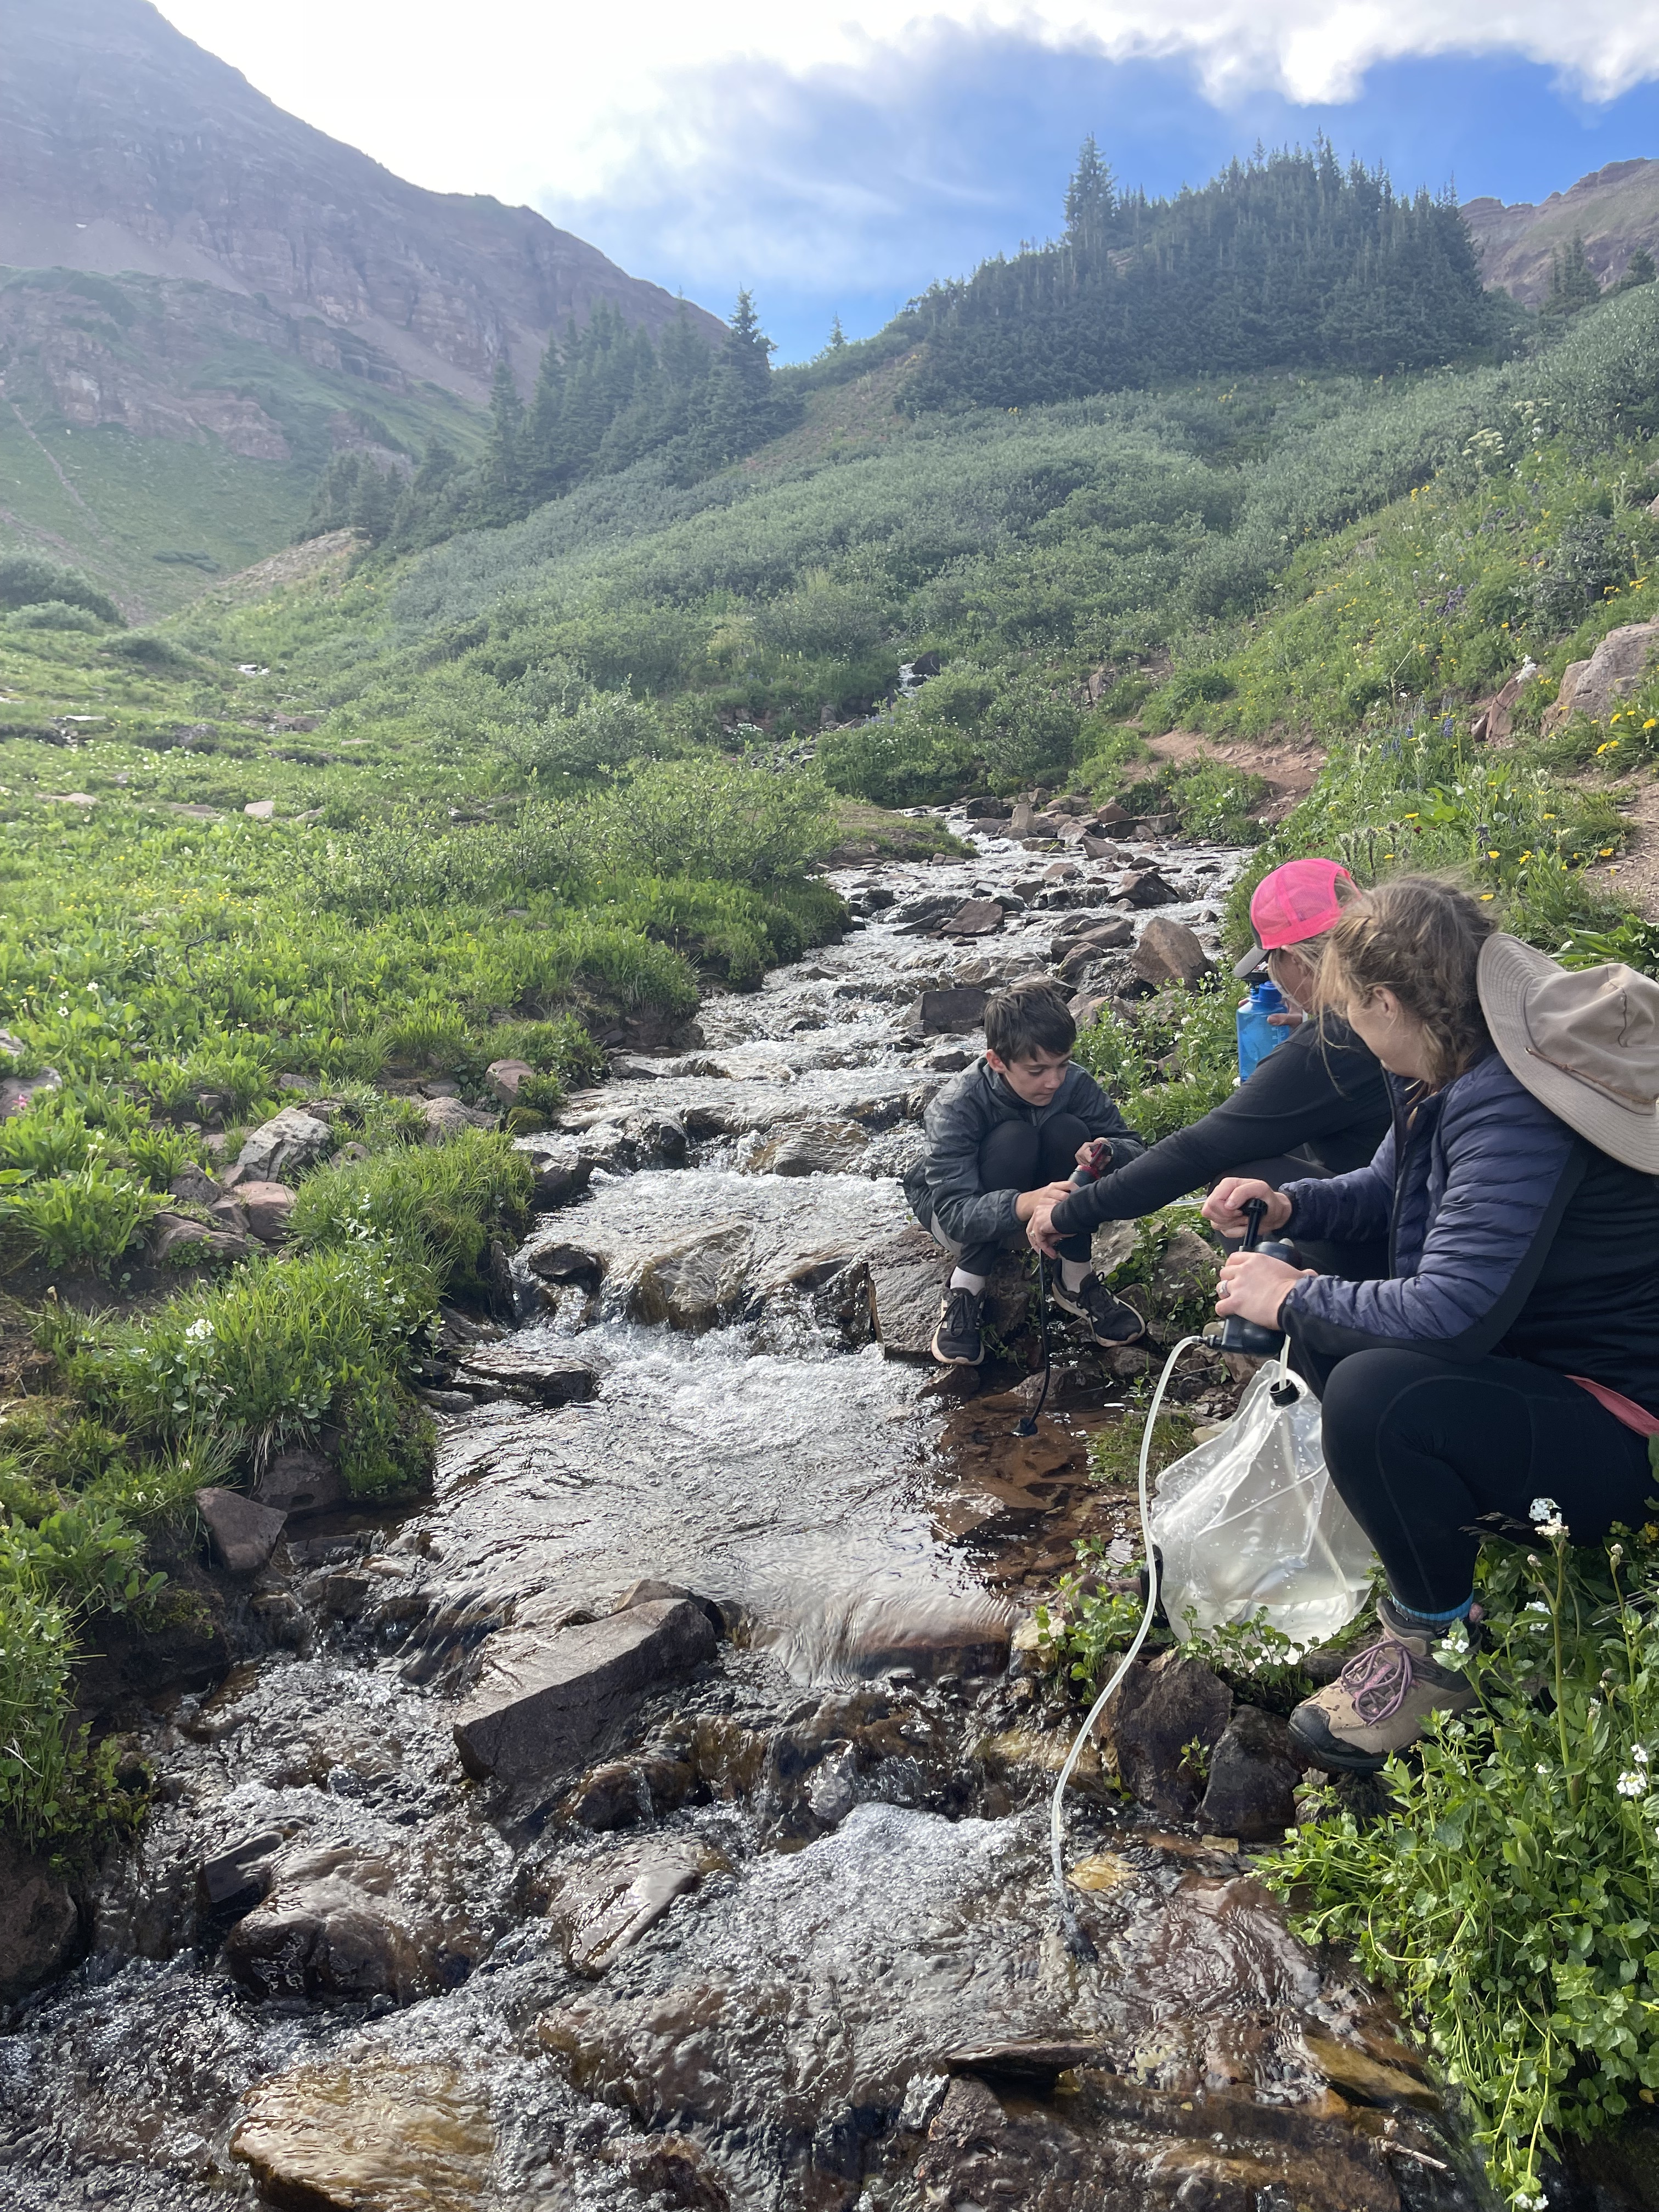
Once we picked our site, we set up our 3 tents, then collected and treated water from the nearby stream, and lastly made dinner. After cleaning up, and storing food/trash properly in our bear canisters away from camp, we headed to bed around sunset.
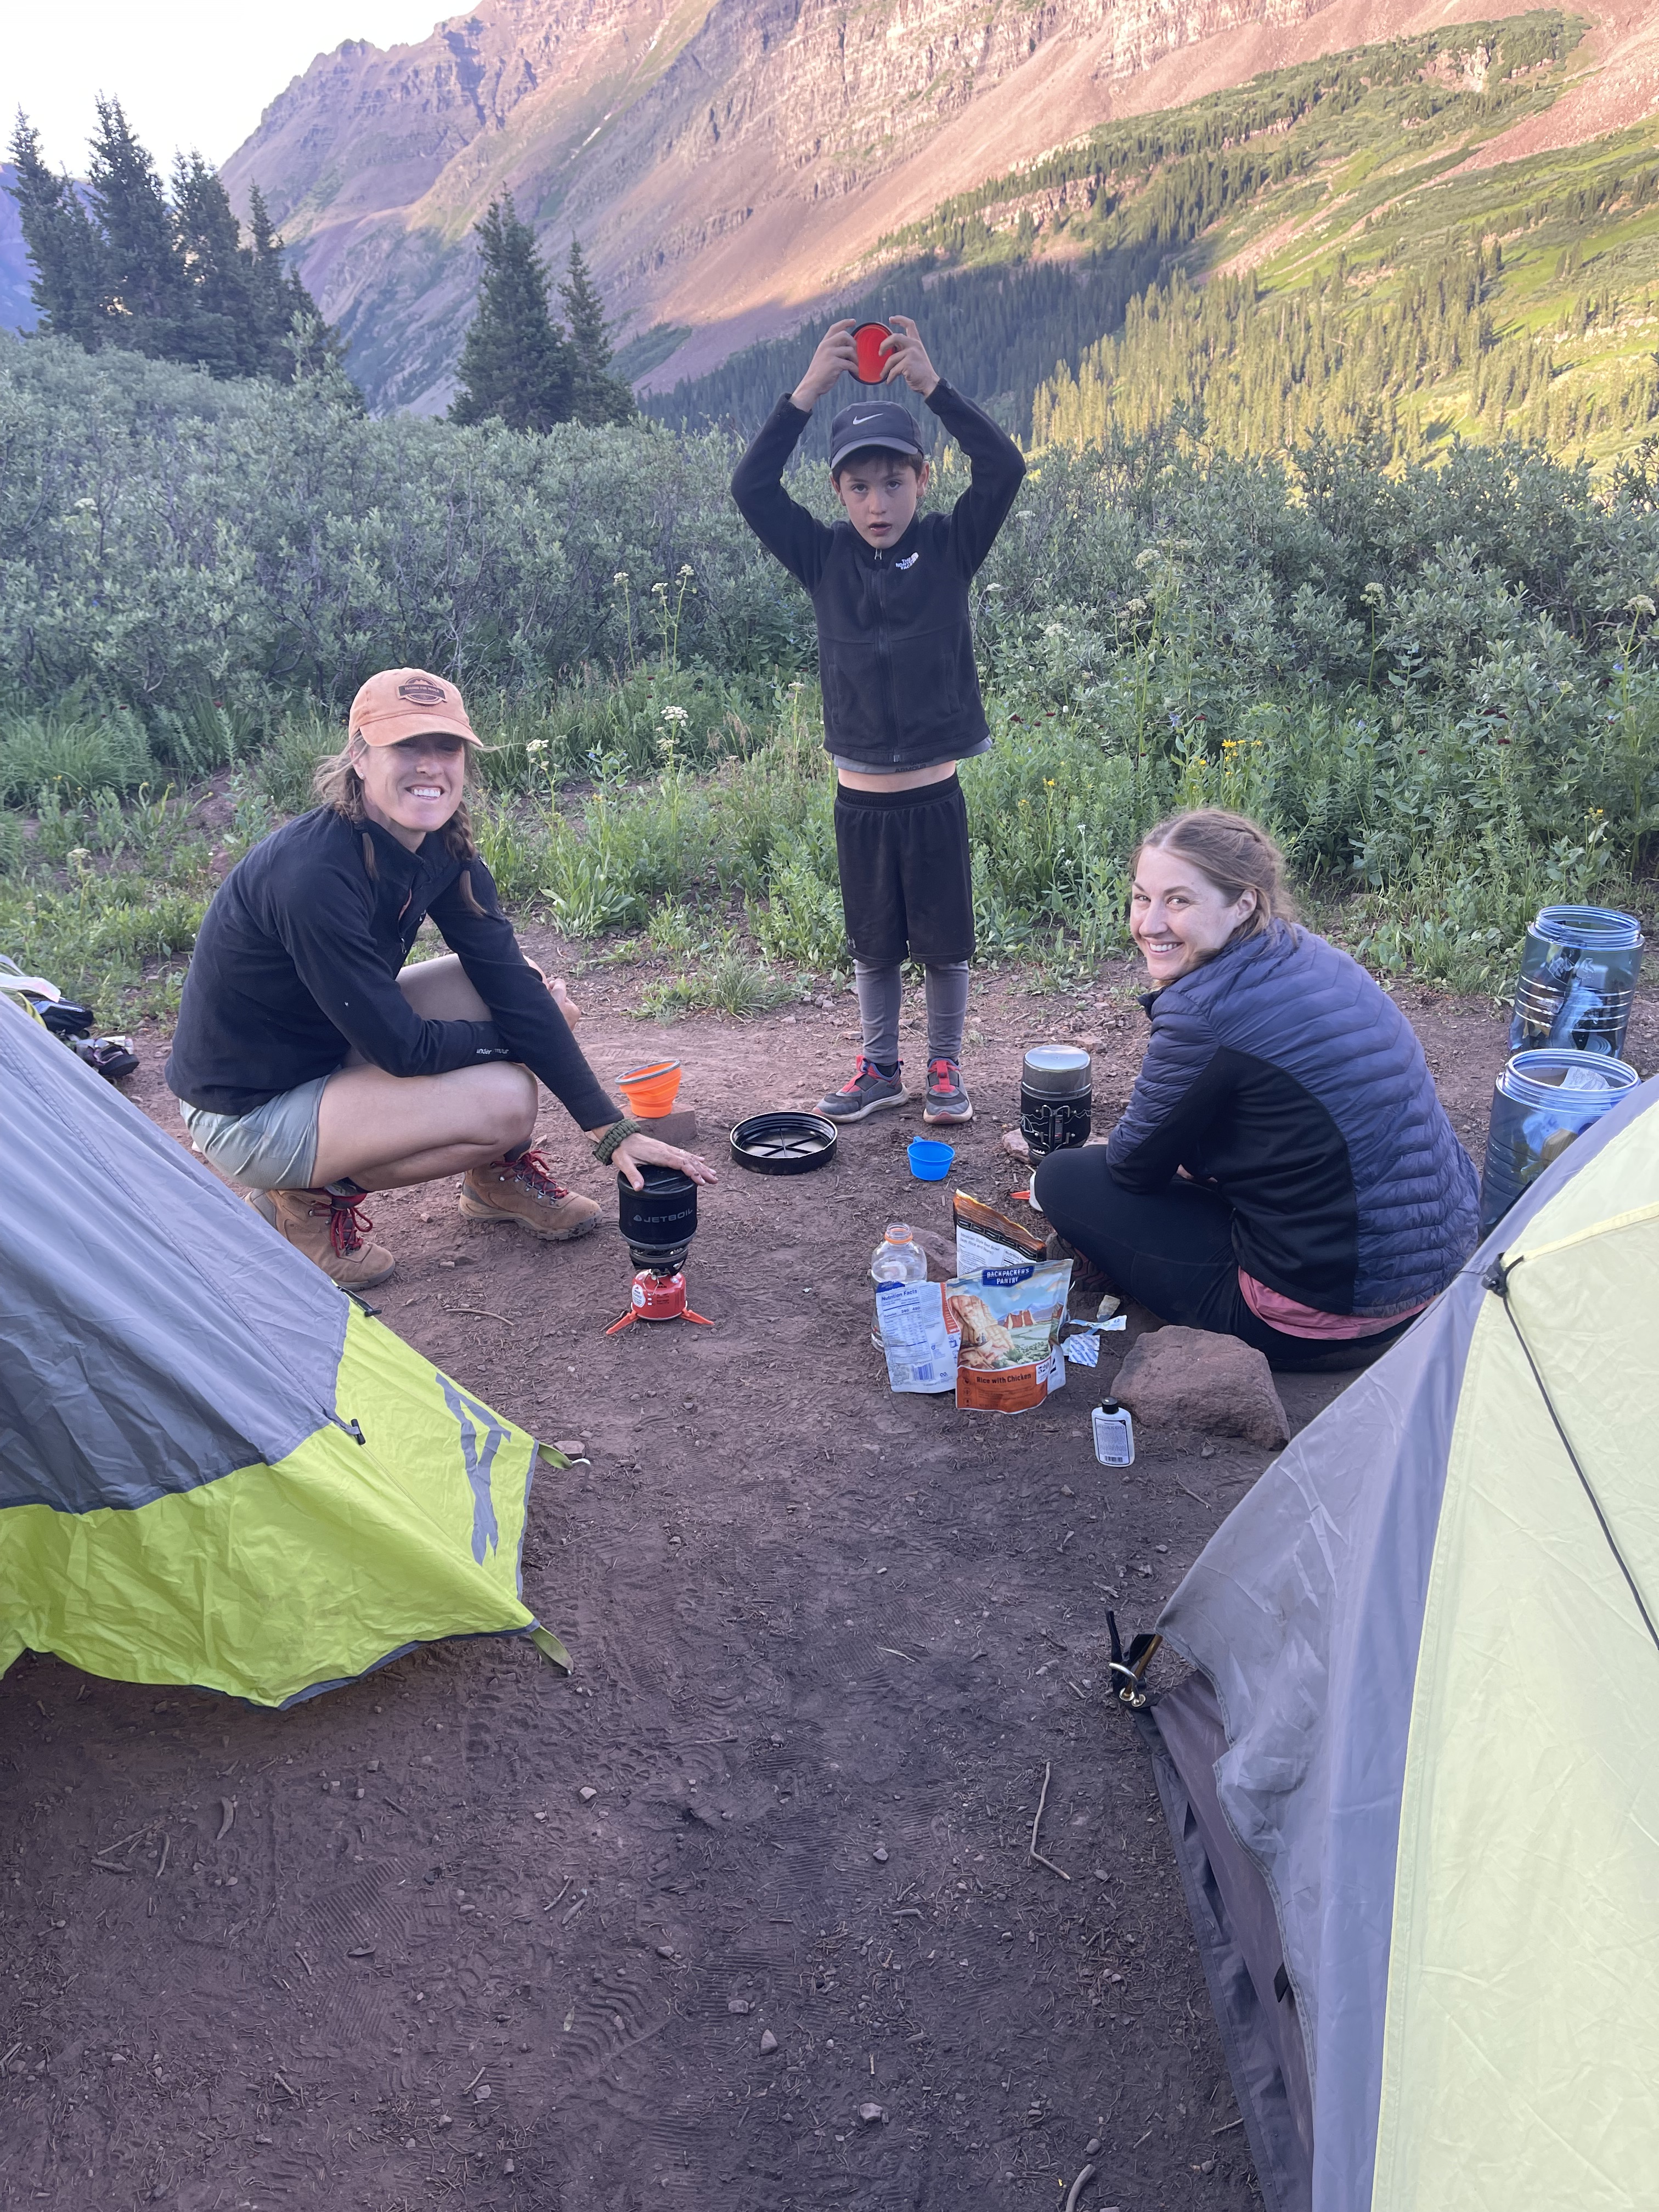
All our cooking was done with the use of our Jet Boils, so no campfire was necessary. This lightweight and compact cookware is a must for backpackers, making dinner a breeze! Plus there are fire restrictions/bans in place (not uncommon in Colorado), so it’s best to just avoid. According to the Forest Service, “campfires consume wood, accumulate trash, kill fragile alpine vegetation, sterilize the soil and scar the land.” Plus, the last thing you want to do is gain your 15-minutes of fame for accidentally starting a forest fire!
The next morning we woke up around 6:30 AM and enjoyed the views from camp. Watching the sun rising from beyond the imposing peaks, and the stream glistening in the valley below, all while sipping hot coffee from my $5 carabiner mug, has to be one of life’s greatest pleasures!

After eating breakfast and clean-up we got back on the trail, bound for the Maroon Bells and Aspen. Again, it was all downhill! Don’t forget to look behind you periodically–the views are grand!
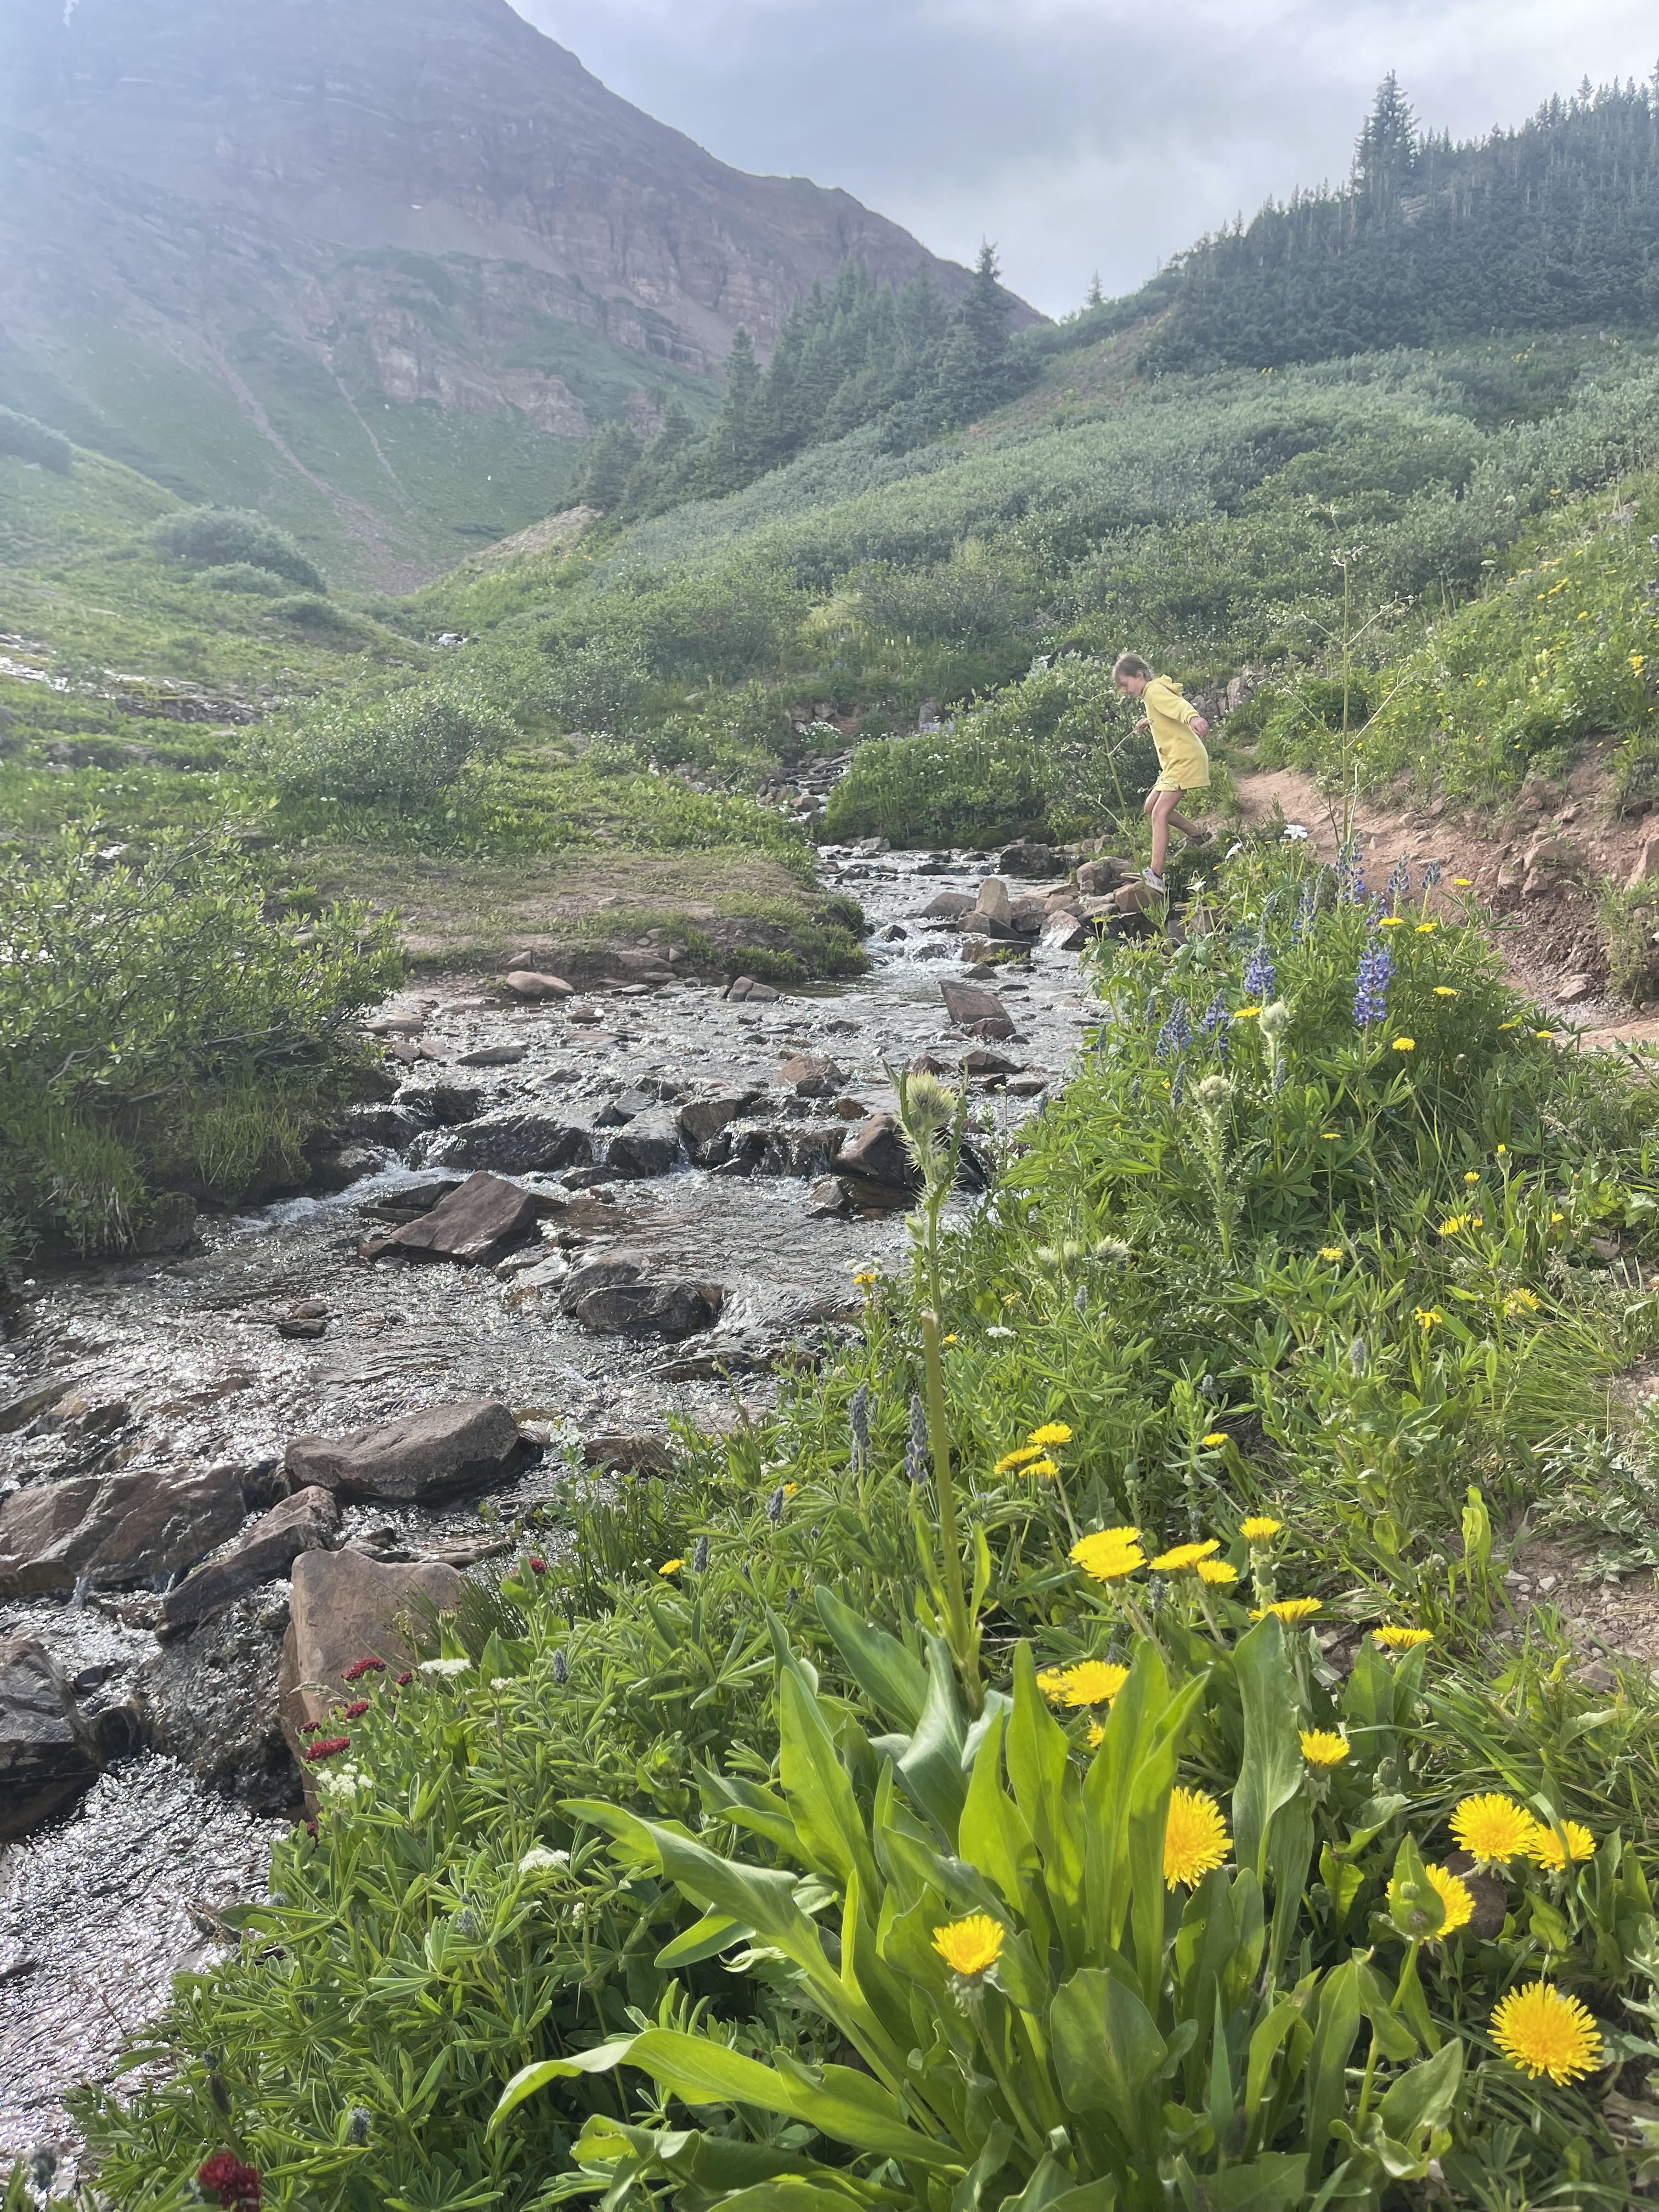
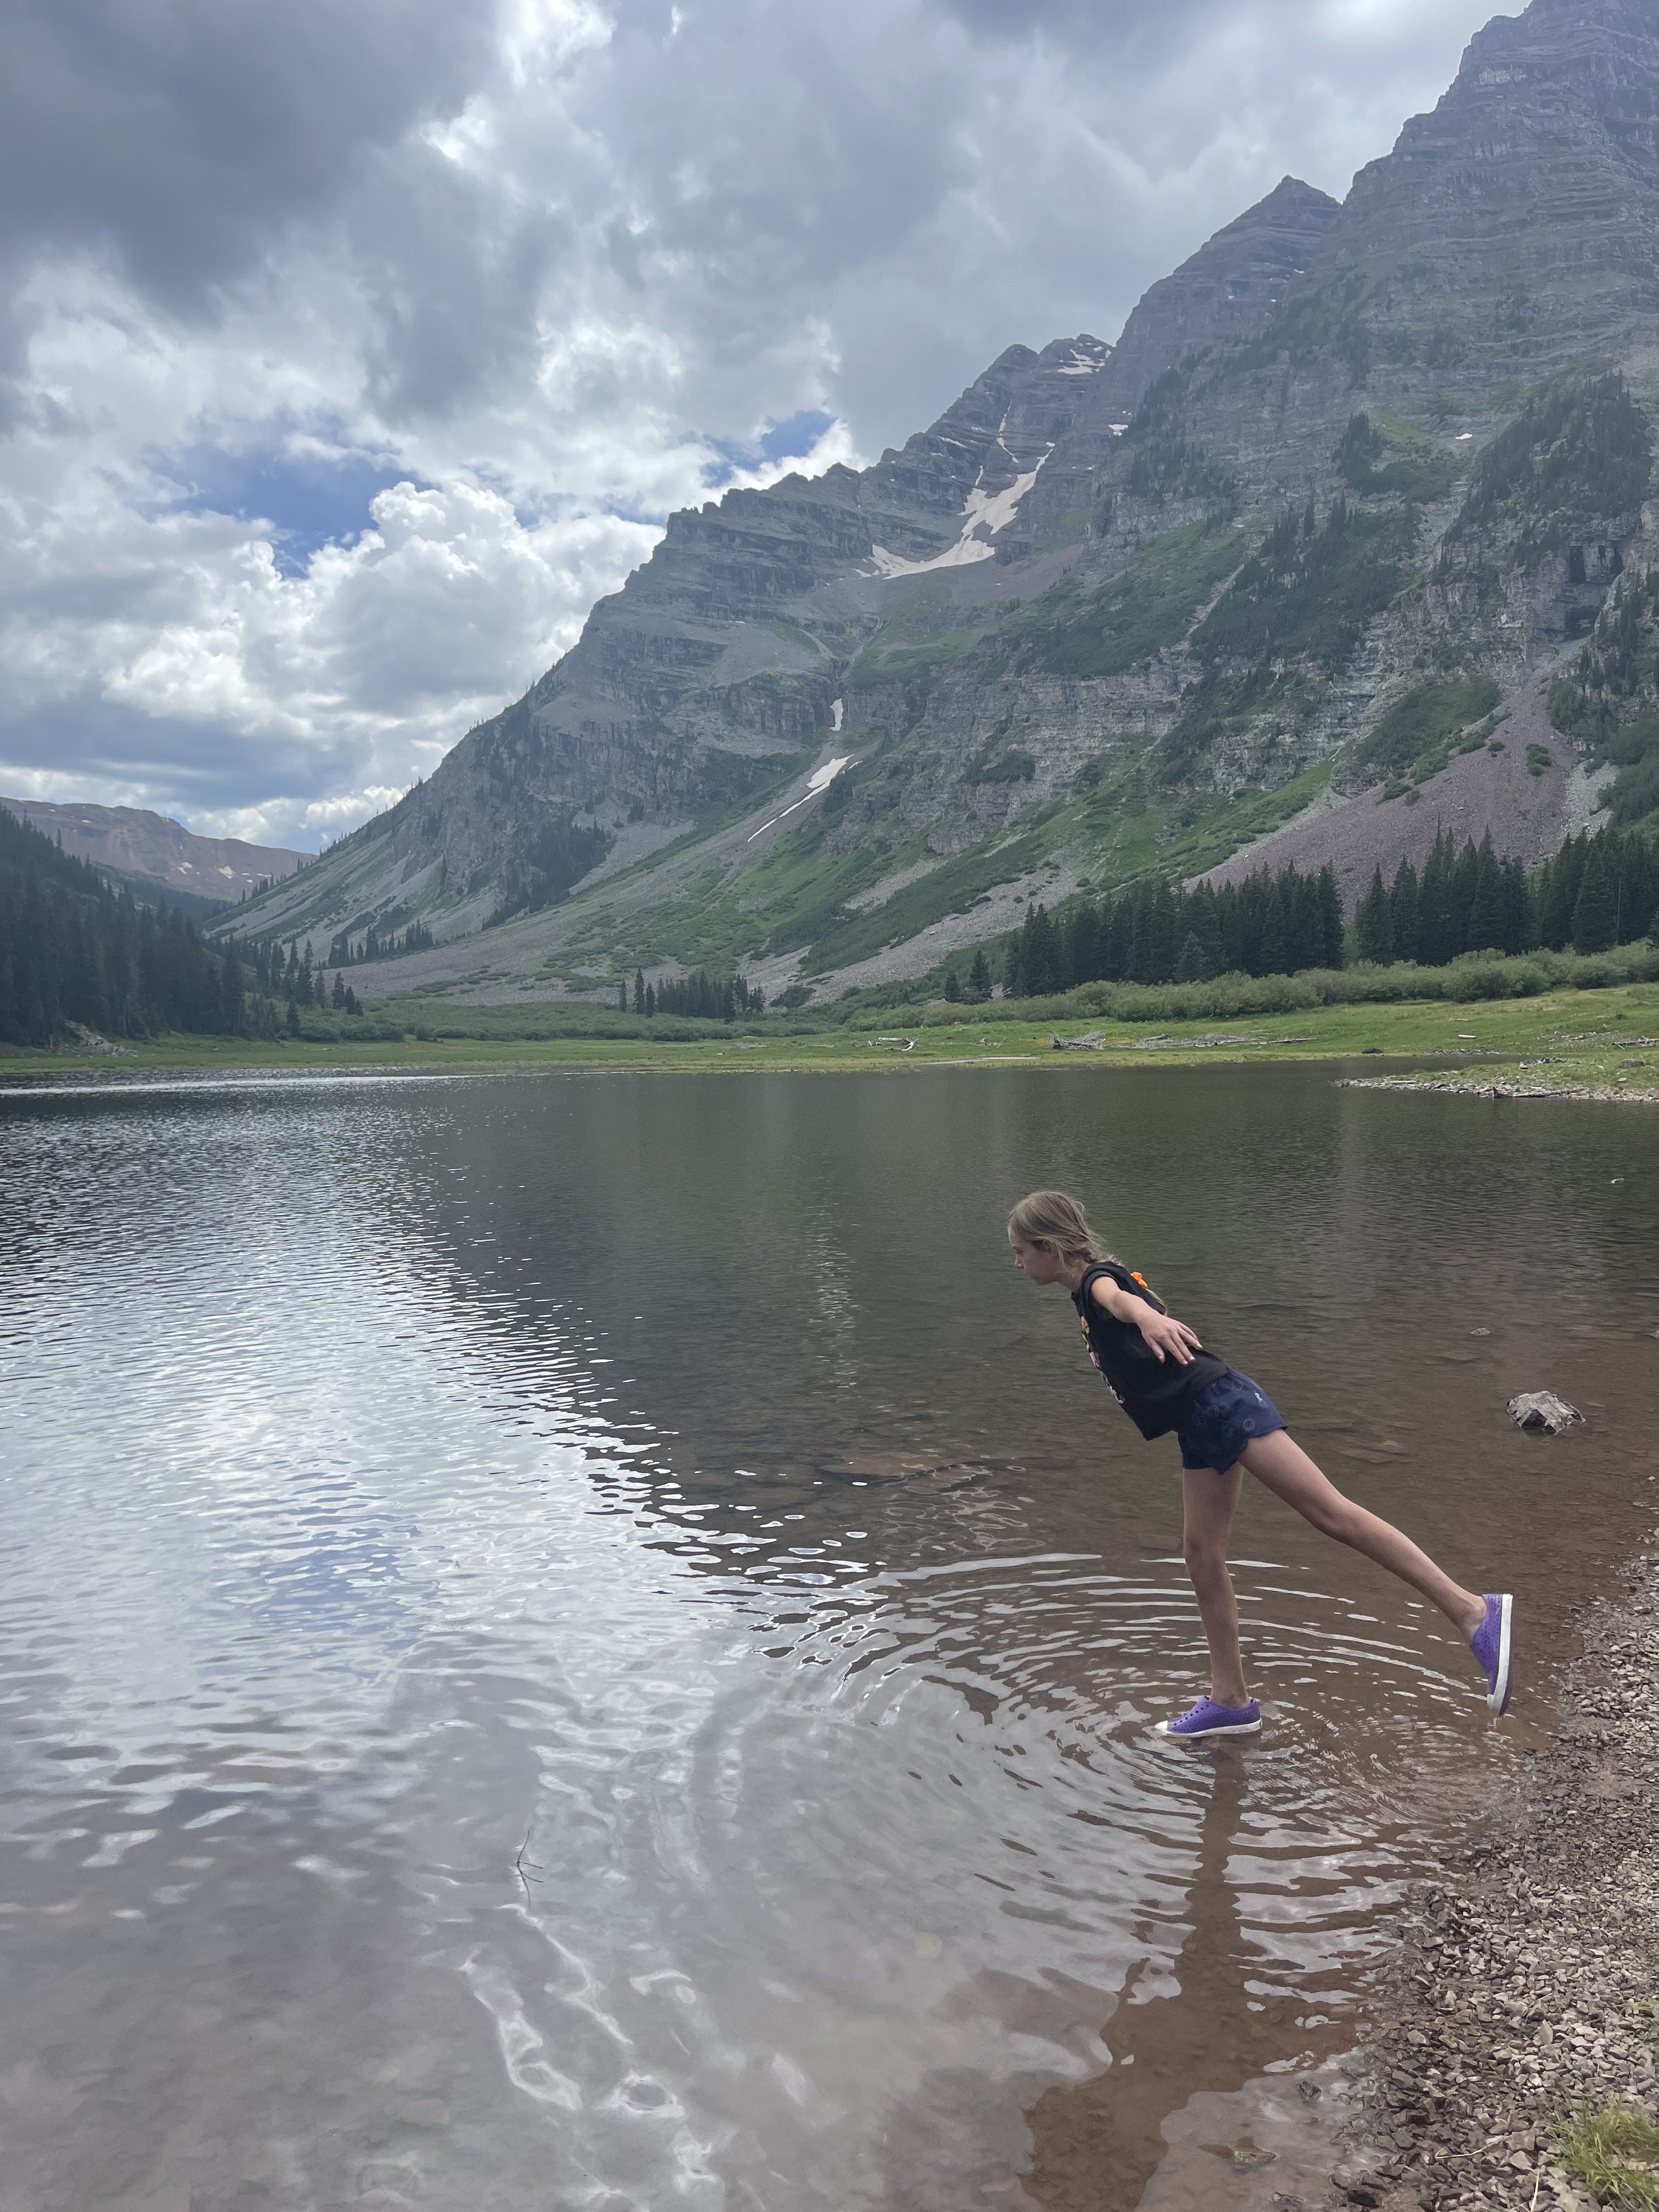
We first entered forest and willow, then had a couple major stream crossings where I was grateful to have packed our Teva sandles. Then after traversing through boulder and scree fields, we finally encountered Crater Lake.
Crater Lake made for a good pit-stop for lunch/snacks and the kids had a blast throwing rocks into the water. The drawback to this lake is it gets some heavy foot-traffic from day hikers (from Aspen) who make it a destination point. You start feeling civilization creeping in, along with swarms of biting flies.

Even the wildlife seems unusually comfortable with all the visitors. For instance, we saw a mangy fox scavenging all the leftovers along the lakeshore. It came within 10 feet of us without the slightest concern. Although cute, it looked so unhealthy, which serves as a reminder that feeding wildlife (even inadvertently) can harm the animals.
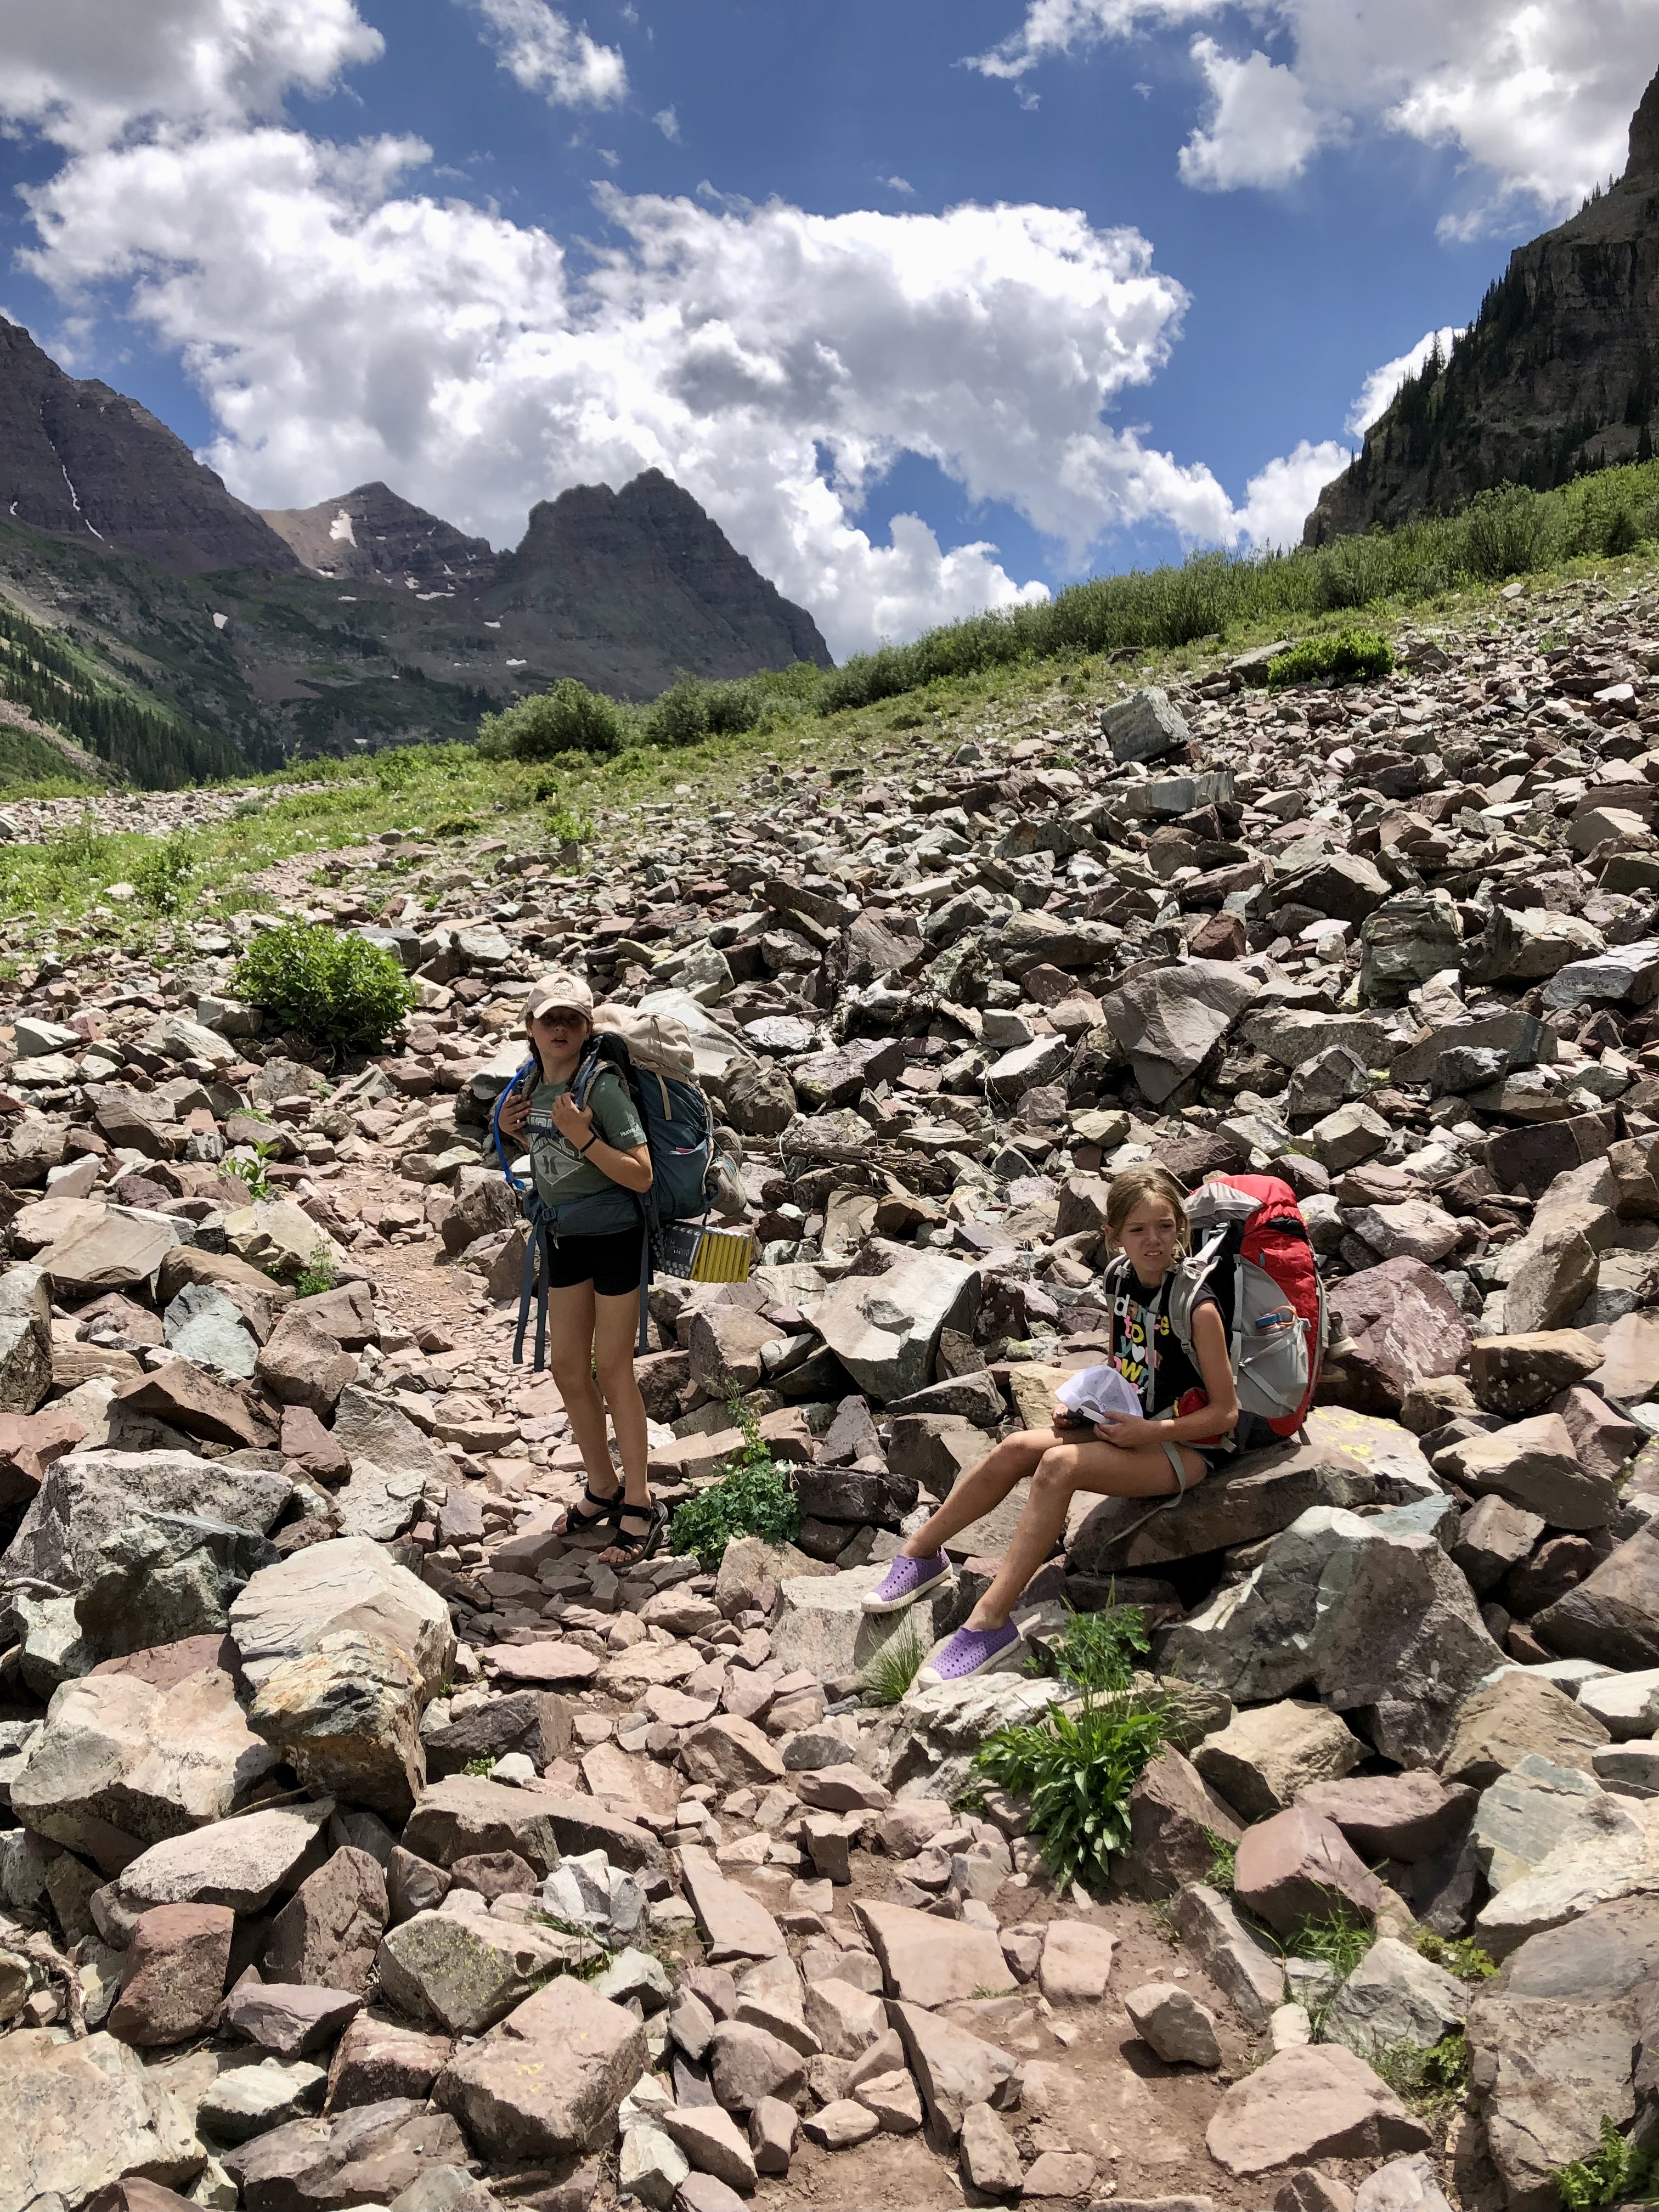
From Crater Lake to the Trailhead is only about 2 miles through pine and Aspen groves. The kids were eager to nearly be done…evident in the 20+ times they asked “how much longer?”. Thankfully, I had downloaded AllTrails Pro and some of the layered maps, so could give them accurate mileage. We started equating the mileage to the distance between school and home on this last stretch, which seemed to be more tangible to them. For example, with 1 mile left, my response was “we only need to walk the distance to school and back home now!”

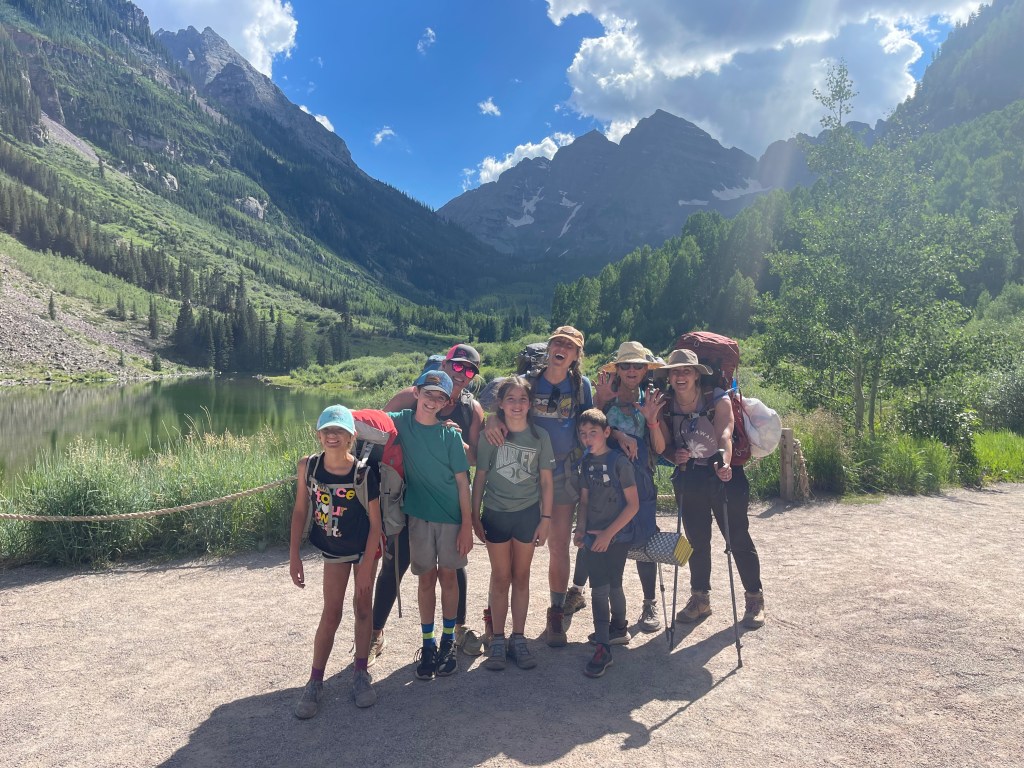
We followed the signs the last half mile (approximately) to the trailhead and shuttle stop. And then we made it…we were done! And it was just in time too! We cut the shuttle pickup a little close. The last shuttle picks up from the trailhead at 5 pm, and we made it at 4:30 pm (runs every 15 min.). We were dirty, sweaty, tired, BUT also joyful…and our celebratory picture probably shows it!
For those wanting to recreate the same trip, I’ve included our itinerary, budget, and everything we packed (including food) to serve as a sample. And please, PLEASE follow the Leave No Trace principles. If you have any questions, feel free to reach out! Happy hiking!!!
Sample Itinerary: Crested Butte to Aspen
July 19— Arrive in Crested Butte
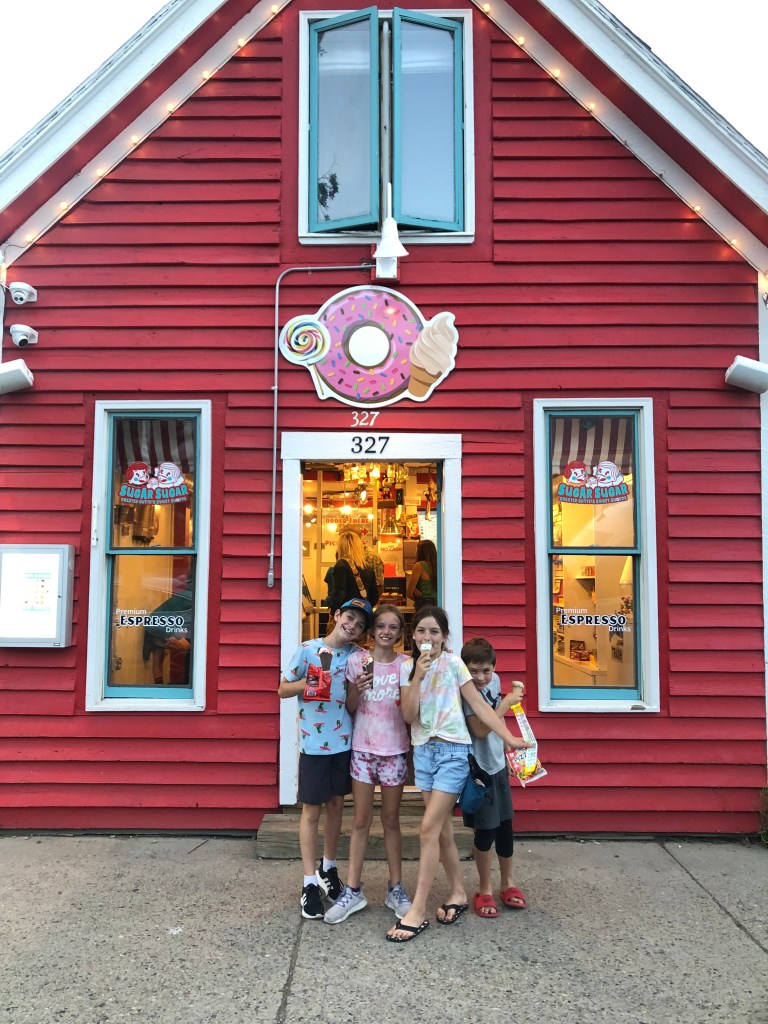
- Pizza at the Secret Stash; ice cream from Sugar Sugar. (both delish!)
- Spend Night at Grand Lodge Crested Butte
- 6 Emmons Loop, Crested Butte, CO, 970-349-8000
July 20— Backpack over West Maroon Pass
- Backpack and Camp
- Drive to West Maroon Trailhead
- Leave early around 6 AM to ensure you get oner the pass before the afternoon thunderstorms
- Directions to Trailhead: Take Gothic Road from Crested Butte for 14 miles over Schofield Pass (there will be signs). It’s a pretty rough dirt road, so drive at your own risk and not after dark (we have a 4×4 Expedition, but saw sedans at the trailhead too, thus it’s possible if the conditions are right). Note, be sure to do your own research on this road, as it was impassable only a week before we arrived due to fallen trees.
- Camp at Location: 39.042553, -106.986626 OR Crater Lake
- Our kids were too tired to make it to Crater Lake where the only designated campsites are located on this trail. However, at the coordinates location, you’ll find several inviting tent sites that have been well established. Using these established sites helps reduce the impact of overnight visitors. It is located almost half-way, after crossing over Maroon Pass (from the CB side). Keep an eye open as you descend from the pass and approach treeline. Note a stream crossing, then a small meadow where the trail branches to an outcropping of about 6-8 tent sites tucked within pockets of pine. They have the best views (personally, we found these sites way more desirable than the ones at Crater Lake).
- Drive to West Maroon Trailhead
July 21— Backpack to Aspen
- Wake up at camp, then backpack to Maroon Bells (Aspen) and catch downhill shuttle
- Take the RFTA downhill shuttle from Maroon Bells Trailhead to Aspen Highlands—(one-way downhill $10/pp).
- Book in advance: https://aspenchamber.org/plan-trip/trip-highlights/maroon-bells/reservations/downhill
- Runs Every 15 min. until 5 pm (play it safe and get on by 4 pm). 970-930-6442
- From Aspen Highlands (the ski area for Aspen), get off the shuttle and onto the free bus bound for downtown Aspen.
- Since we didn’t stay in Aspen, rather we opted for neighboring Snowmass, we had a couple extra steps in transit (all FREE in cost). For those who decide to do the same, once in downtown Aspen, get off the bus at Rubey Park (on Durant Street downtown). Then board the “Local” Valley bus and ride it to the Brush Creek Park & Ride (AKA the “Intercept Lot”), located at the turnoff for Snowmass Village on CO-82 and Brush Creek Rd.)
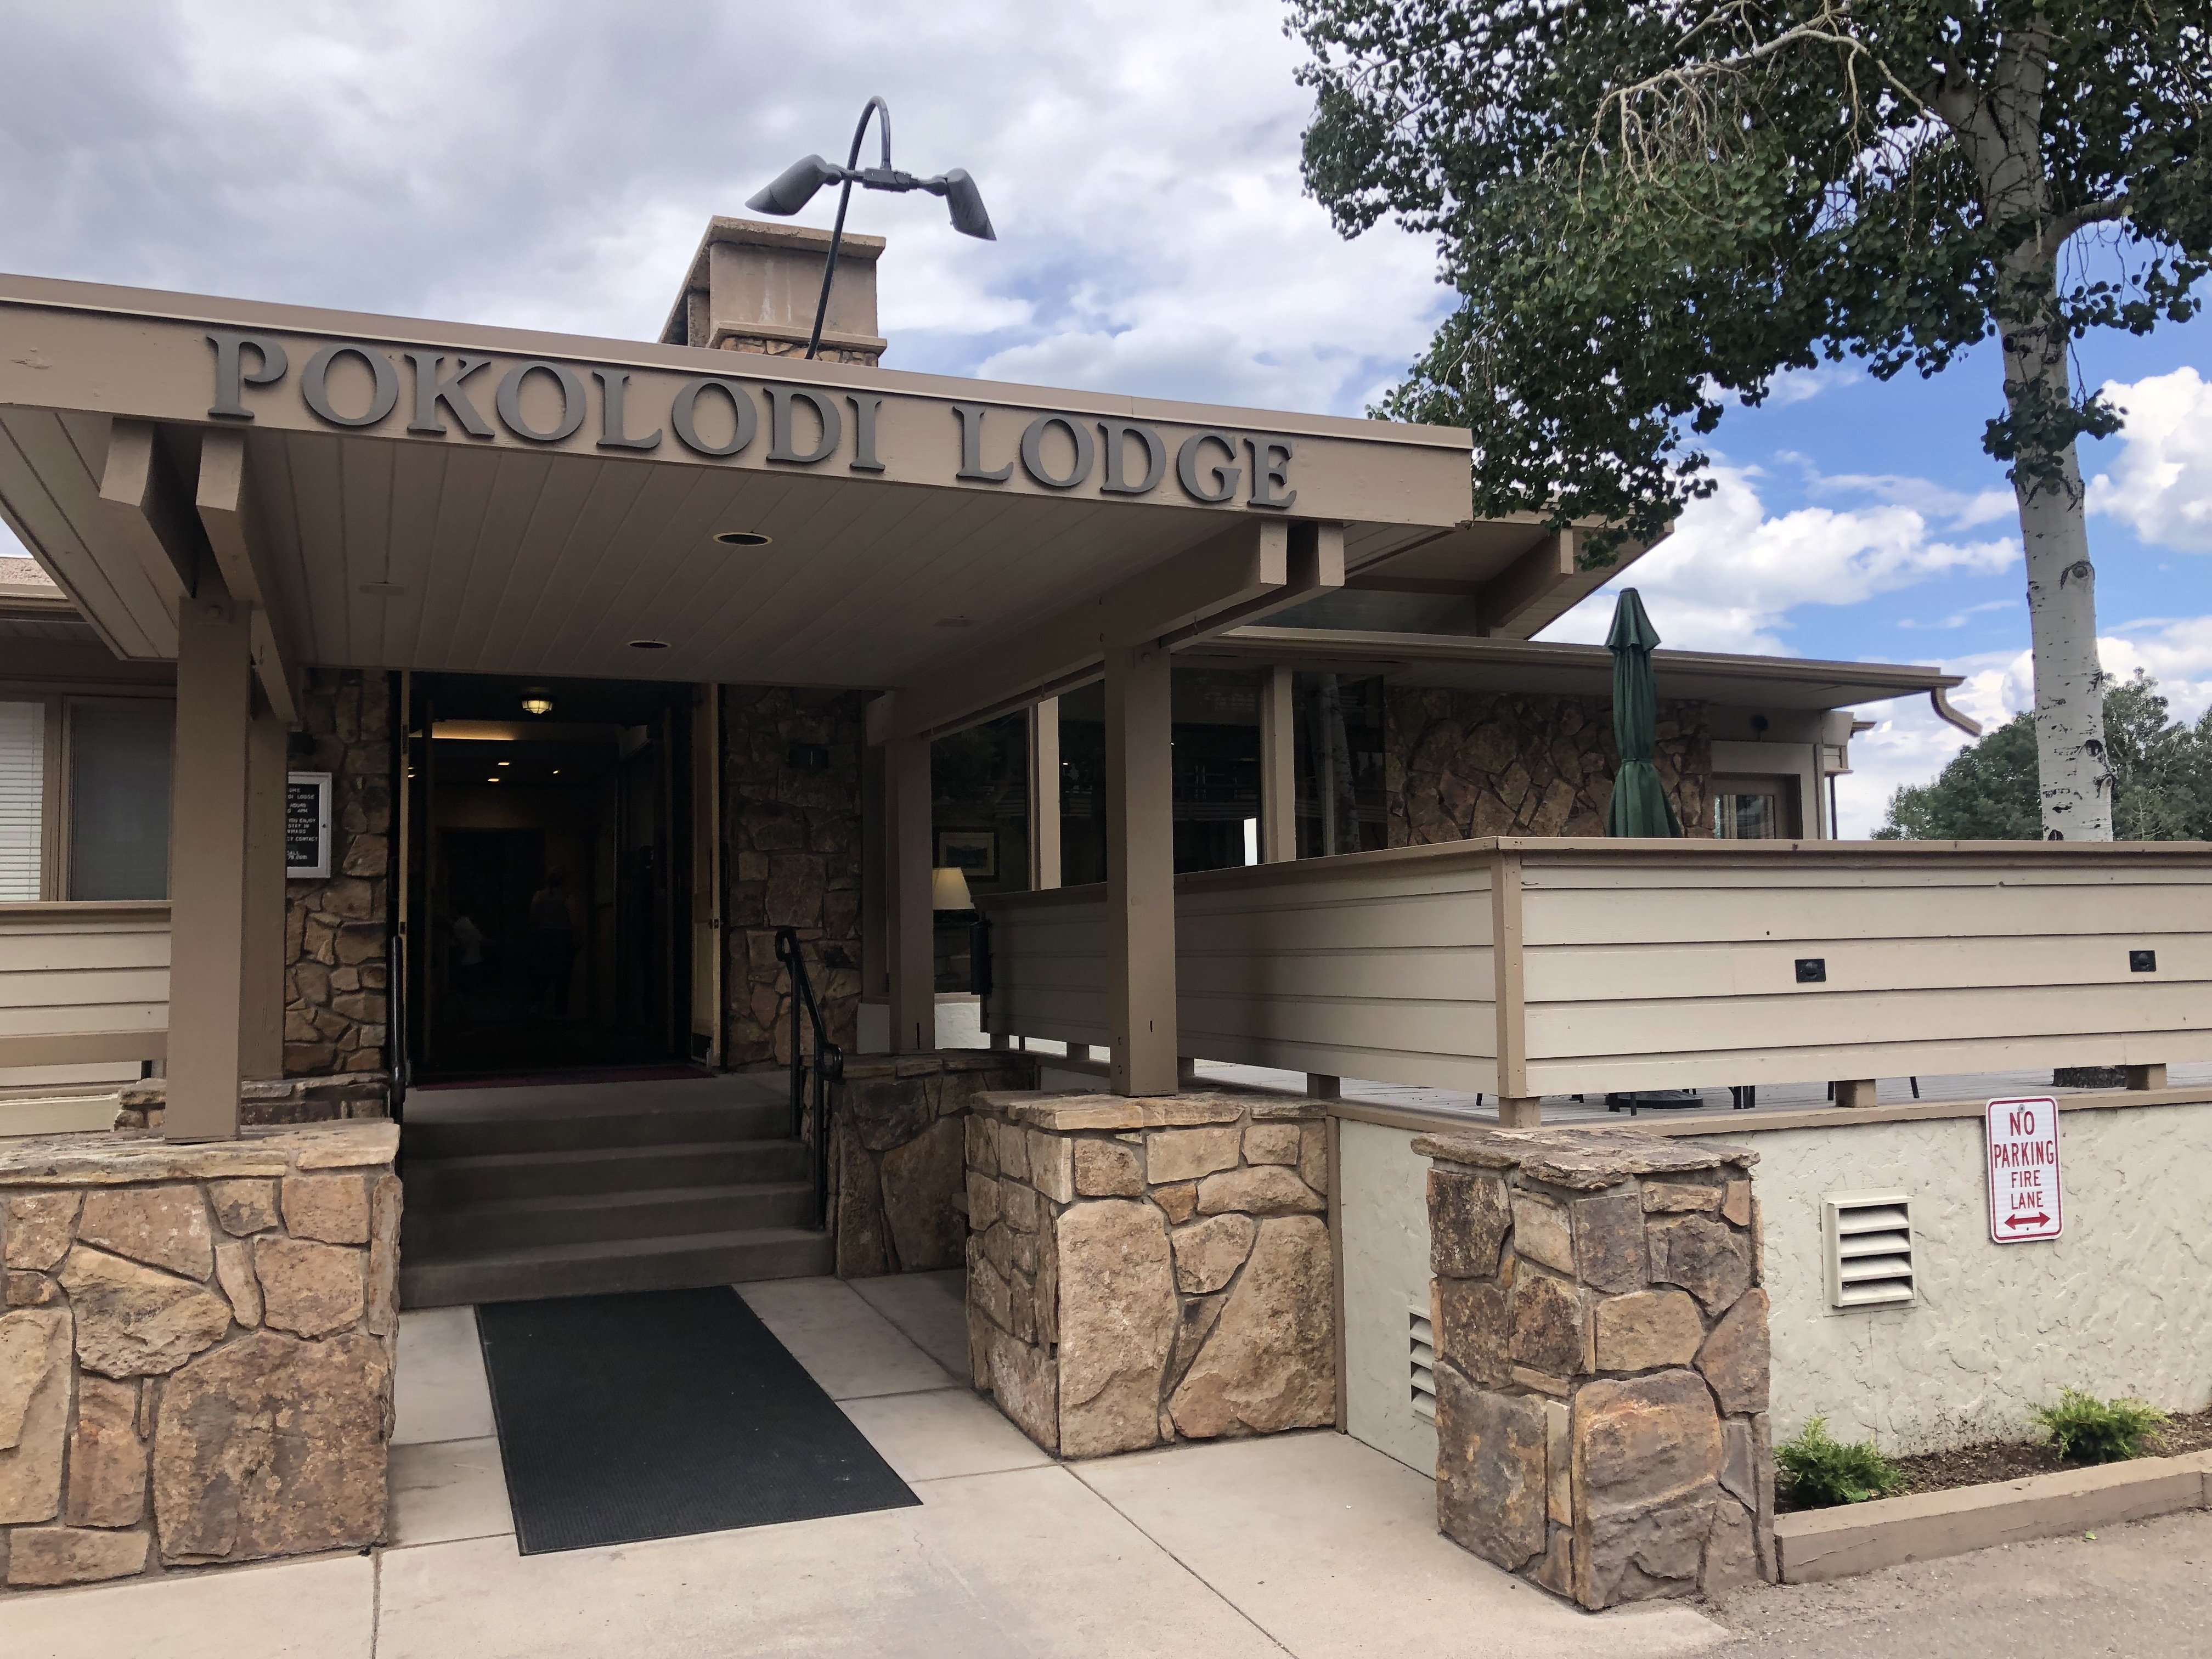
- From the Intercept Lot, board the Snowmass Bus, which will take you the 15 minutes up to the shuttle terminal located just below the Village Mall on Daly Lane in Snowmass. This dropped us off nearly at the front steps of our hotel, the Pokolodi Lodge.
- Dinner at Venga Venga Cantina & Tequila Bar (good, and very lively)
- Stay night in Snowmass at Pokolodi Lodge
- 25 Daly Ln., Snowmass Village, CO, 970-923-4310
- Check-in: 4 PM, Check-out: 11 AM
July 22—Spend morning in Aspen/Snowmass, then Shuttle to Crested Butte
- Enjoy the day in Aspen/Snowmass until Dolly’s Mountain Shuttle picks us up at 4:30 pm (the only available time at booking). Breakfast at Fuel. Swim at the hotel pool. Cocktails at Big Hoss Grill. Lunch at The Stew Pot.
- Dolly’s Shuttle picks us up from the Interception Lot at 4:30 pm. The ride to Crested Butte is 3 hours.
- You can arrange Dolly’s to pick you up in Aspen or Snowmass
- We chose to be dropped off at Grand Lodge Crested Butte (flat $80/pp paid)
- CrestedButteShuttle.com or 970.209.9757
- Dinner at Marchitelli’s Gourmet Noodle
- Spend night at Grand Lodge Crested Butte
July 23—Crested Butte, then Drive Home
- Get our cars parked at the trailhead
- Dolly’s Shuttle picks us up from our hotel at 6 AM (only 2 of us from our hiking group) and we ride to the West Maroon Trailhead to fetch our two cars ($55/pp paid)
- CrestedButteShuttle.com or 970.209.9757
- Note: Dolly’s does NOT drive to the trailhead in the dark
- Drive home to Denver
TRIP EXPENSES: We tried to be economical, but also didn’t want to spare comfort and ease on this trip. As such, expect a Denver-based family of 4 operating off the above itinerary to pay around $2,000 (based on Summer 2022 prices). However, there are certainly ways to cut costs on this trip. For instance, get creative with transportation, shorten the number of days of your trip or choose a shoulder season or weekdays (versus weekend), elect more budget-friendly hotels and restaurants, etc.. Here’s a rough breakdown of the costs:
| Trip Expenses (Based on above sample itinerary & Summer 2022 prices) |
|---|
| Hotels = $1,025 |
| -Grand Lodge Crested Butte (summer 2022): $375 x 2 -Pokolodi Lodge in Snowmass (midweek 2022, summer 2022): $275 |
| Gas to/from Denver to Crested Butte = $200 |
| Shuttle/Bus Transportation for 4 people= $415 (plus tip) |
| -Dolly’s Shuttle from Aspen to CB @ $80/pp = $320 for four people |
| -RFTA downhill shuttle from Maroon Bells @ $10/pp = $40 for four ppl |
| -Dolly’s Shuttle from CB to West Maroon Trailhead for 1 person= $55 |
| Restaurants= Approx. $400-$500 (mid-range restaurants) |
| Trail Meals & Snacks= Approx. $100 |
| TOTAL = $2,140 |
| Note: This breakdown does NOT include backpacking gear, gratuity/tips for Dolly’s Mountain Shuttle, or souvenirs, etc.. |
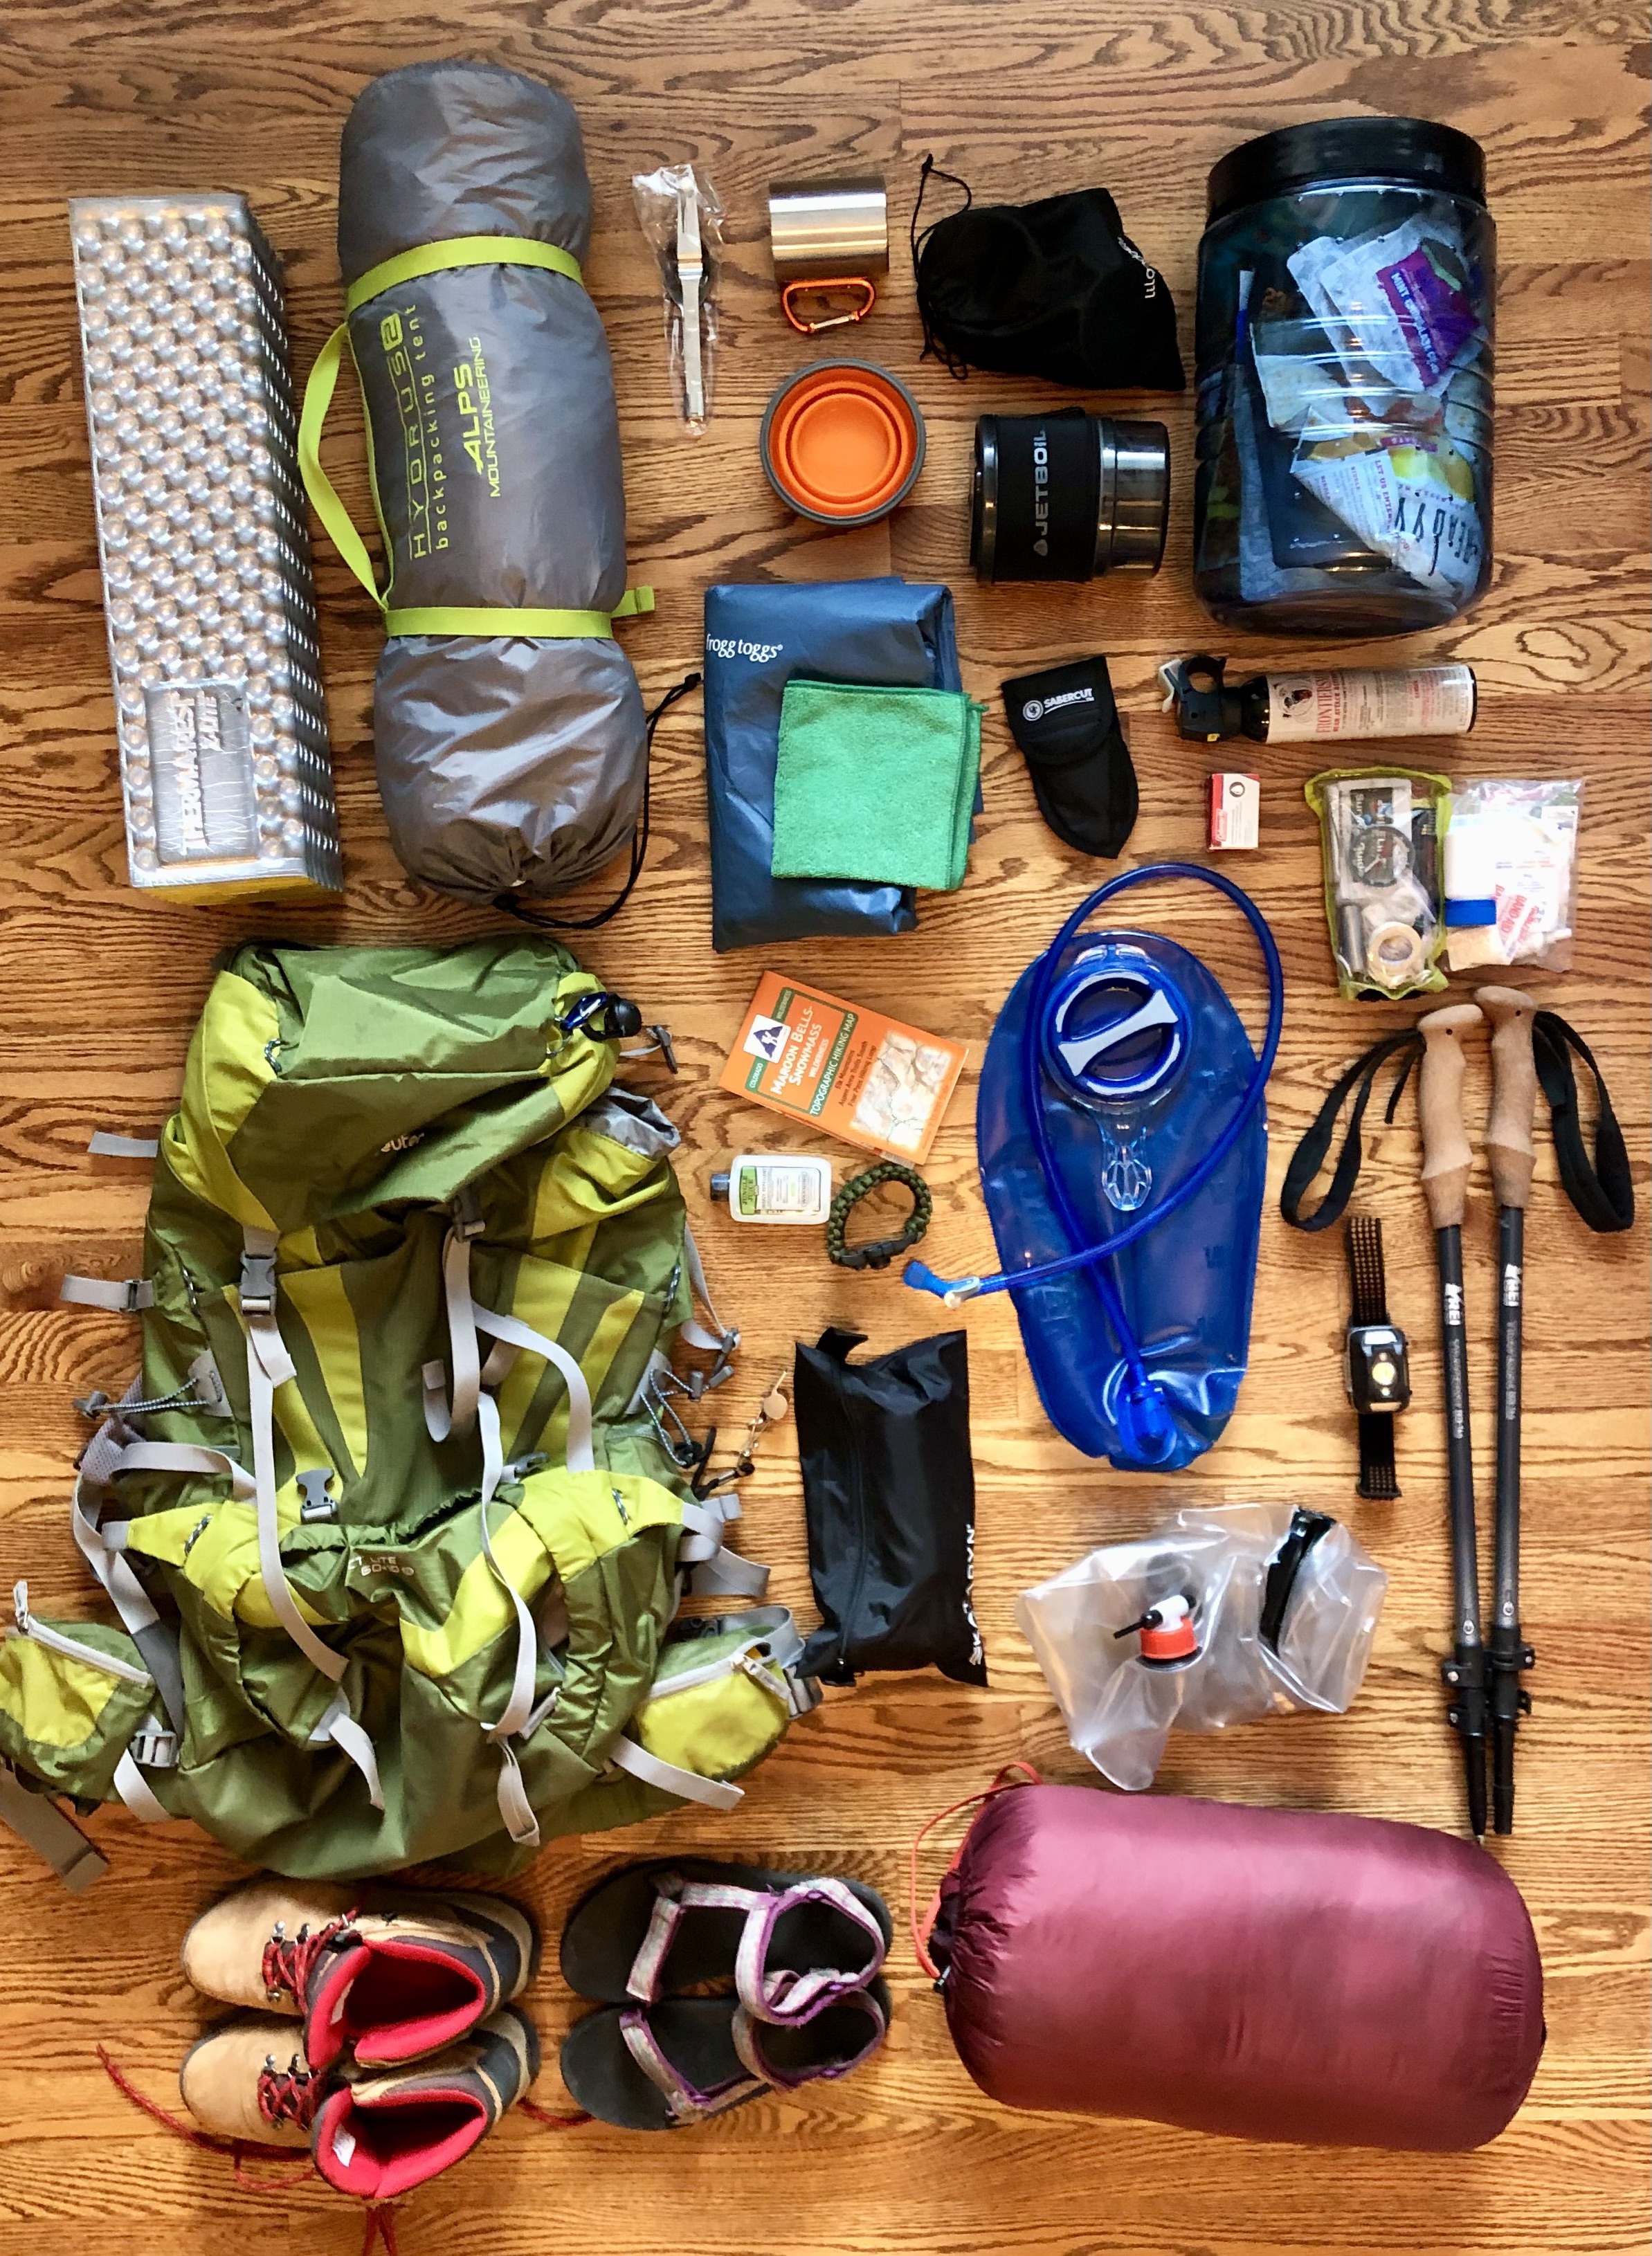
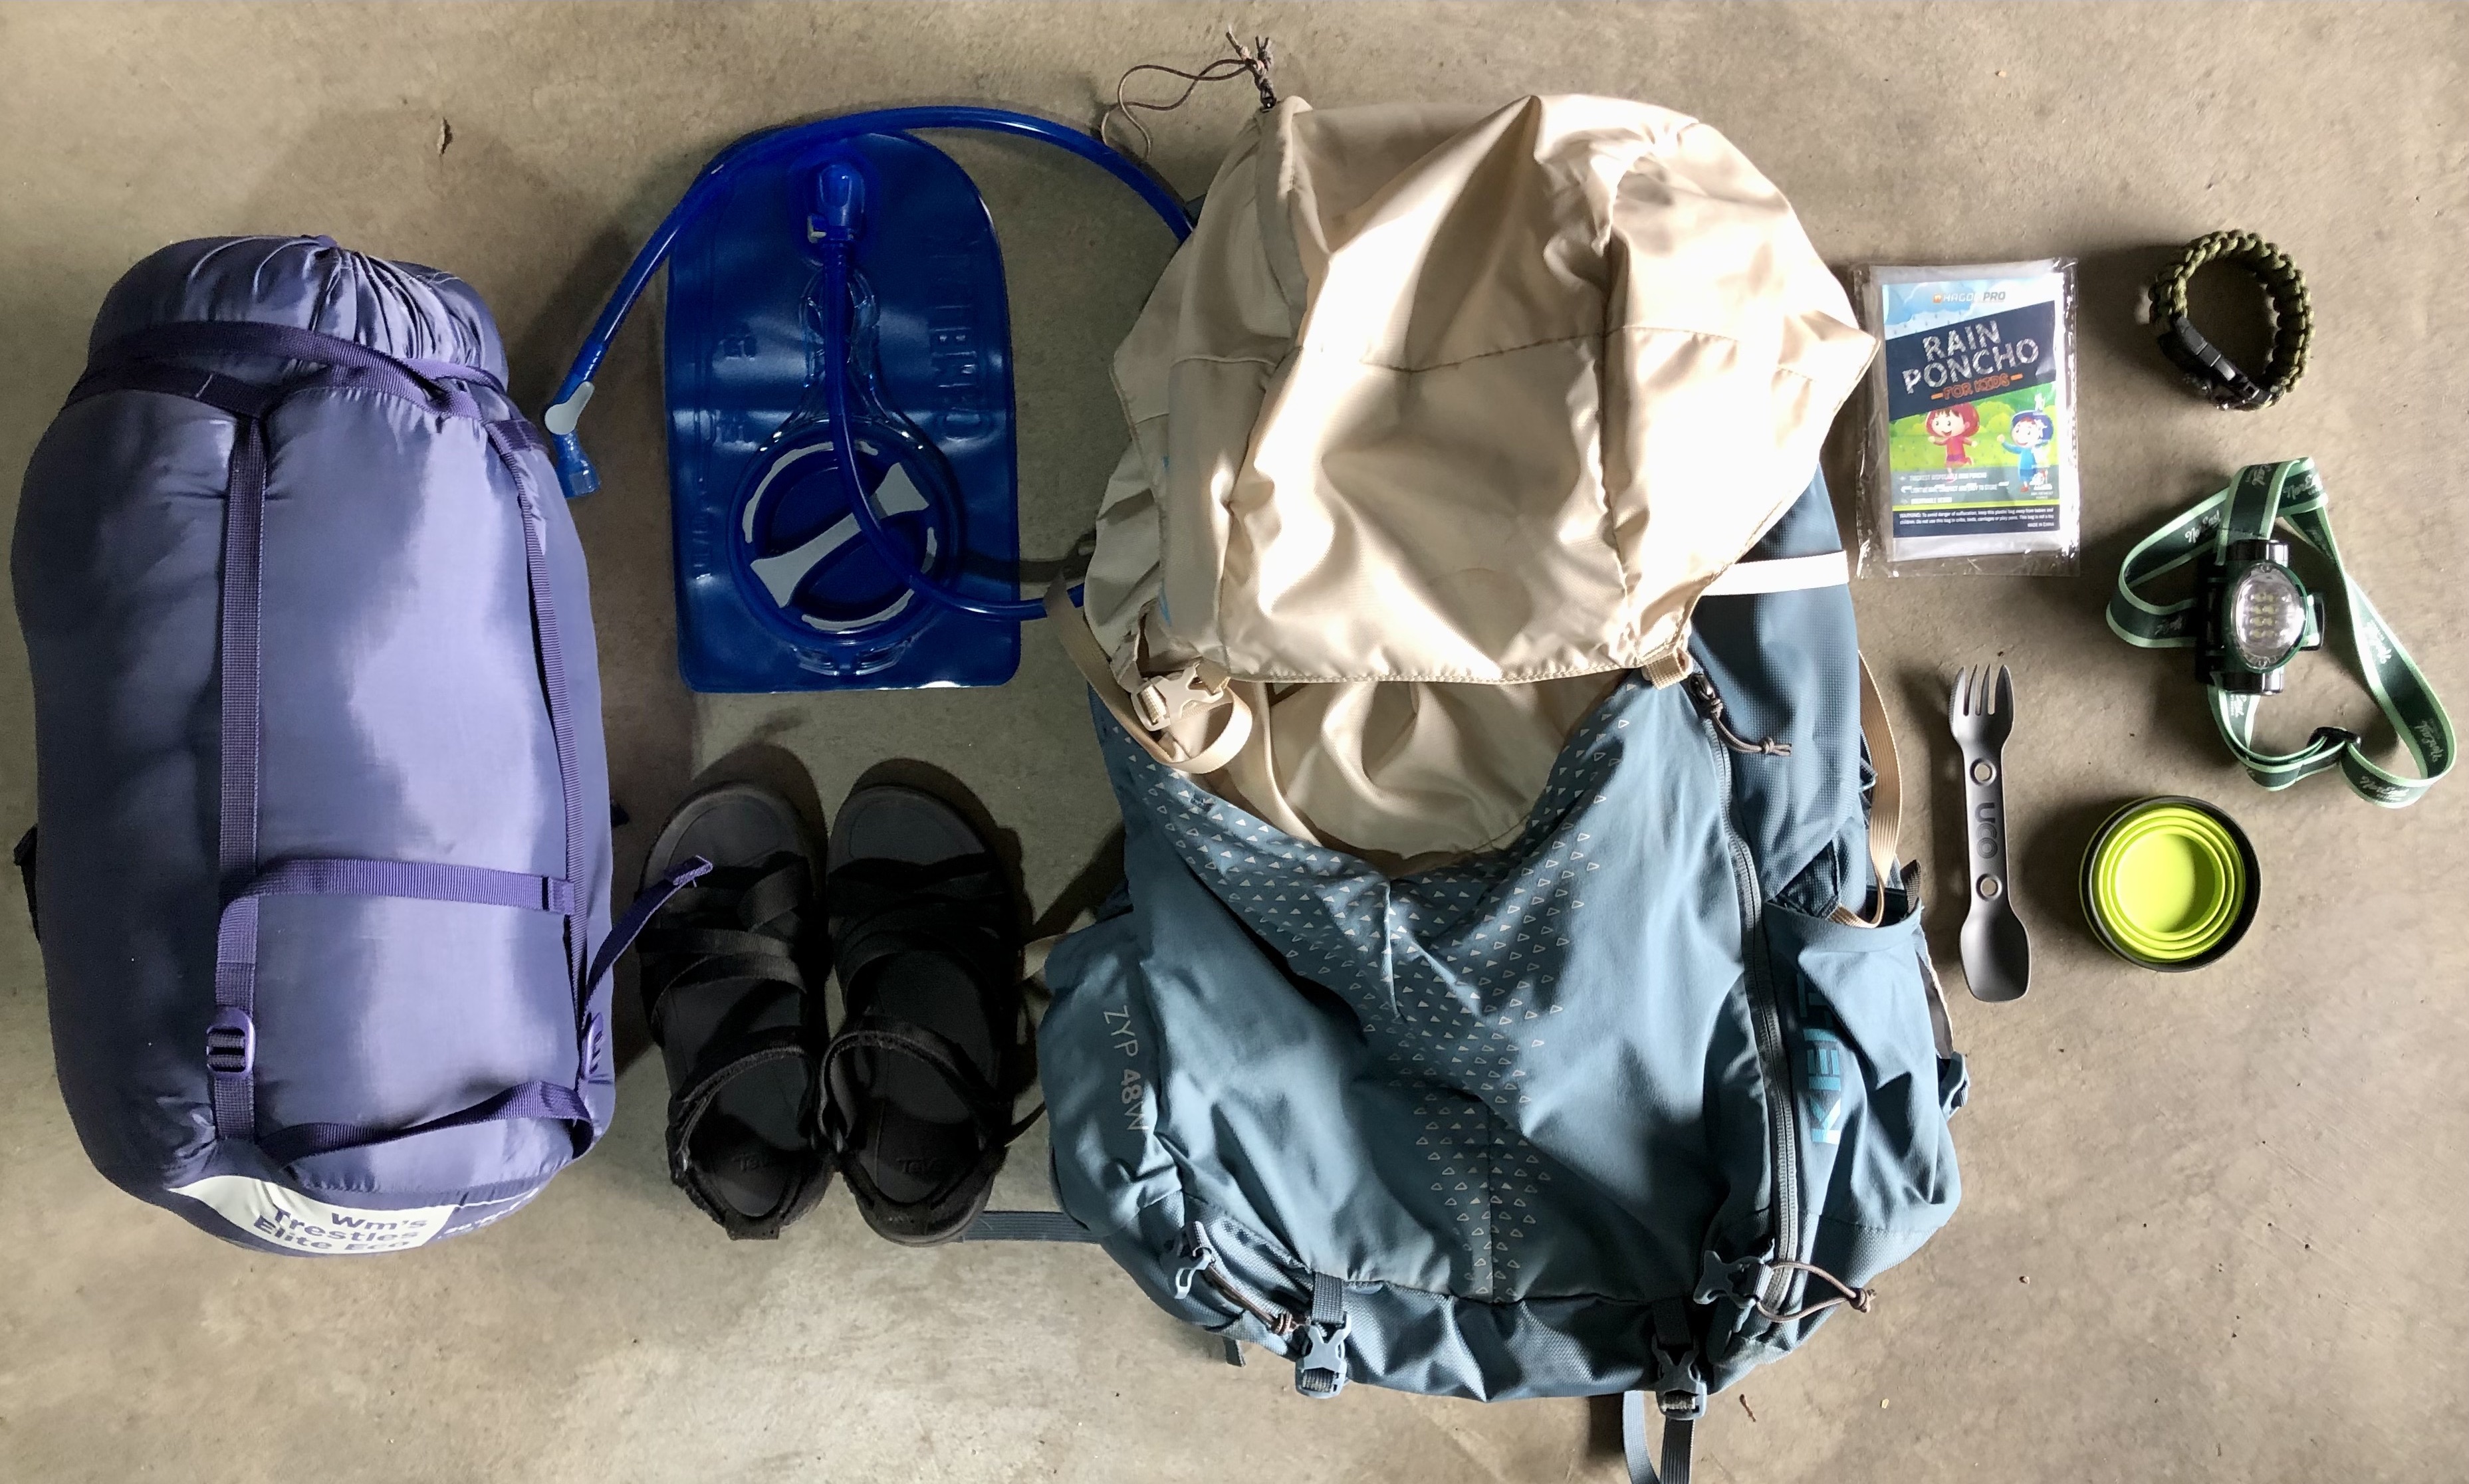
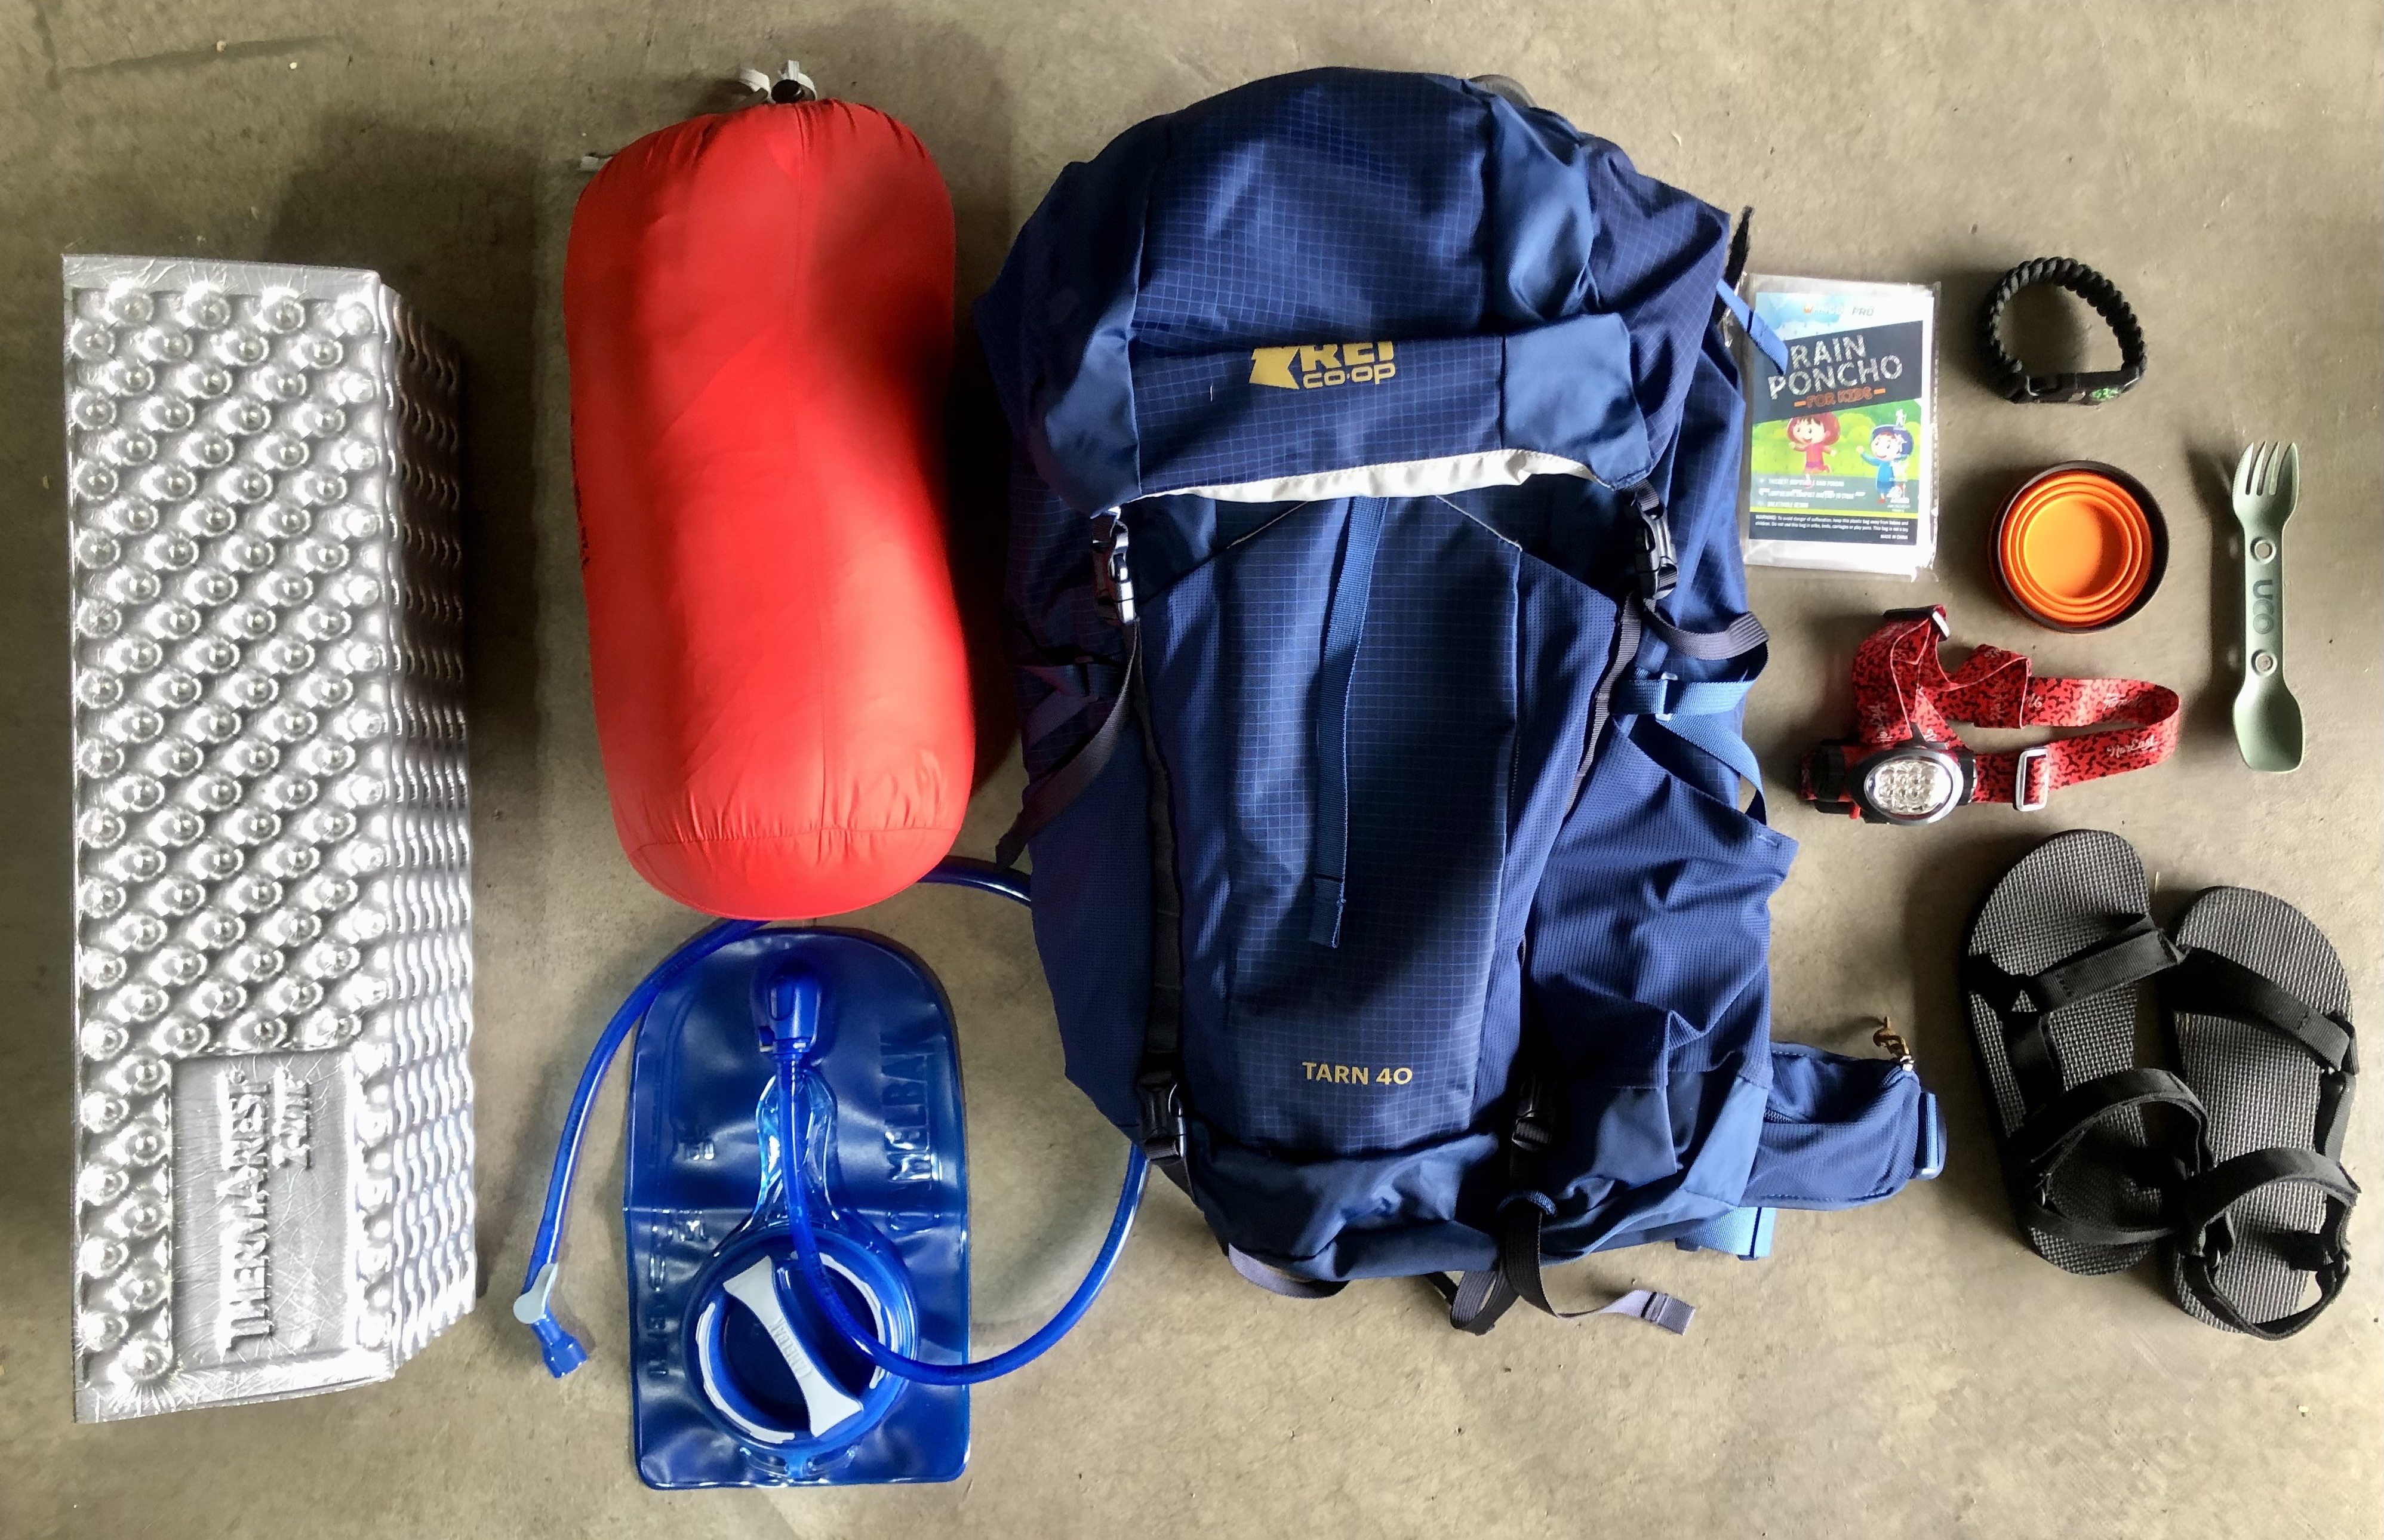
WHAT TO PACK: How I approach packing for backpacking is I first ask myself a few crucial questions:
(1.) “Is it necessary?”
(2.) “Can I carry it”
(3.) “How much does it way?” or “Will it fit?”
The answers determine what goes with me in my pack, and what stays at home. And I cannot stress enough, OUNCES MATTER! For instance, don’t pack your bulky wallet, but instead take a ziplock with your ID, insurance card, and credit card/cash. Don’t pack multiple changes of clothes either…re-wear and embrace a little dirt! You can always wash what’s dirty at the hotel. BTW, I’m never short of amazed by what my family/friends have determined as necessities at times when packing for backpacking…perfume; large metal water bottle; makeup; bottle of wine…Trust me, a few extra pounds can be the difference between misery and enjoyment on the trail!
For those hiking with kids, remember whatever they can’t carry, you’re responsible for. Also, I try as best I can to keep their packs light since the goal is to actually have them WANT to backpack with me again in the future. I generally have them carry their own snacks, sleeping bag, clothing, and maybe a random (light weight) item that I can’t fit in my own bag.
If you need a good pack, we’re fans of anything from Osprey (they have stellar quality packs, great customer service, and they’re a local company operating out of Dolores, Colorado). I also have a Deuter backpacking backpack that has worked well. As for our kids, they generally swap between three different youth backpacking packs: older ones from Kelty and Osprey, and a new Rei one. I’d recommend any of them for your elementary-age kiddos too.
Below is my personal packing list, along with photos of my kids’ and my deconstructed packs. (NOT pictured: personal items/clothing, power bank (charger for phone), wipes, trash bags (2), and hat.
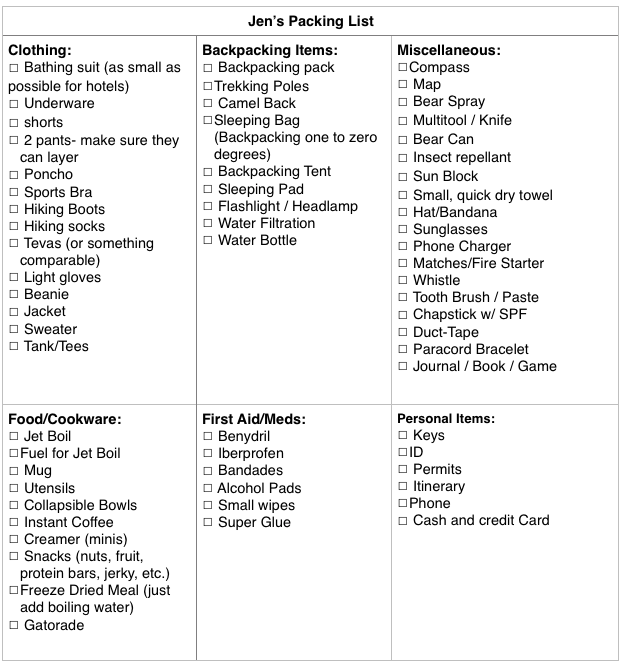
Note: It’s a good idea to bring printed copies of hotel/shuttle confirmations!
TRAIL FOOD: Time to indulge! This is something we get totally amped for, and letting our kids pick out their own meal and snacks serves as a major motivator. As long as the food packs well, doesn’t spoil, and is overall nutritiously balanced/energizing, it’s fair-game! Here’s the trail food I packed for three of us (mom + two kids) on our 2 day/1 night trek. Word of advice, always pack a little extra food incase of an emergency. I bought the freeze-dried meals pictured below from Sierra and REI, but you can find similar ones at most outdoor/sports retailers. Be sure to check serving sizes (one pack should feed 2-3 people).
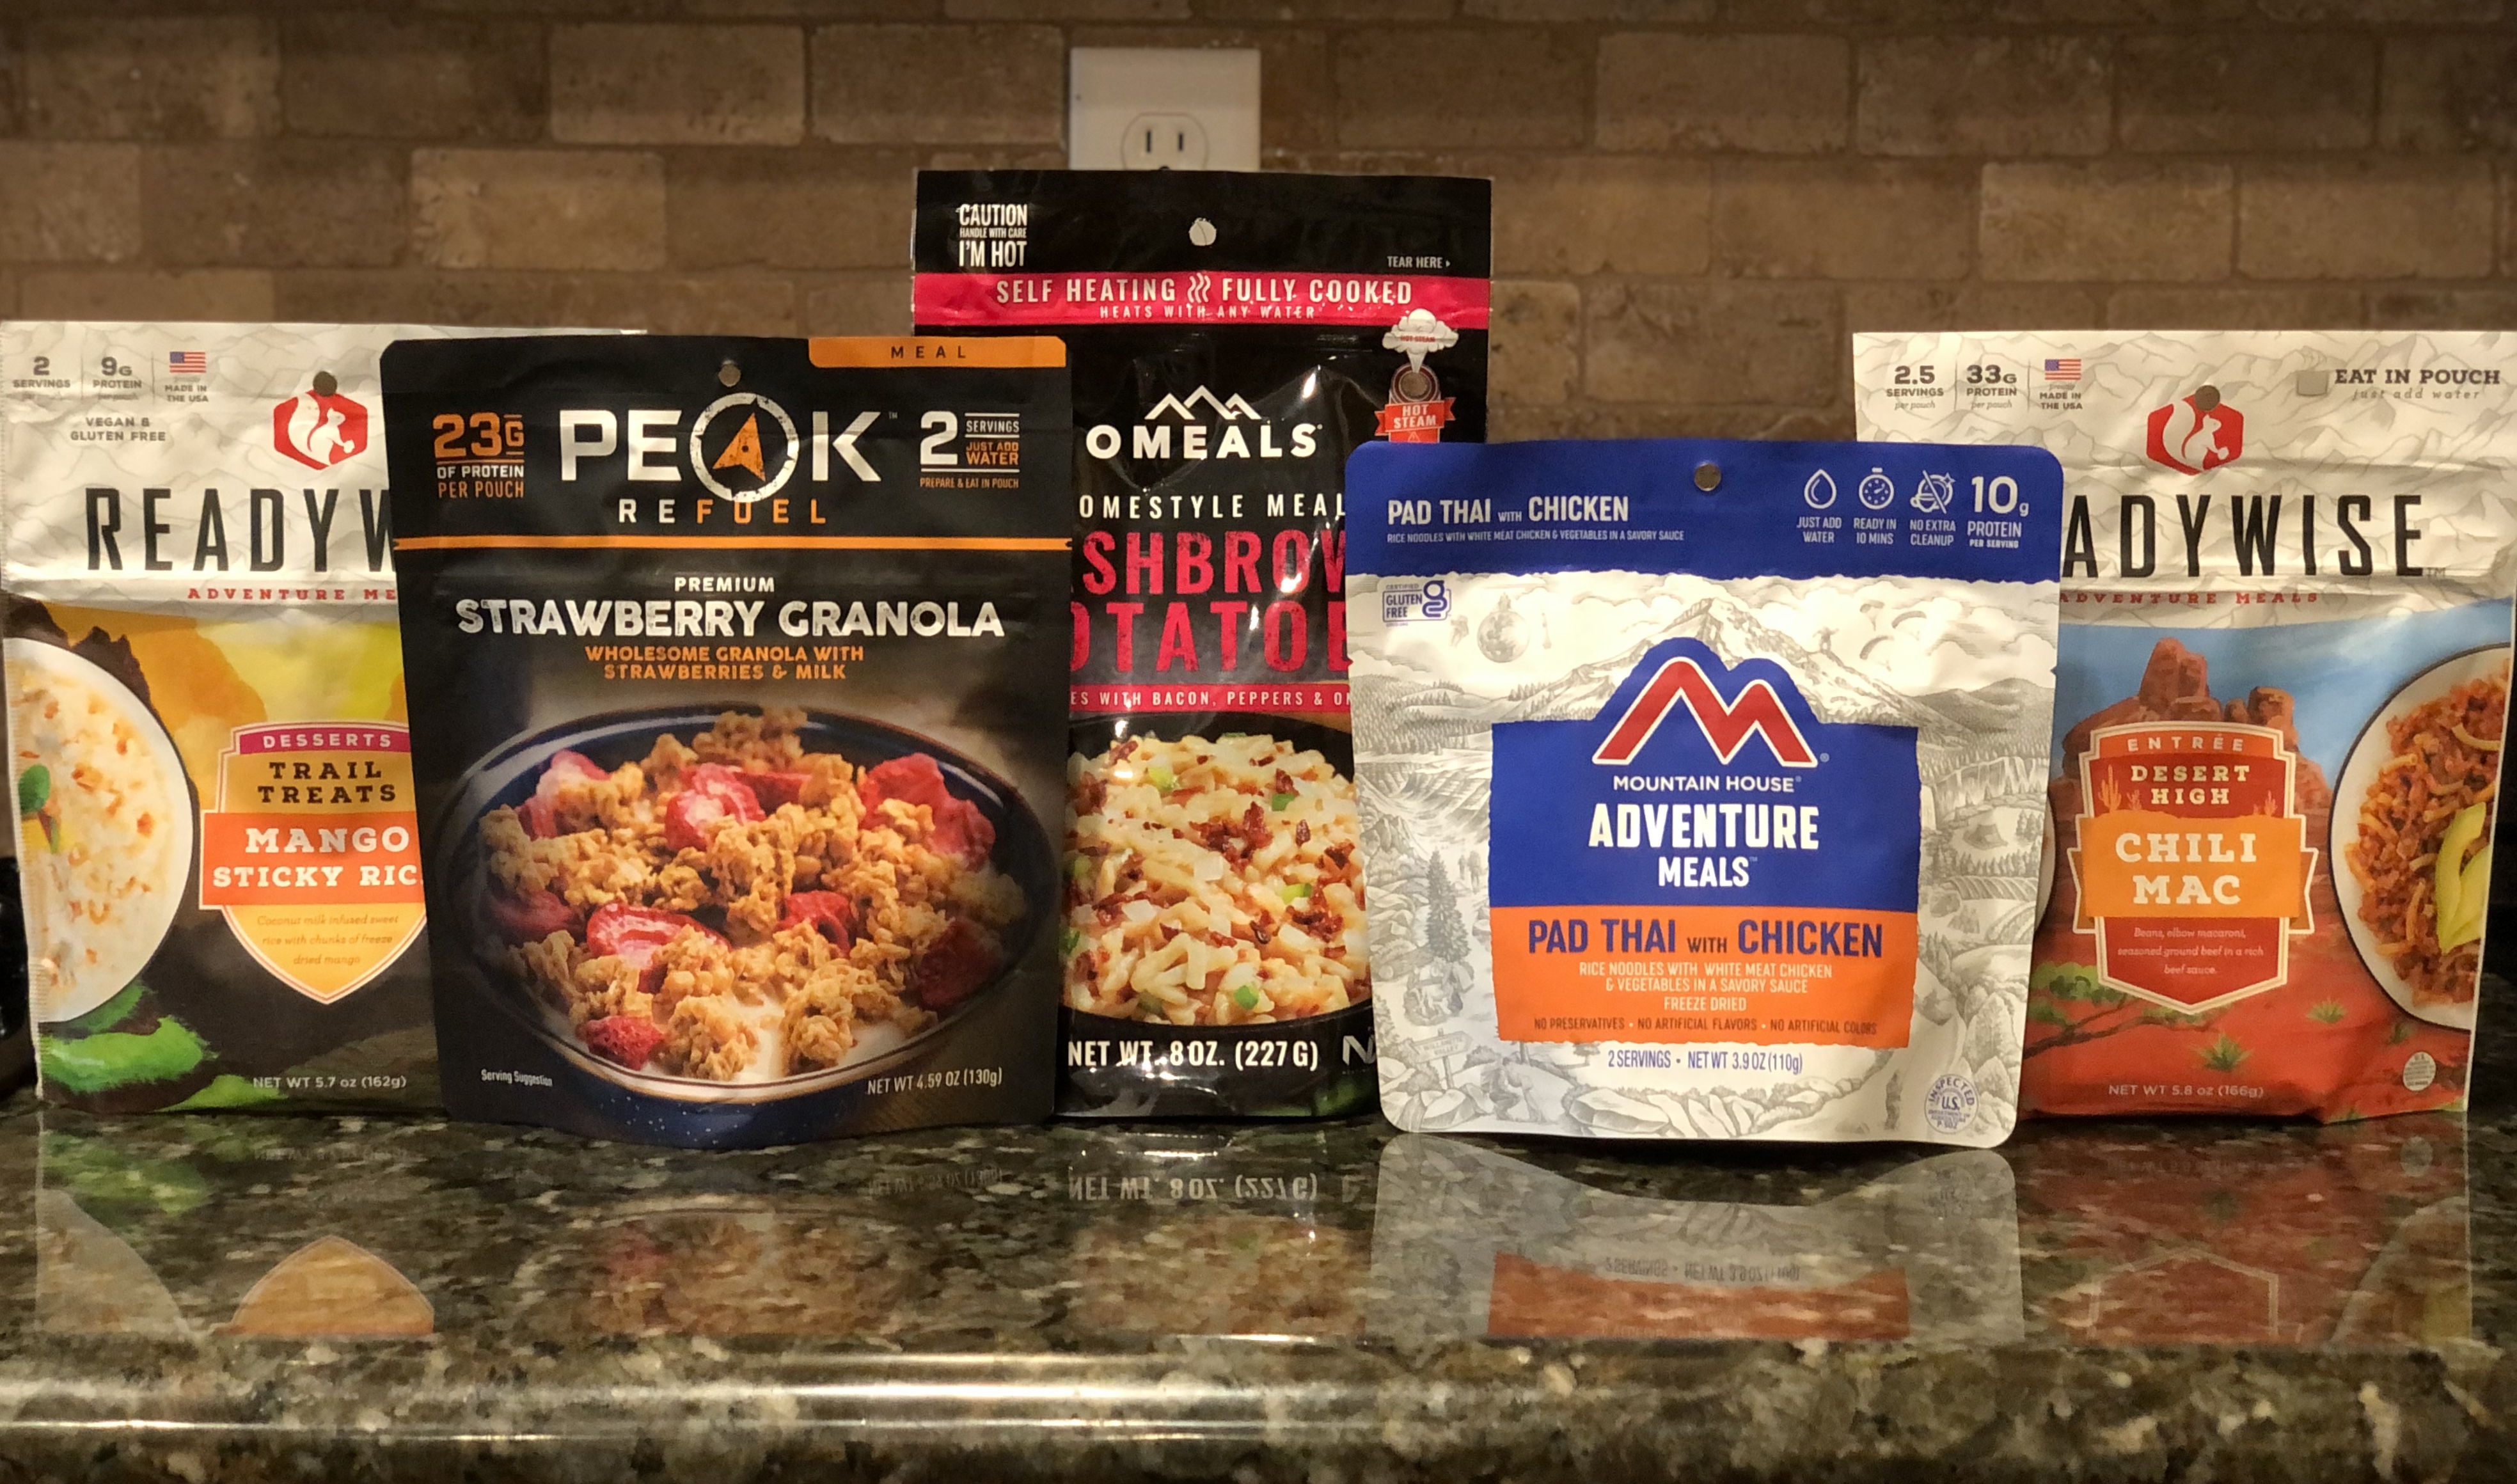
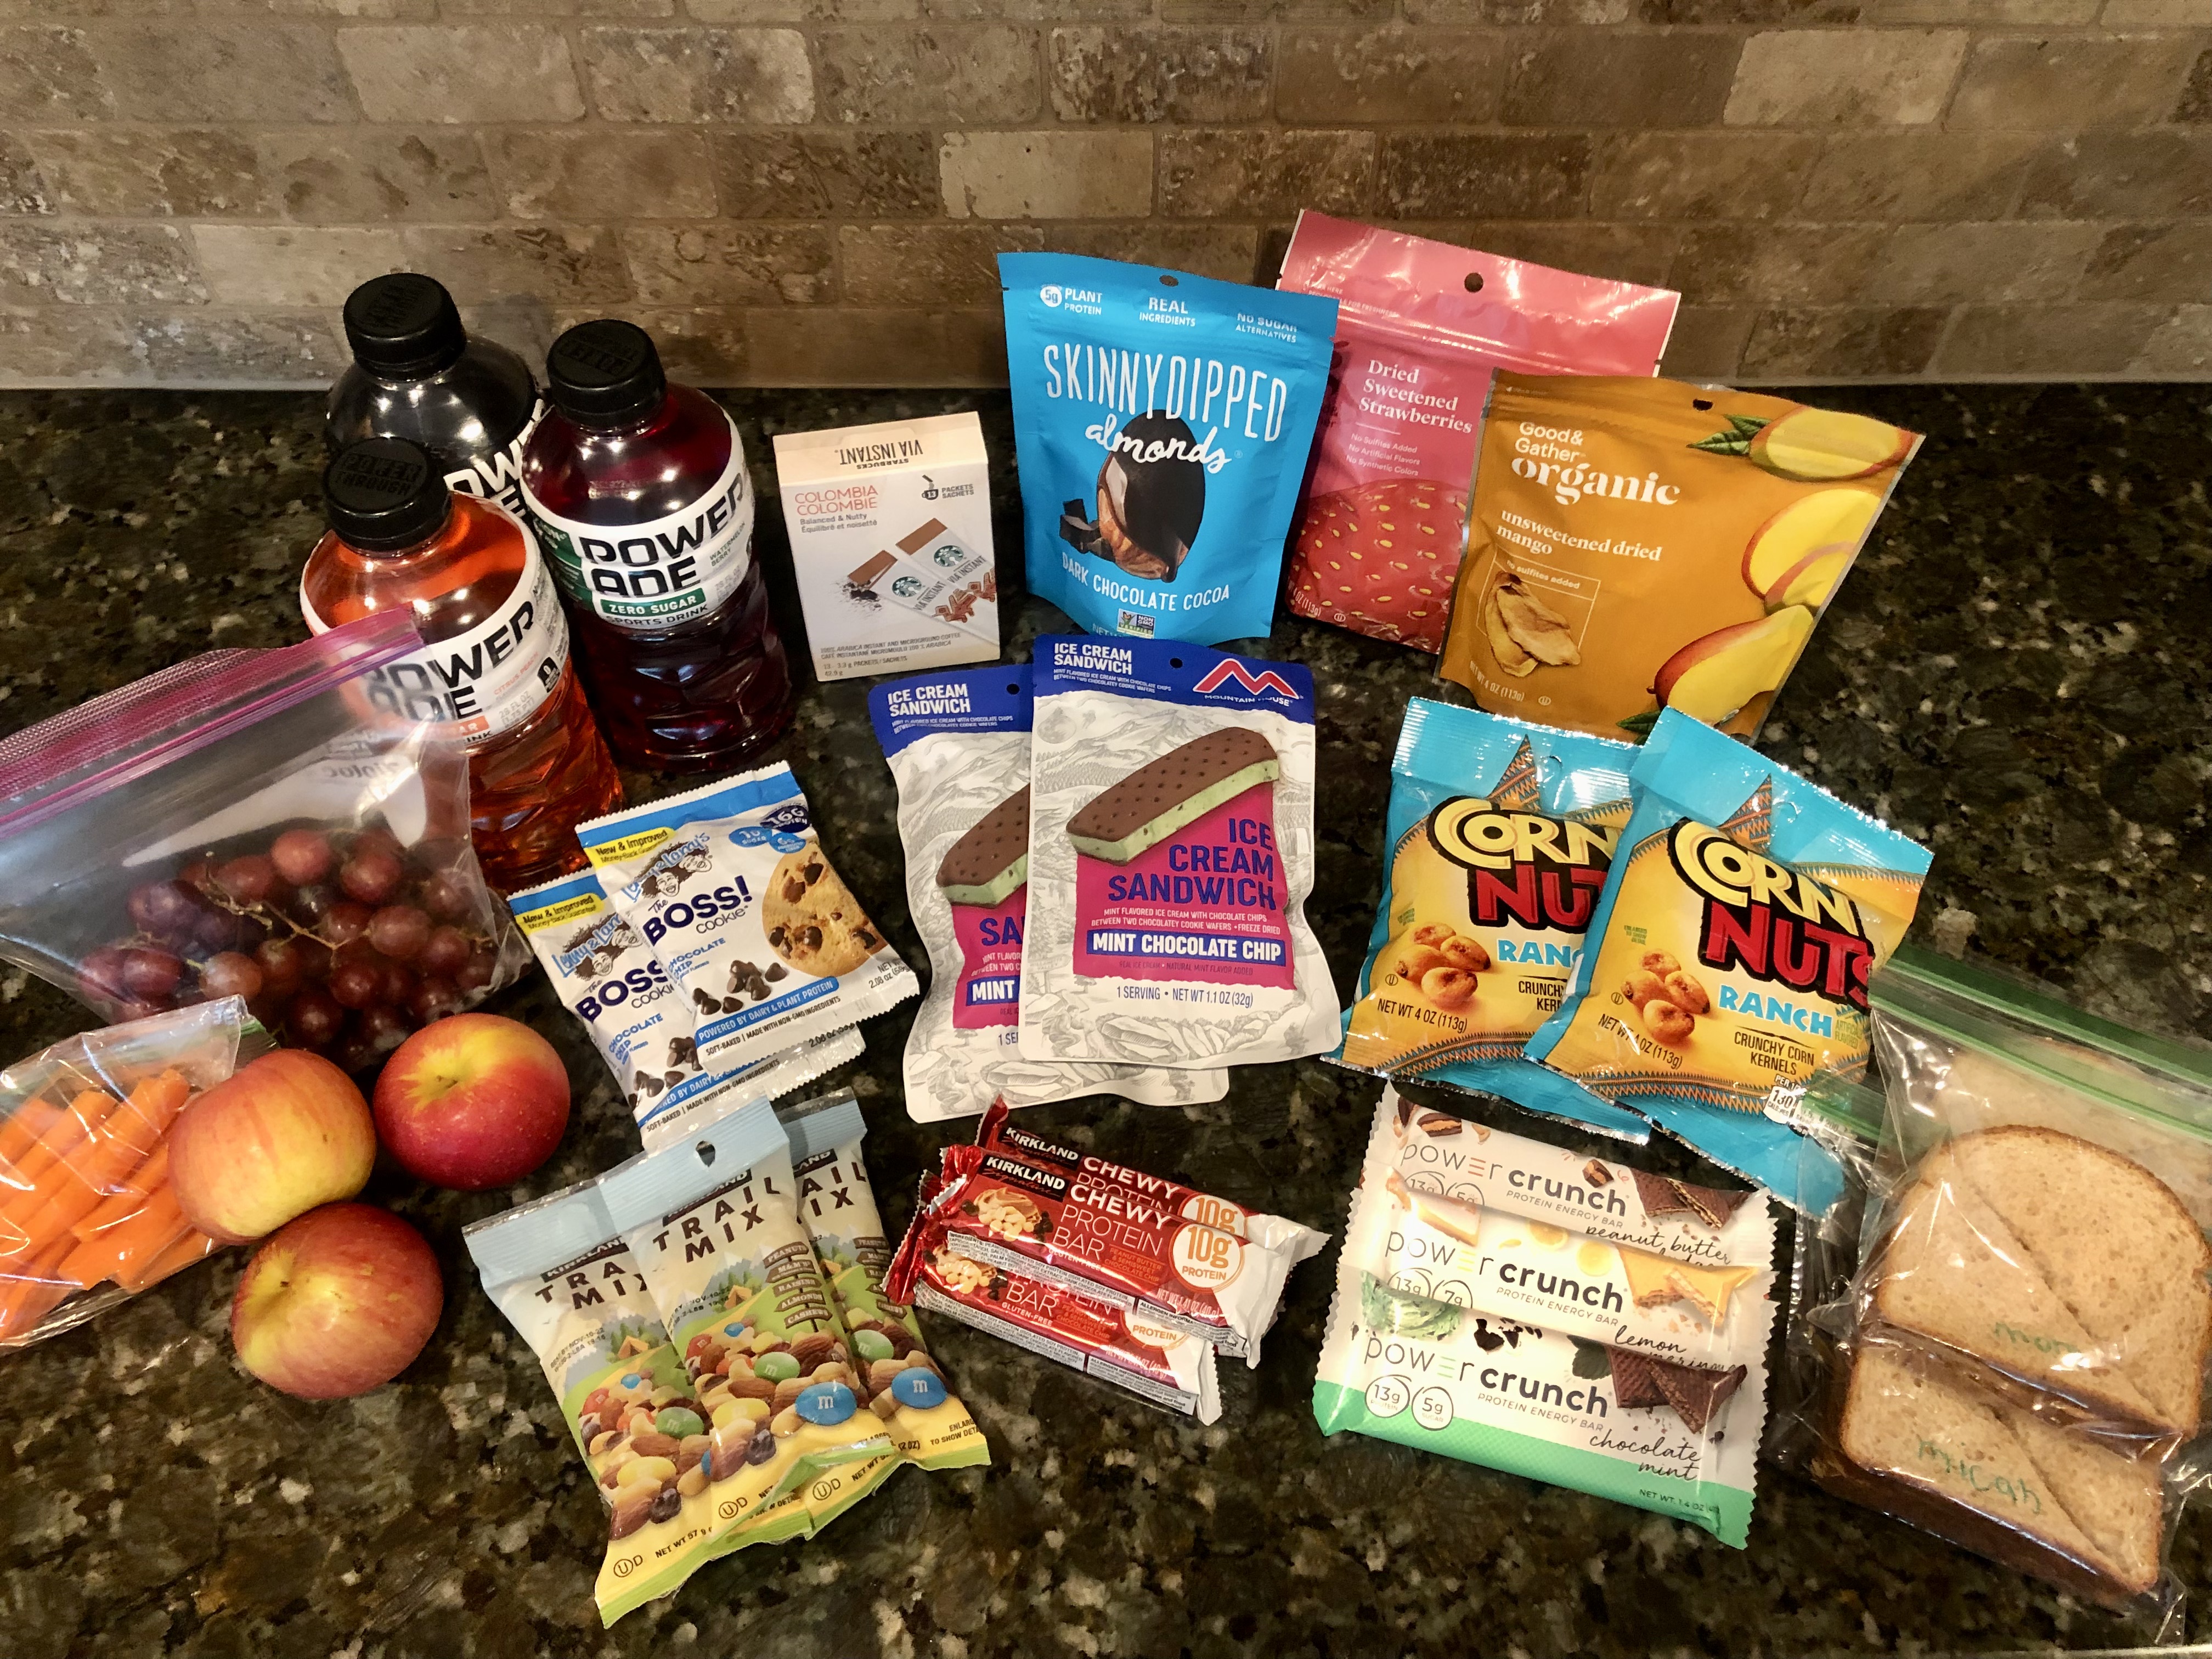
Lunch Day 1: PB&J, sliced carrots, grapes, sports drinks (use empty bottles for cooking/next day water bottle)
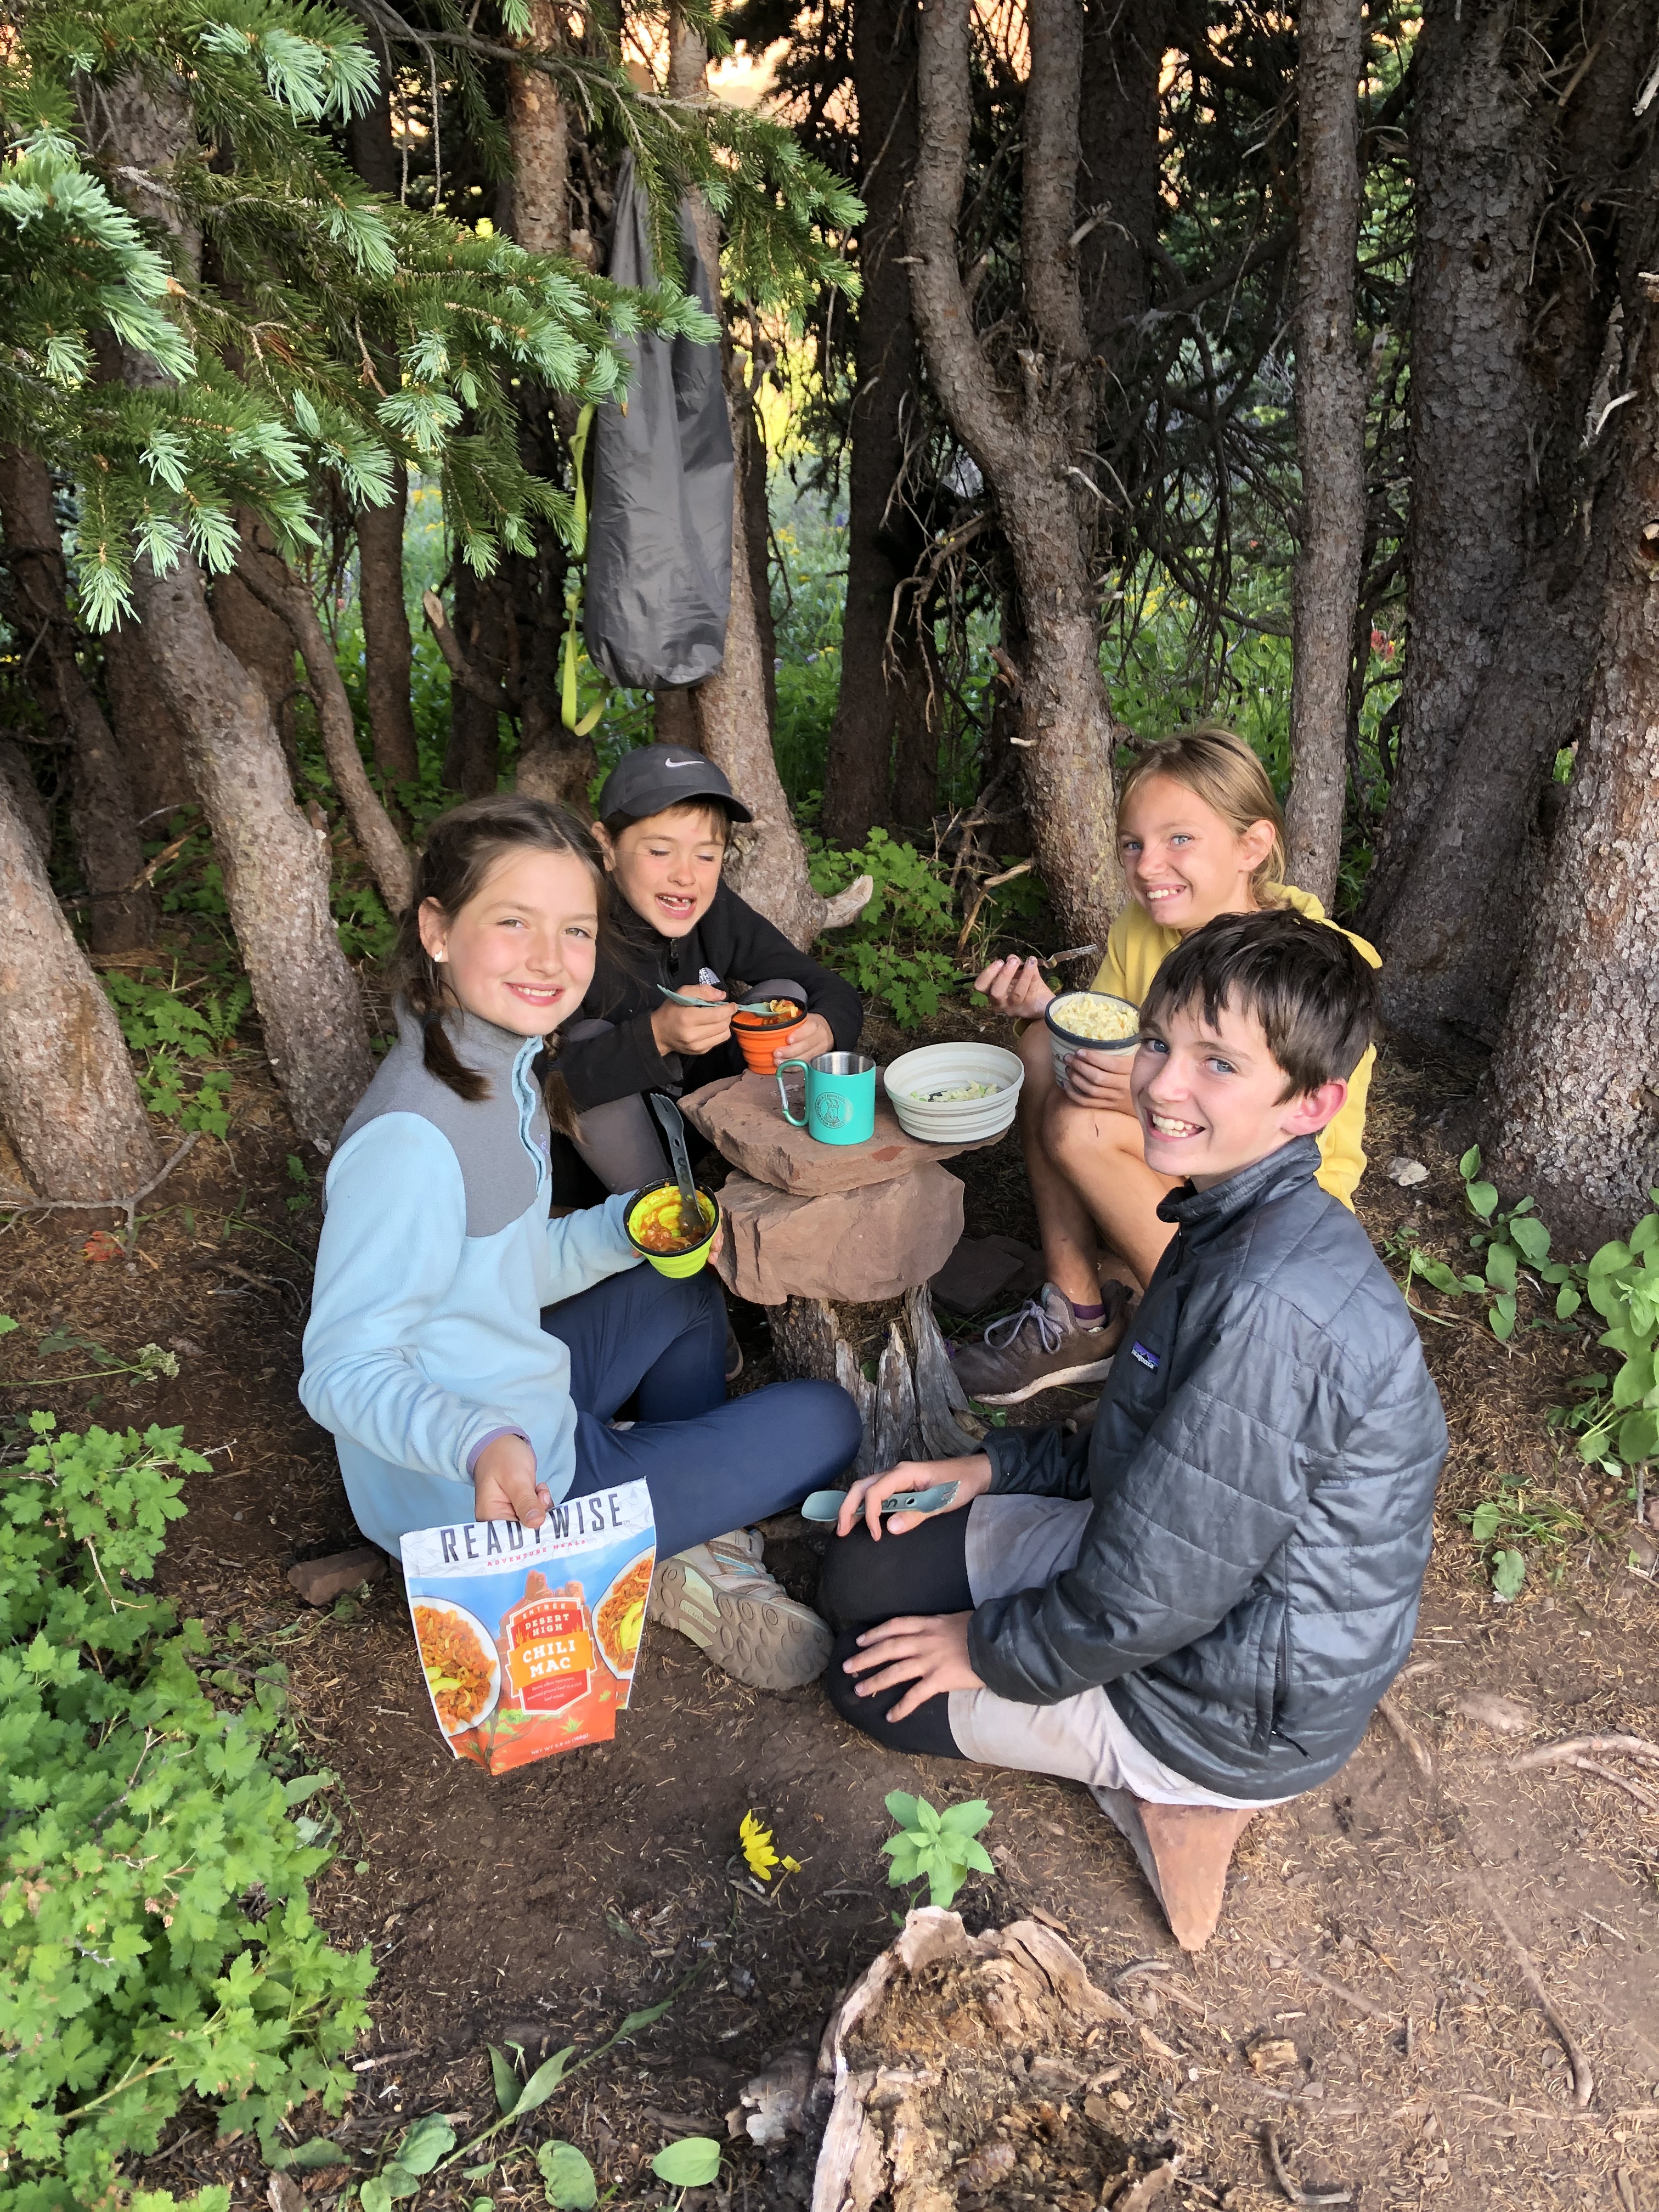
Dinner: Freeze-dried Chili Mac & Freeze-dried Pad Thai with Chicken (just heat water in a Jet Boil, then pour directly into the pouch and let sit until done. You can eat it directly out of the bag if you choose. Otherwise pack small collapsible cups for serving). For Dessert: The kids enjoyed their freeze-dried ice cream sandwiches.
Breakfast Day 2: Freeze-dried Strawberry Granola, Freeze-dried Hashbrowns w/ Bacon, fresh apples, plus instant coffee
Lunch Day 2: Various protein bars, nuts, dried fruit, Corn Nuts, and any leftover snacks. (We had a freeze-dried Mango Sticky Rice that didn’t get eaten, but had it available if necessary).
FINAL NOTES: This was a wonderful experience, and I’m so glad to have had my mom, sister, wonderful kids, and dear friend + her children join us. It was difficult for the kids at times, but they actually rocked it better than anticipated. I think it helped that the kids had each other for encouragement and distraction though. As for my mom who had just recovered from COVID a couple weeks prior and was still weak, she too amazed me completing this trek! She left exhausted and without a big toenail, but she’s one heck of a strong woman at almost 70-years-old! As for my sister, we know her final thoughts (she’s “retired”), but my friend Listy and I would do this trip again in a heartbeat! Doing it in mid July showcased all the wildflowers and the weather was perfect!